Area H-14 Dried-up Trenches is a Location in Code Vein. Area H-14 Dried-up Trenches is a section of the seafloor brought violently to the surface when the land changed in the Great Collapse. A variety of what was once vivid coral lies dry and exposed to the air, and ships that once floated on tranquil waters are utterly still, a portrait of tragedy. See Walkthrough for the rest of the by-area guide.

General Information
- Previous: Ruined City Center
- Next: Howling Pit
- Bosses: Insatiable Despot
- Mistles: Dried-up Trenches Entrance, Decayed Ship Interior, Frozen Seabed
Video Walkthrough
Map
NPCs in the area
Bosses
Items
Consumables and Trade Items
- 1x Vivifier
- 5x Anti-Slow
- 1x Loss Shard (S)
- 1x Loss Shard (M)
- 5x Chemical Light
- 3x Blood Cartridge
- 3x Inhibit Cartridge
- 4x Ichor Concentrate
- 3x Freezing Cartridge
- 1x Old-world Materials
- 1x Elegant Fountain Pen
- 1x Powerful Spices
Equipment & Upgrades
- 1x Queen Iron
- 2x Awake MJ109
- 1x Tyrant's Labrys
- 1x Night Spear +3
- 1x Raven Fatigues +3
- 1x Regen Activation Factor
- 1x Broadsword +3
- 1x Riot Breaker +3
Key Items
Vestiges
Enemies
- Spiked Lost
- Rooted Lost
- Mutated Lost
- Axe-wielding Lost
- Sword-wielding Lost
- Recently Converted Lost
Full Area H-14 Dried-up Trenches Walkthrough
After defeating the Butterfly of Delirium, the party was able to find a bloodspring and the human girl. Louis provided information to the girl regarding a safe house for humans and continued their journey as they followed the bloodvein of the spring.
The Dried-up Trenches

After the cutscene, activate the Mistle to unlock the teleport point. From here, follow the path and just around the corner, to your right, you'll be ambushed by a Mutated Lost, kill it and go right to find 1x Loss Shard (M) on the ground.
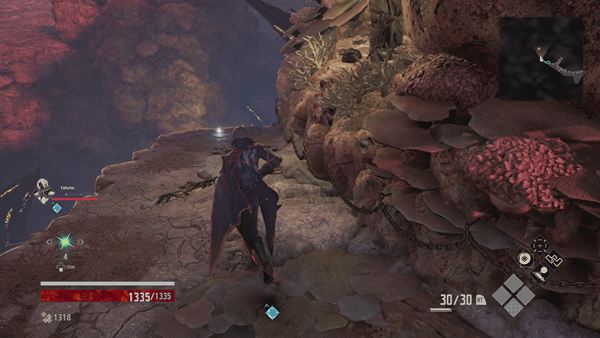
Continue through the path and then go right to find 3x Freezing Cartridge.
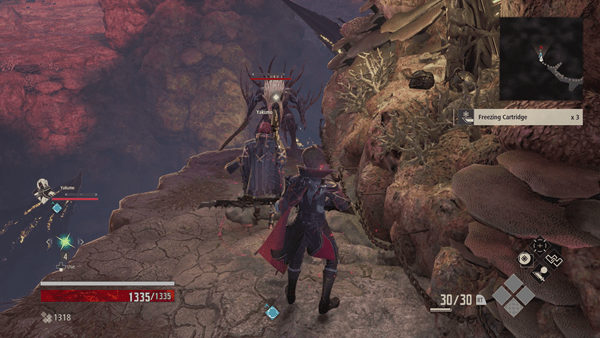
Be careful since spiked lost will climb up from the edge when you pick up the item, kill it to obtain Haze and 1x Old-world Materials then continue your exploration.

Now head the opposite direction and make a left to find 5x Anti-Slow - another enemy will ambush you from above when you pick-up the item, so dodge away from the spot after obtaining the item.
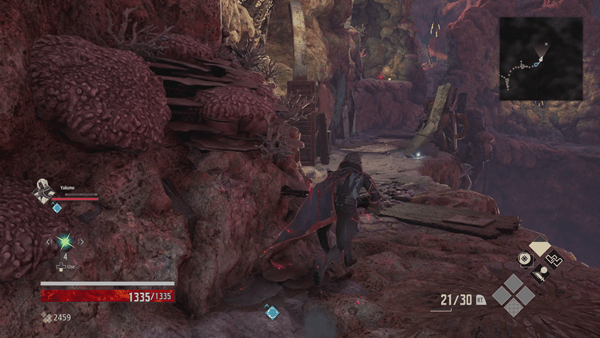
Continue going straight, and just about midway, you'll find 2x Ichor Concentrate on the ground. As you continue forward, you'll notice a Vestige at the top-left.
Sidepath: At this point, you can proceed a bit further hanging left and drop down to a secondary level. Around a corner, near a ladder, you'll face against an Axe-wielding Executioner Type Lost . After defeating it, you can loot a treasure chest with Broadsword +3. If you go up the ladder, you'll face against a Shielded Lost, and have a chance to drop into the cave described in the next paragraph behind one of the enemies that lie in ambush.
From the point where you noticed the Vestige: Look to the right, there's a ledge you can drop to. Be careful, as you will be ambushed again the moment you hit the floor. Behind that enemy is a cave with a rotten mistle that unlocks the map. Go back the other way and you will end up in cave with 2 enemies. Defeat them both and to your right you should see the Vestige you saw earlier, which will give you Darkseeker Vestige Part B.
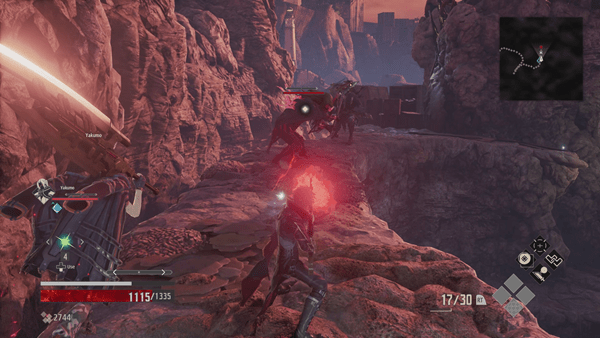
Go left and through the narrow passage where you'll find a Mutated Lost and two other enemies (a spiked lost wielding a bayonet and the other wielding an axe) - kill the enemies and pick up 3x Inhibit Cartridge and 1x Elegant Fountain Pen.
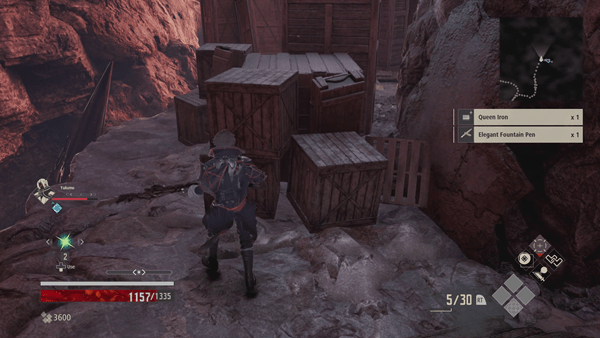
Next, break through the wooden boxes to continue your exploration - there's another enemy behind the boxes so be ready to kill it after destroying the boxes.

Continue forward then go right where you'll find another Axe-wielding Lost waiting by the corner, kill it then climb down the ladder. You'll encounter an armored lost that looks like a knight, kill it then pick up 1x Regen Activation Factor near the glowing vines.
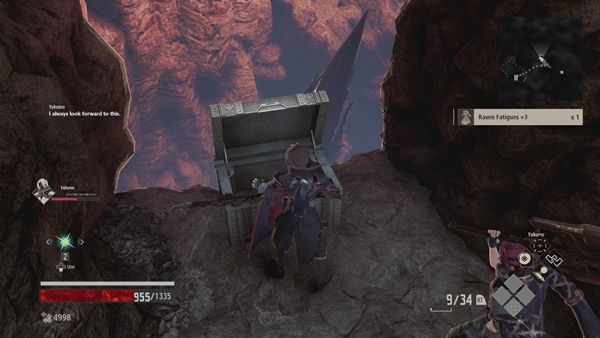
You'll also find a chest behind you containing 1x Raven Fatigues +3 - climb back up after obtaining the items.

Proceed further, then make another right. You'll find 3x Blood Cartridge at the edge.
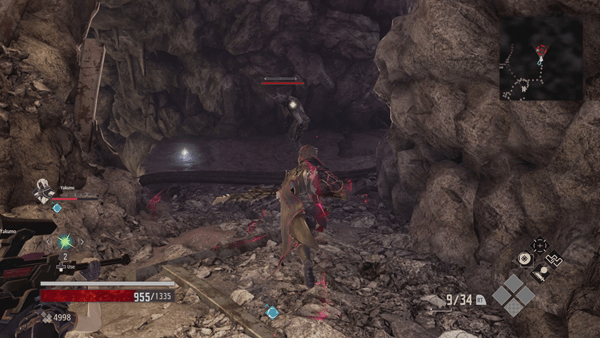
Now, go straight where you'll see another item at the corner. A Mutated Lost will ambush you from above when you're near the item and a when you pick up 1x Vivifier, a Sword-wielding Lost will drop from above.
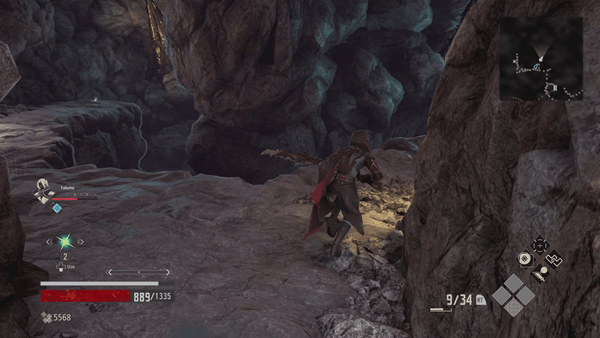
Next, retrace your steps and make a left. If you go left, you'll find 1x Awake MJ109 on the ground, and on the right side is a path you can drop down to that's being guarded by a spiked lost wielding an axe.
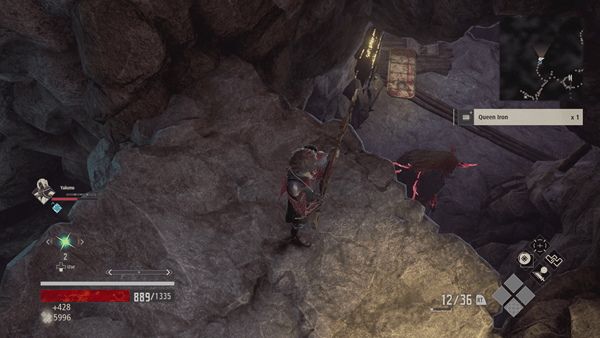
Once you've killed the enemy and obtained the item, drop down the opening. You can perform a drop-down attack to catch it off guard - you can obtain 1x Queen Iron and 1x Loss Shard (S).

Head to your right and through the path where you'll encounter a new enemy, a Rooted Lost. It cannot move but it attacks by shooting out a fireball. Kill the enemies along the way then pick up 5x Chemical Light that's on the ground.

Continue down the narrow path where you'll encounter an Axe-wielding Lost and a spiked lost wielding a bayonet. You can sneak behind the Axe-wielding Lost and execute a back attack to kill it quickly - just be careful fighting the enemies since you can fall from the edge if you move around too much.

As you continue, you'll find another Axe-wielding Lost patrolling the area next to some wooden boxes and an item you can pick up to your right. Once the enemy sees you, it'll call for reinforcements and 2x Mutated Lost will climb from the edges. Pick up the item to obtain 2x Ichor Concentrate - you should now find yourself back to where you saw the vestige.

Retrace your steps and head back to the area where you broke through the stacked boxes and jump down the edge.
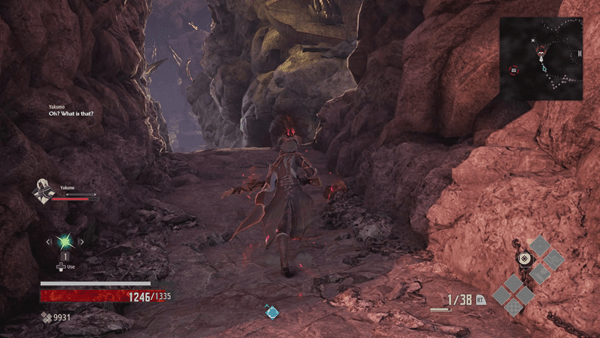
Defeat the enemies along the way and continue through the path until you reach a rotten mistle - purify it to map its surrounding area.
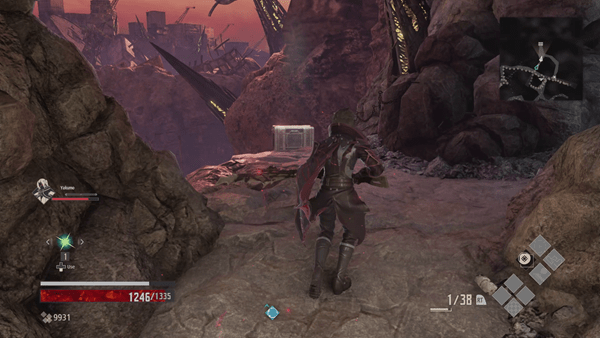
Drop down from the rotten mistle, make a right, then another right, you'll find another ledge you can drop down to. Follow the path then make a left. You'll find a chest containing 1x Night Spear +3.

After you've obtained the blood veil, continue your exploration and go left, before dropping down, you'll find 1x Awake MJ109 at the edge.
Further into the Trenches
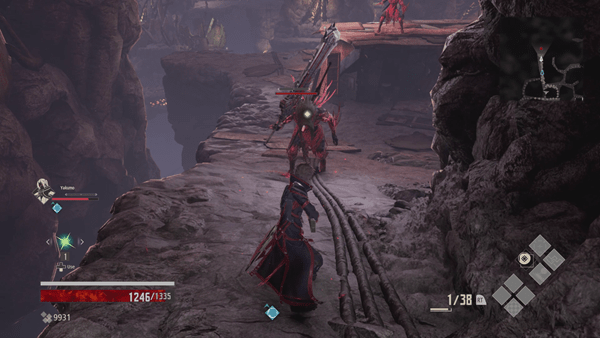
From this area, behind the large red metal boxes, there is a ledge you can drop onto. Drop down and you can follow the right path around a corner to unlock the Decayed Ship Interior Mistle. Be careful, as the path leading to it also is home to a Recently Converted Lost. A ladder here will take you to the upper portions of those red blocks. Here there is a lost to defeat and 1x Powerful Spices, and a Depths Map: Map: Town of Sacrifice
The other path on this area leads to two Executioner-type lost guarding a chest with A Riot Breaker +3.
Go back to the Upper portion of the red metal containers to continue on.
Now, prepare for battle since you'll have to go down the path where there are multiple enemies.
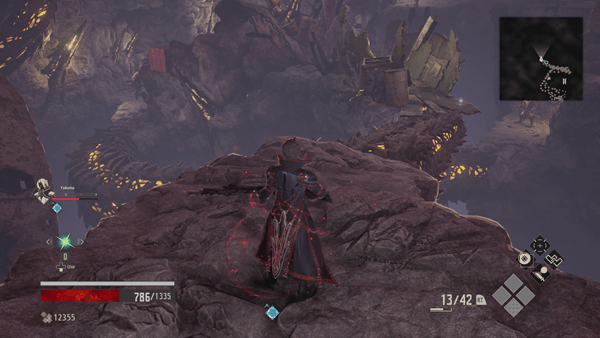
After clearing the area, continue forward and cross the narrow bridge.

There will be 1x Bayonet-wielding Lost along the way and then 3x Rooted Lost at the end alongside an Axe-wielding Lost and another Bayonet-wielding Lost.

Next, go left where you'll find another Rooted Lost, 2 more reinforcements will climb up from the edge and an Axe-Wielding Executioner will join the fight when you start to attack the rooted enemy or when you're seen.
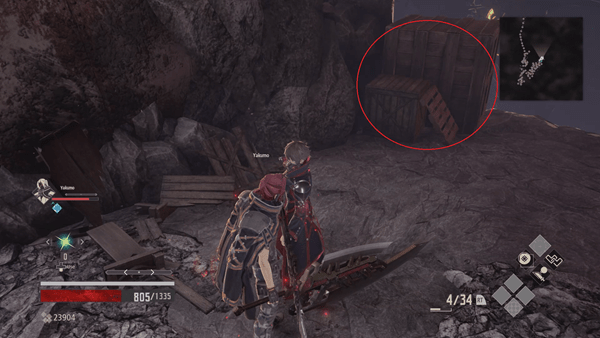
Clear out the enemies and destroy the stack of boxes that's on your left, you'll find a Darkseeker Vestige Part A.
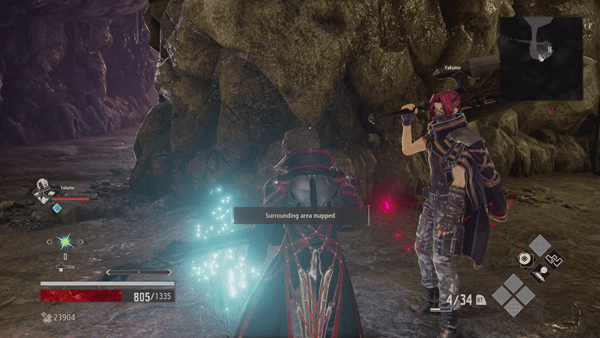
Continue your exploration and climb down the ladder - you'll find the Frozen Seabed Mistle that you can activate, rest at the Mistle and make further preparations before proceeding further.
Boss: Insatiable Despot
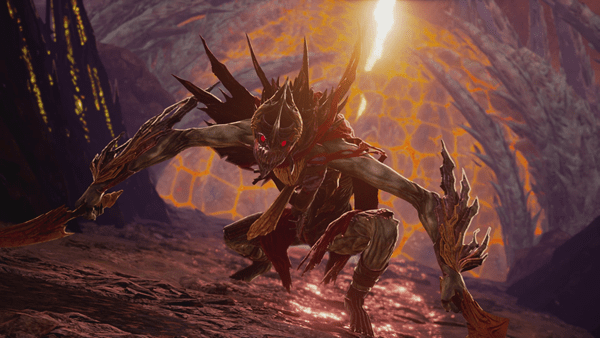
The next area will now be a boss arena for the Insatiable Despot. As soon as the battle starts, the boss will conjure an AoE attack at your position. So move away from your starting position when the battle starts.
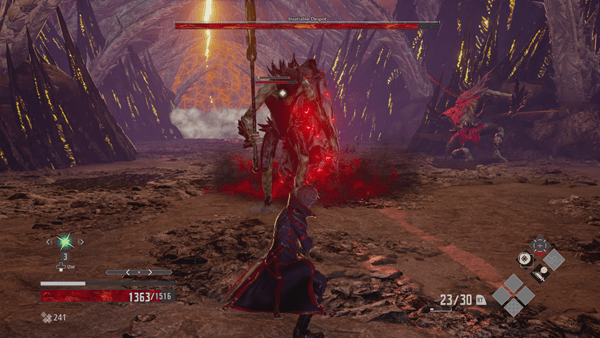
Take note that the AoE attack actually spawns up to two enemies that will fight alongside it after the shell breaks, so it is recommended that you have a companion with you who can at least help you get rid of the enemies it spawns. To learn more about the strategies on how to defeat this boss, you can visit the boss page by clicking here - defeating the boss rewards you with 7140 Haze and 1x Tyrant's Labrys
After the battle, approach the bloodspring and another cutscene will start. You'll find Jack Rutherford and Eva Roux here. After the cutscene, walk up to where the hunters were and pick up Darkseeker Vestige Core, this will allow you to use the Darkseeker Blood Code. Next is the Howling Pit.
Video
Map
Trivia & Notes:
After completing 100% of Howling Pit and Dried-up Trenches:
- Gustav will appear near the Dried-Up Trenches entrance. He wants you to bring him evidence documents of Silva's project Queen. Travel to the Ruined City Center – Parking Garage mistle and make your way to the 3rd floor (floor above the mistle level). Search the level for the Citizens' Opinions key item. Once you find it return to Gustav and give it to him to complete the request and obtain the rewards: Loss Shard (L)
 Anonymous
 Anonymous
Oh my GOD can you be any more fu*king vague?? This walkthrough is so half-assed it hurts

 Anonymous
just checking here and I realized I finished howling pit before dried up trenches. But I already explored howling pit and got the mistle at the boss area before backtracking to howling pit.


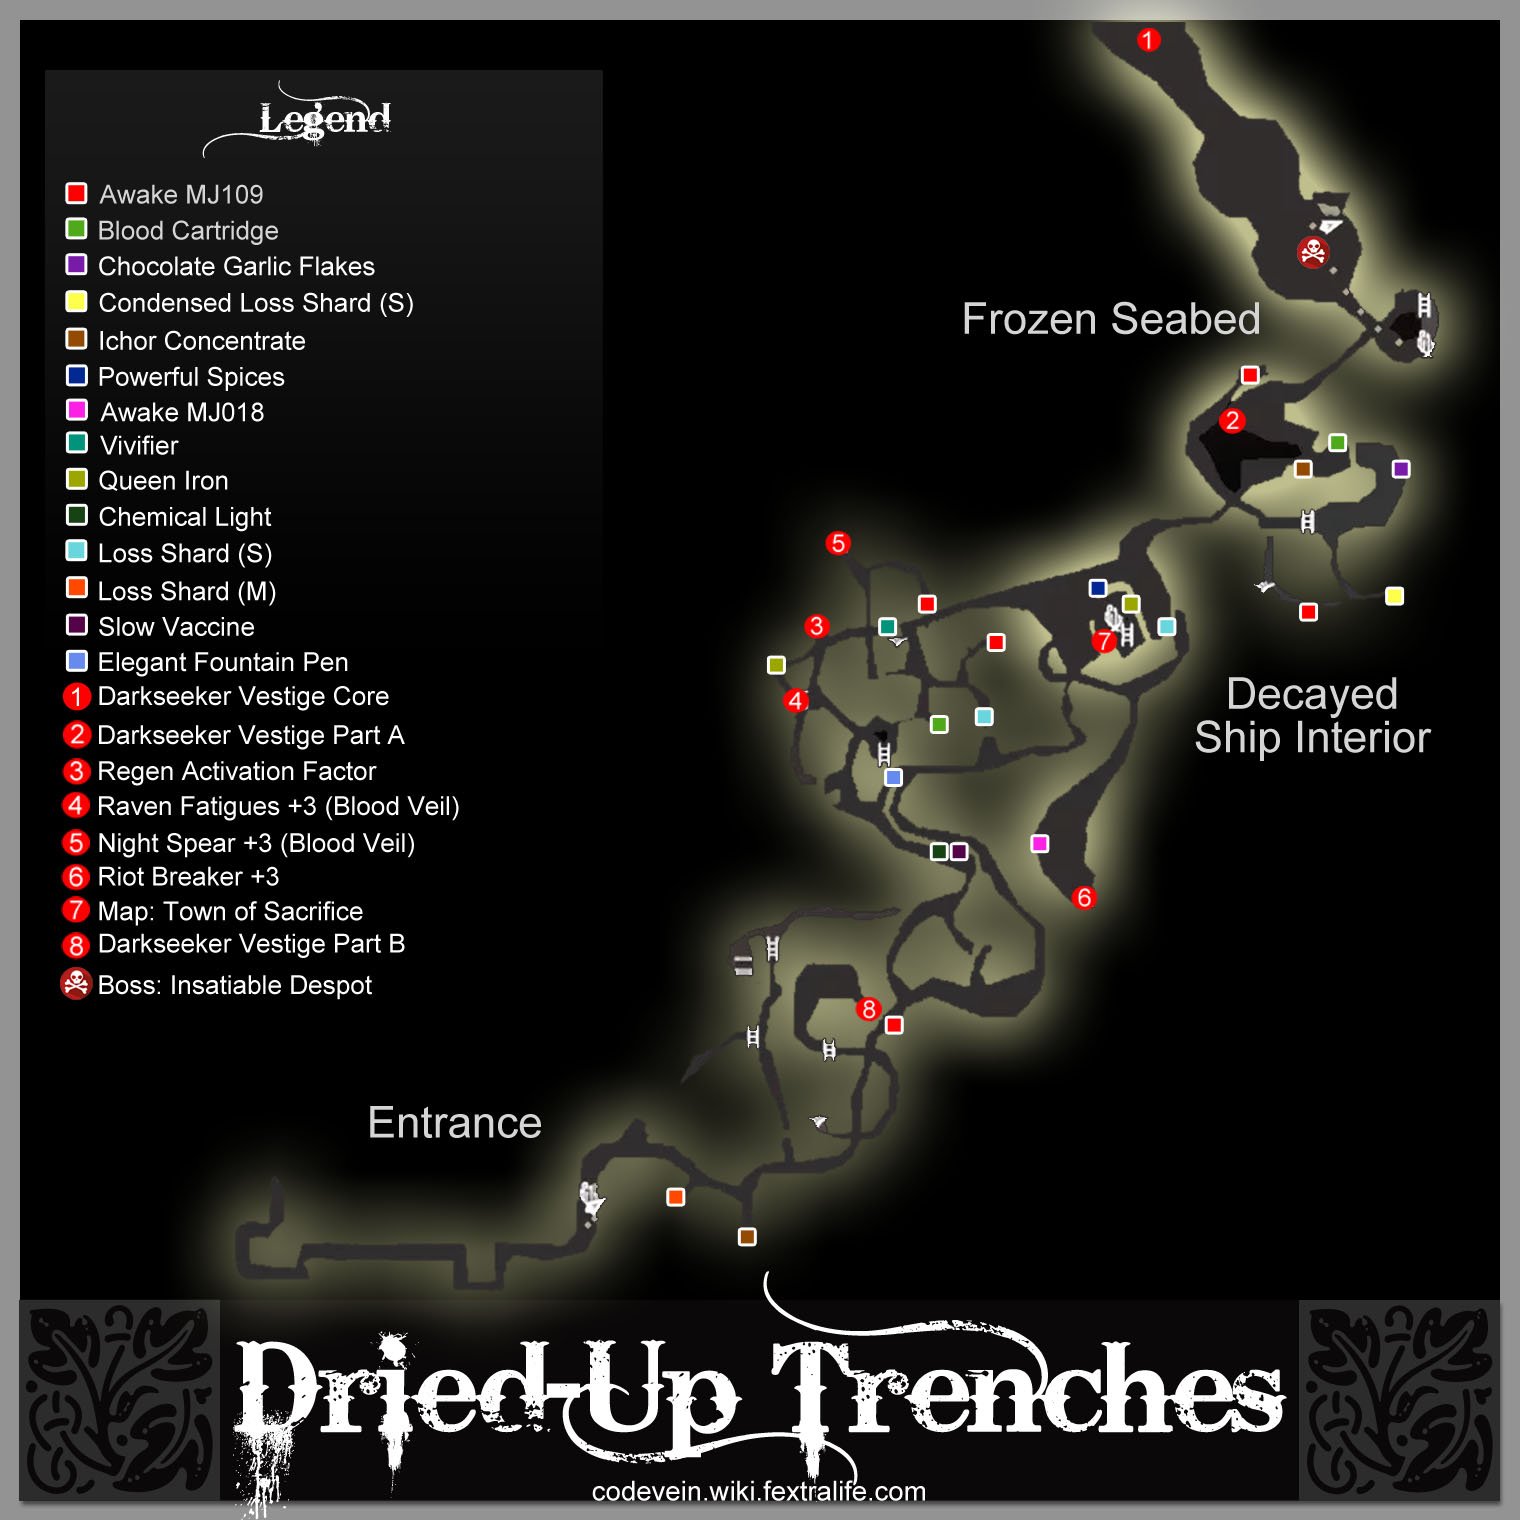
There is no Broadsword +3. Took forever for me to figure that out.
0
+10
-1