Depths: Den of Darkness is a Location in Code Vein. Depths: Den of Darkness is categorized as a dungeon - in order to gain access, speak to Shang at Area D-12 Ruined City Underground to obtain the map and head back to the Home Base and speak to Davis.

General Information
- Previous: Ruined City Center
- Next: ???
- Bosses: Prisoner of the Abyss
Video Walkthrough
[video goes here]
Map
NPCs in the area
- n/a
Bosses
Rewards
Items
Consumables and Trade Items
- 3x Queen Iron
- 3x Awake MJ108
- 1x Classic Camera
- 5x Chemical Light
- 1x Drain Activator
- 1x Old-world Materials
- 1x Condensed Loss Shard (S)
Equipment & Upgrades
Key Items
Vestiges
- n/a
Enemies
- Mutated Lost
- Axe-wielding Lost
- Sword-wielding Lost
- Axe-Wielding Executioner Type Lost
- Sword-Wielding Executioner Type Lost
Full Depths: Den of Darkness Walkthrough
After speaking to Shang at Area D-12 Ruined City Underground, he'll provide you with the Map of the Den of Darkness. Head back to Home Base and speak to Davis to gain access into the depths.
Into the Den of Darkness
For this area, it is recommended to bring a companion who can aid you in battle.

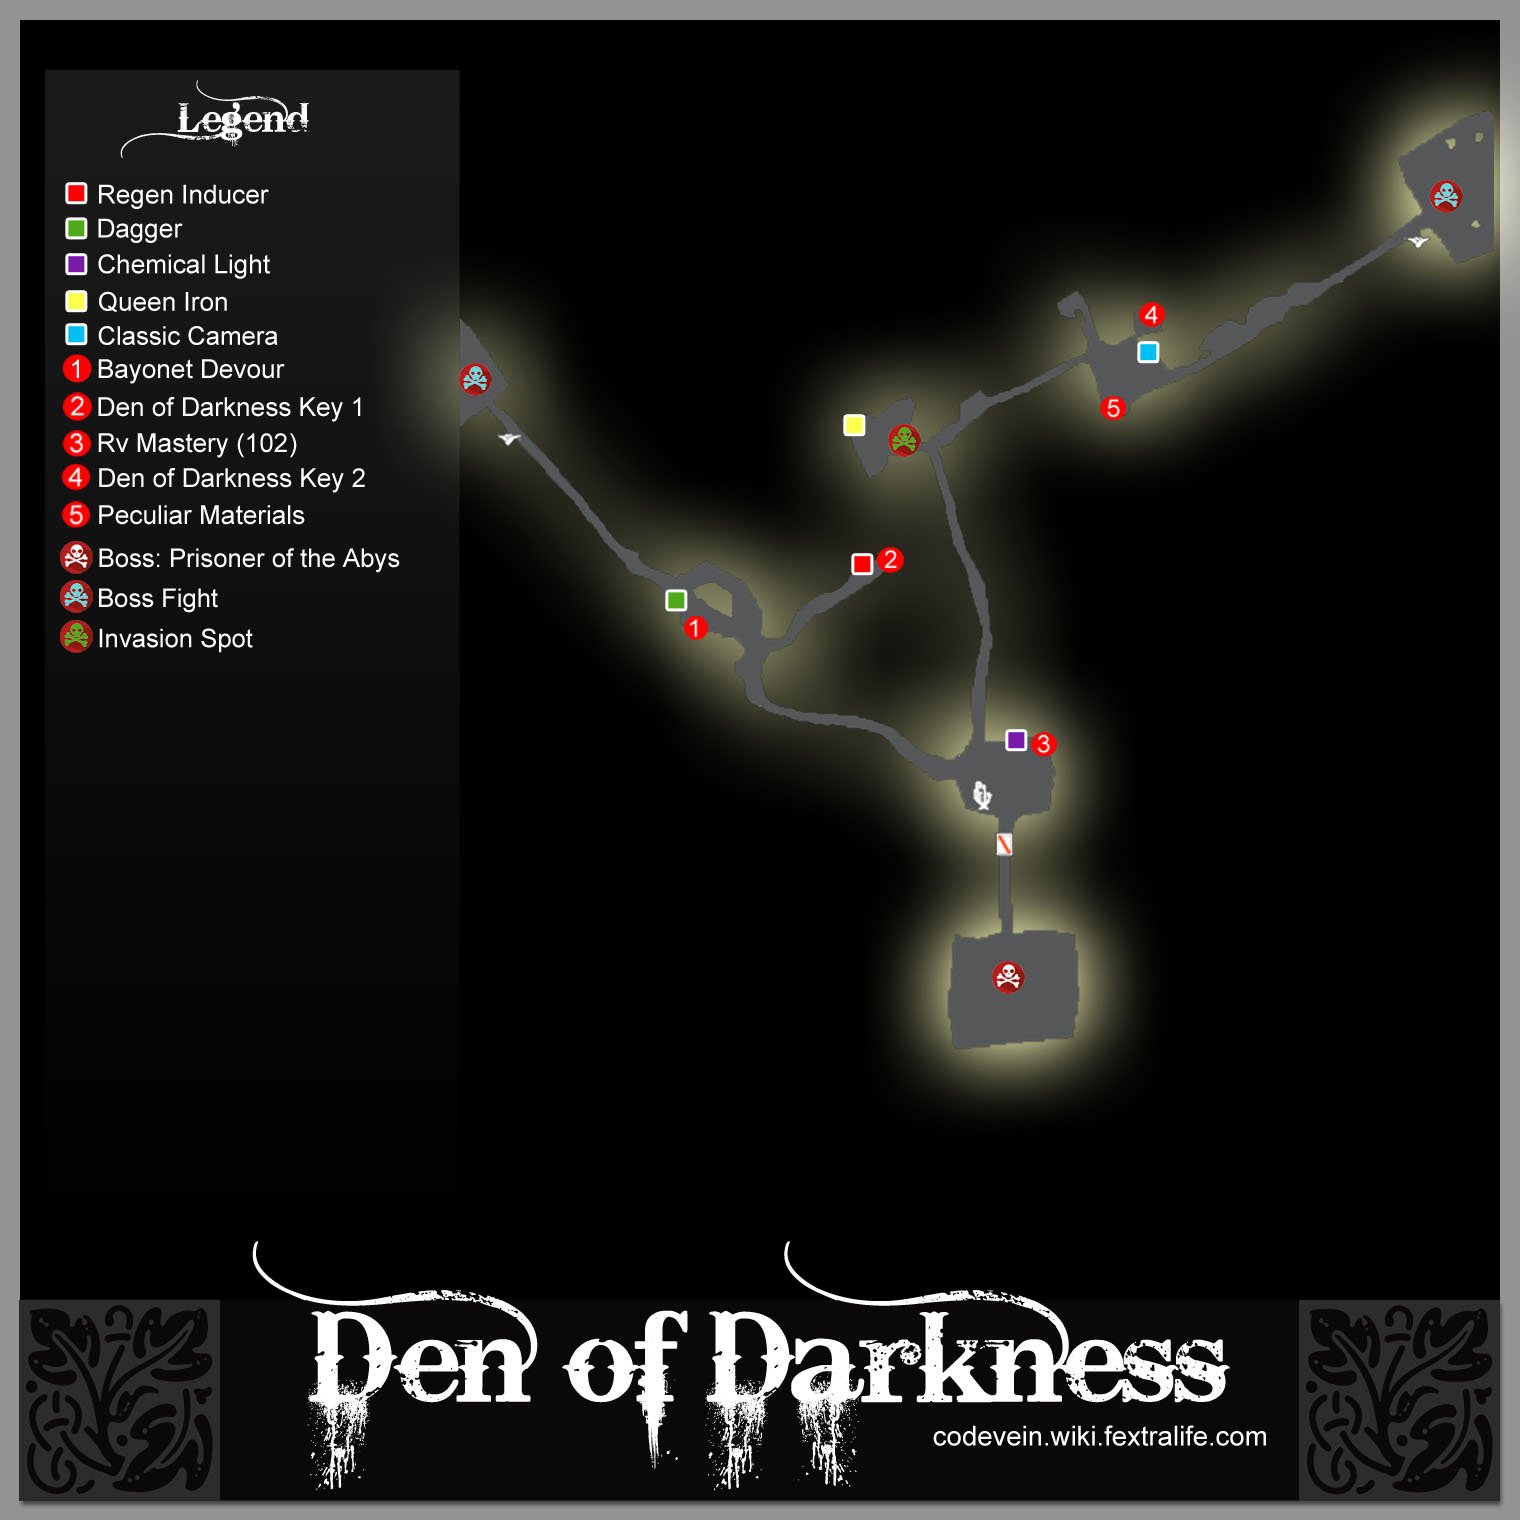
Upon arriving, activate the nearby Mistle to map the surrounding area and approach the nearby corpse to obtain 5x Chemical Light and 1x Rv Mastery (102) which can be consumed to unlock the Ice Buff gift. From the mistle, head towards the path to your right until you reach a dead-end.

Once you've entered, a trial of blood will start where you'll face a couple of waves of Sword-Wielding Executioner Type Lost, Axe-Wielding Executioner Type Lost, Mutated Lost, and Sword-wielding Lost. Surviving the onslaught and killing the last enemy rewards the player with 1x Condensed Loss Shard (S) - you can also find 1x Queen Iron on the ground.

From that area, head to your right again to go further into the depths. Go left where you'll find 1x Sword-Wielding Executioner Type Lost and 1x Axe-wielding Lost below you - kill the enemies and you'll find 1x Drain Activator and 1x Old-world Materials that are dropped by the enemies.

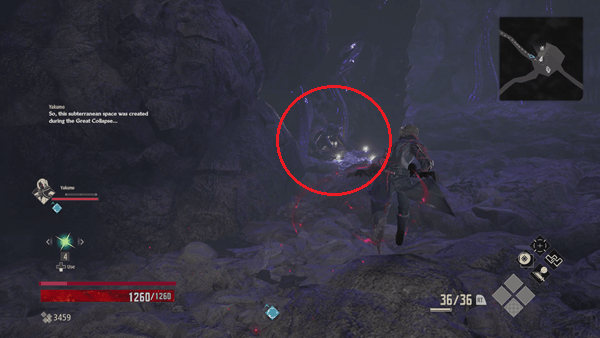
Go back and look to your left where you'll find a corpse of a lost and a Mutated Lost standing next to it. Kill it and then approach the corpse to obtain 1x Den of Darkness Key 2.

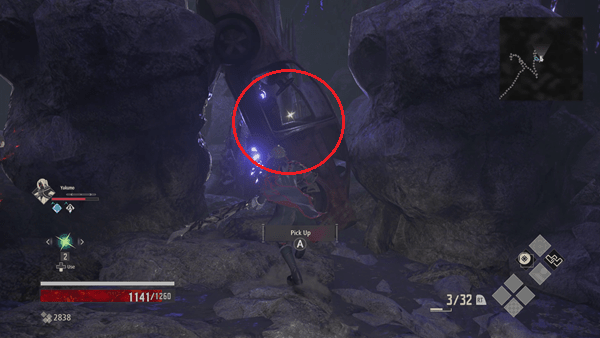
At the middle of the area, you'll find a car in between two boulders, you'll find 1x Classic Camera inside the car.

From here, continue going straight until you reach a rotten mistle. Purify it to map its surrounding area and head towards the arena where you'll face the Snouted Wanderer.
Mini-Boss: Snouted Wanderer

The Snouted Wanderer is an elite version of the Axe-Wielding Executioner Type Lost. This boss will also have 2x Sword-wielding Lost who will fight alongside it. For this battle, focus on getting rid of the 2 enemies before fighting the Snouted Wanderer - this will make it easier for you to focus on the movement and attacks of the mini-boss. If you brought a companion, Yakumo is recommended and he can easily kill the enemy.
Upon successfully killing the enemy, the phrase "Greater Lost Dispersed" will appear on the screen and you'll be rewarded with 301 Haze. - after the battle, retrace your steps and head back to the main Mistle at the entrance of the den and head the opposite direction to find the Den of Darkness Key 1.
Boss Battle: Prisoner of the Abyss

Upon acquiring the keys, head back to the Mistle at the entrance and use the keys to open the locked door. This will open up the arena of the dungeon boss: Prisoner of the Abyss. This boss seems to be a variant of Oliver Collins who is the first boss you encounter in the game.

It has the same moves as Oliver Collins, during its revenant form, you can parry its side-swing attacks which will cause the boss to stagger, giving you the opportunity to land a couple of attacks before it recovers. Just watch out for its overhead attacks and time your parry right to stagger him.

Once you've dealt enough damage and took half of its health, it will enter phase 2 and transform into a mutated lost - make sure to keep your distance since it releases an AOE field around it which knocks you back and deals damage at the same time.

In its second phase, you can parry its side-swing attacks, but once it executes an overhead or triple overhead attack, it is best to dodge and to keep your distance. If you have the Bayonet Rifle equipped, use the weapon and shoot it from a safe distance - upon defeating the boss, you'll be rewarded with 2x Queen Iron, 3x Awake MJ108, and 839 Haze.
Video
[video goes here]
Map
Trivia & Notes:
Trivia and notes go here
 Anonymous
And then theres me who has finished the first depths mission and this has locked me inside and ant use the mistle to teleport. Level 114 right near the end about to fight the last boss and save is fooked. Please fix i want to finish it xD

 Anonymous
Bayonet Devour is not listed under items nor the walk through (listed on the map though).


Is there anyway to get it another way or do I now have to get it on ng+?
0
+10
-1