Area D-18 City of Falling Flame is a Location in Code Vein. The City of Falling Flame is a ruined city that is covered in fire, lava, and Lost that have adapted to the flames.

General Information
- Previous: Ashen Cavern
- Next: Crown of Sand
- Bosses: Successor of the Claw
- Mistles: City of Falling Flame Entrance, Razed Cityscape, Back Alley
Video Walkthrough
Map
NPCs in the area
Bosses
Items
Consumables and Trade Items
- 1x Vivifier
- 1x Stuffed Toy
- 1x Camouflage
- 3x ST Activator
- 2x Step Booster
- 1x Stamp: Icon 05
- 1x Loss Shard (L)
- 2x Gift Accelerator
- 3x Venom Cartridge
- 1x Select Coffee Beans
- 3x Condensed Loss Shard (S)
- 1x Condensed Loss Shard (M)
Equipment & Upgrades
- Queen Steel
- Awake MJ212
- Sunset Halberd
- Queen Titanium
- 1x Blazing Claw
- Scathach Chrome
- 1x Noble Silver +6
- 1x White Vestment +6
- 1x Burned Warhammer +6
- 1x Regen Activation Factor
Key Items
Vestiges
- Scathach Vestige I
- Scathach Vestige II
- Scathach Vestige III
- Scathach Vestige IV
- Scathach Vestige V
- Eos Vestige Part B
- Scathach Vestige Part A
- Scathach Vestige Part B
- Scathach Vestige Part C
- Scathach Vestige Part D
- Scathach Vestige Part E
Enemies
- Mutated Lost
- Volcanic Lost
- Fire Mutated Urchin
- Axe-wielding Lost
- Sword-wielding Lost
- Bayonet-wielding Lost
- Sunset Axe-Wielding Lost
- Blue-flamed Volcanic Lost
- Sword-Wielding Executioner
Full Area D-18 City of Falling Flame Walkthrough
Upon learning about the memories and escape of a celebrated scientific genius turned successor named Juzo Mido - the party continues their journey to track down Juzo where they stumble upon a city engulfed in flames.
A Fallen City
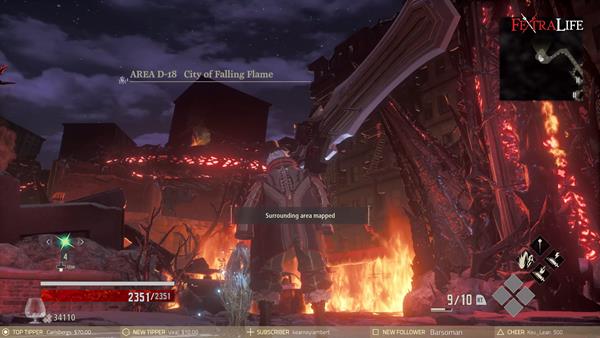
Upon arriving at the city, activate the entrance Mistle to map the surrounding the area. The enemies here are quite unique, the Lost have mutated and adapted to the surroundings, turning them into a flame-type Lost, we'll call them Volcanic Lost for this walkthrough.

Proceed into the city and make your way towards the ladder indicated on your map. You'll encounter your first Volcanic Lost along the way, they'll usually try to ambush you by jumping from the sides of the burning buildings. You'll also notice that there are some parts on the ground that are cracked with lava, try not to stay on it for too long and avoid standing close to the flames since it will cause damage - use a roll or dodge to get off of it quickly.

Upon climbing the ladder, go right and you'll find 2x Step Booster next to the edge.
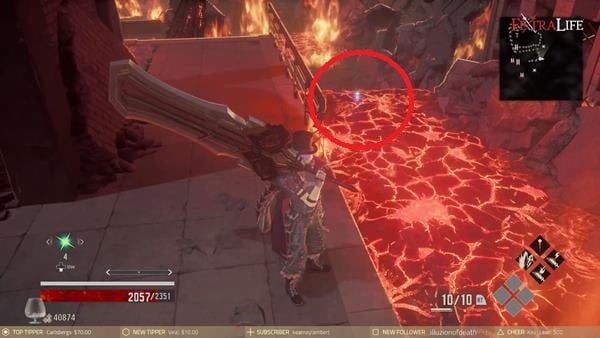
Now, if you proceed further and need a Queen Steel, you can jump down onto the surface filled lava where you can pick up the upgrade material.

After acquiring the item, head back up, climb down the ladder at the other side, then make a right where you'll encounter a Sword-wielding Lost. Proceed further and just around the corner there will be another Sword-wielding Lost waiting to ambush you as well as a Volcanic Lost patrolling the area.
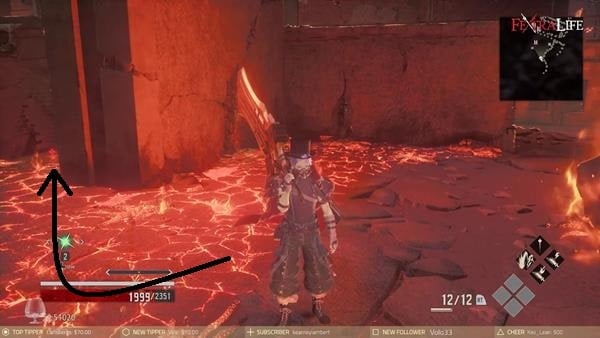
Just from where you were ambushed, if you look behind, there's a corner through the lava where you'll find the Scathach Vestige Part A.
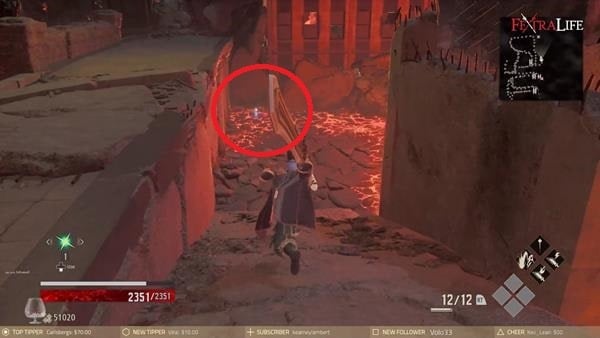
Next, head up the stairs, pick up 2x Gift Accelerator that's near the ladder, kick the ladder down for a shortcut, then head down the path behind you where you'll encounter a 2x Lost Assassin and a Volcanic Lost, there's 1x Condensed Loss Shard (S) that you can pick up as indicated on the image above - after killing the enemies and getting the item, work your way through the lava to reach another ladder.

Climb up the ladder then head to the other side until you reach a dead-end. Although it may seem like a dead-end, the flames ahead will disappear if you walk up to it where you'll find a Sunset Axe-Wielding Lost across the flames. You'll have to kill it for the path ahead to open up - the enemy may drop a Sunset Halberd upon killing it.
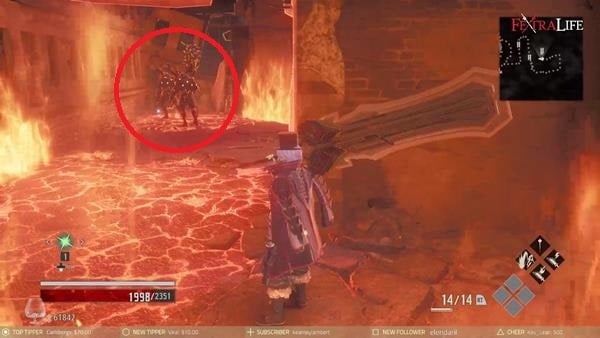
As you go through, take the path that's on your left where you'll find 2x Volcanic Lost guarding an item and a Bayonet-wielding Lost patrolling the section. Kill it then pick up 1x Awake MJ212 that's indicated on the image above - after clearing the section, you'll see a ladder nearby, climb it, and then pick up 1x Condensed Loss Shard (S).
![]()
Now, make a right, then go straight towards the ladder. Kick the ladder down to open up a shortcut and pick up 1x Stamp: Icon 05 next to it - once you're done, take the opposite path where you'll see a Rotten Volcanic Lost covered in blue flames.
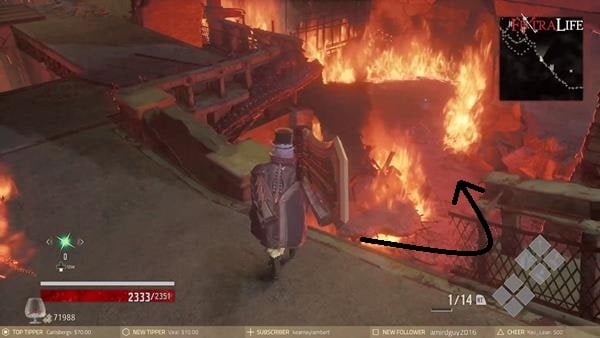
Just about midway, you'll want to drop down to a section that's indicated on the image above. You'll notice that there's an item which is 1x Awake MJ212 - there's also 2x Volcanic Lost around that section.

After that's done, go towards the path that's on the left as indicated on the image above. You'll find 1x Regen Activation Factor.

Next, exit through the nearby path where you'll find yourself near the Rotten Volcanic Lost covered in blue flames. There's 1x Vivifier on the ground and a chest containing 1x Noble Silver +6 - head down the path, kill the enemy and climb up the nearby ladder where you'll find yourself back to where you jumped. Be cautious when fighting this enemy since it's attacks are fast, it can execute a charging attack, and an AoE attack where it sets an area on fire with blue flames - killing it will grant you 10147 Haze, drops a Queen Steel, and maps the surrounding area.
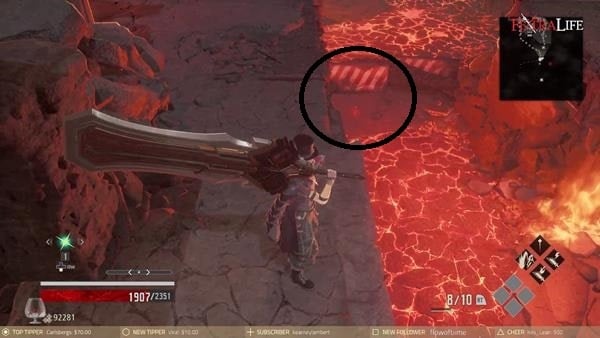
Once you're back at the top, walk up to the corner and jump down to the spot that's indicated on the image above. You'll find the Scathach Vestige Part C - work your way through the lava and the enemies and head towards the path that's on the left, the path on the right will lead you back to the top of the buildings.

There will be a couple more enemies along the path such as Lost Assassin, Volcanic Lost, and a Sunset Axe-Wielding Lost until you reach another rotten mistle as indicated above. Purify it to further map the surrounding area after fighting your way through the enemies.
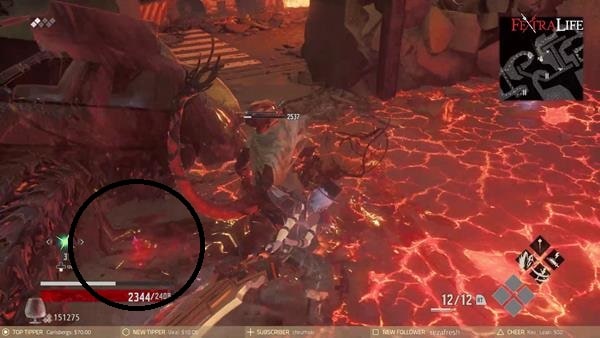
Make sure to also pick up the Scathach Vestige Part D that's right by the corner to your left near the rotten mistle.
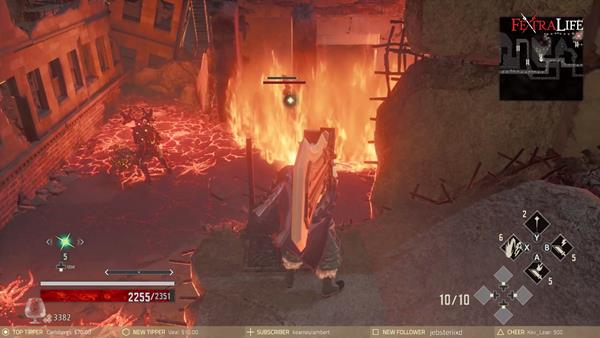
Now, you'll have to retrace your steps and head to where you picked up the 1x Condensed Loss Shard (S) from the section that has 2x Volcanic Lost and a Bayonet-wielding Lost, there's a path at the right side from where the Bayonet-wielding Lost is patrolling which triggers a cutscene once you reach the other end.

Once the cutscene starts, you'll find another vestige, teleported into another memory of Emily, and you'll acquire the Scathach Vestige I at the end.

After the cutscene, continue further where you'll encounter another Blue-flamed Volcanic Lost. Kill it then pick up 1x Camouflage on the ground. The enemy is similar to the Rotten Lost you fought earlier so be cautious for its attacks - after killing it, continue forward until you reach another ladder.

Now, once you've climbed up, you'll find the second Mistle if you go right, but before you do that, first, go left, straight towards the cargo crate, then turn right where you'll encounter a Volcanic Lost guarding a valuable item, 1x Select Coffee Beans.
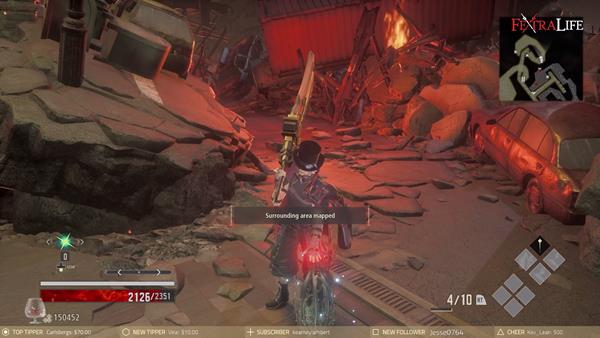
After acquiring the item, head back to the ladder and take the path on the right where you'll find the Razed Cityscape Mistle - make sure you pick up 2x Scathach Chrome where you dropped before or after activating the Mistle.
Razed Cityscape

The next path ahead is pretty much straightforward until you reach another ladder that'll lead you to the other end of the section, so fight your way through a couple of Lost Assassin and a Volcanic Lost until you reach the other side - there's 3x Fireproof Tonic by the lava that you can pick up where you fought the group of Lost Assassin.
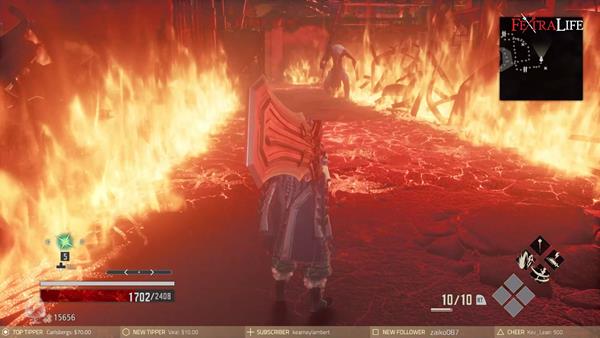
Eventually, you should find yourself at the other end where you'll encounter a Sword-Wielding Executioner patrolling the area. Once you've killed the enemy, there are a few items that you may want to get. After crossing the lava, there's a nearby ladder to your left that you can climb where you'll find 1x Condensed Loss Shard (M) at the top. Then back at the bottom, before heading towards the path to the left that has more lava, make a right and you'll find 1x Awake MJ212 at the top of the scaffolding - after collecting the items, continue through the path covered with lava.
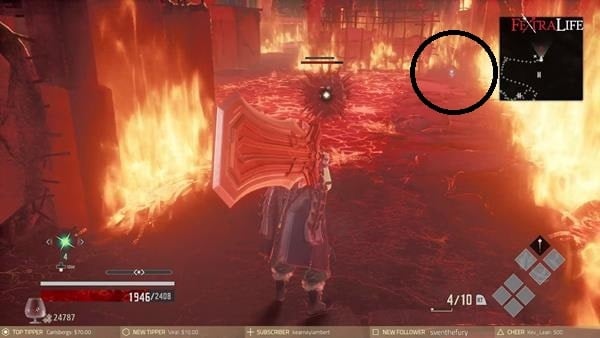
Make your way through the lava until you reach the next section that has a couple of Mutated Urchins - there's another Awake MJ212 that you can pick up as indicated on the image above. As you continue forward, you'll encounter more enemies, a Volcanic Lost, Mutated Lost, Sunset Axe-Wielding Lost, and a Bayonet-wielding Lost.
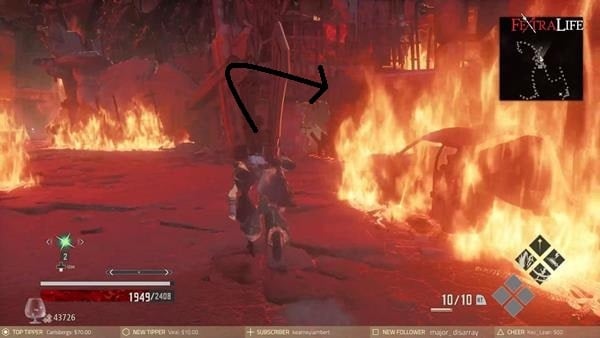
Now, after killing the enemies, you'll want to grab a couple of things before heading to the next section. Take the path covered with lava to the right as shown on the image above. You'll find 1x Queen Titanium around the corner. Then continue towards the path where you'll encounter 2x Lost Assassin and a Mutated Urchin, again, clear the path and you'll find 3x ST Activator and Scathach Vestige Part E near the ladder. Then at the top, you can pick up 1x Loss Shard (L) and a chest containing 1x Burned Warhammer +6 that is guarded by 2x Lost Assassin. After opening the chest, jump down, and go straight where you'll encounter 2x Frenzy Revenant and an Axe-wielding Lost - pick up 3x Venom Cartridge that's on the ground then climb up the nearby short ladder.

Next, make a right from the ladder where you'll find another Queen Titanium and a Lost Knight. Make sure to kill the enemy to obtain 1x Mark of Honor (Mark is part of the Knight's random drop loot pool; not guaranteed) and 7441 Haze - also you'll find the Scathach Vestige Part B just around the corner near where the Lost Knight was standing.

Now, head back and this time, take the lava covered path that's on the right. You'll exit the other side of the section where you'll encounter another Blue-flamed Volcanic Lost and 2x Mutated Urchin.
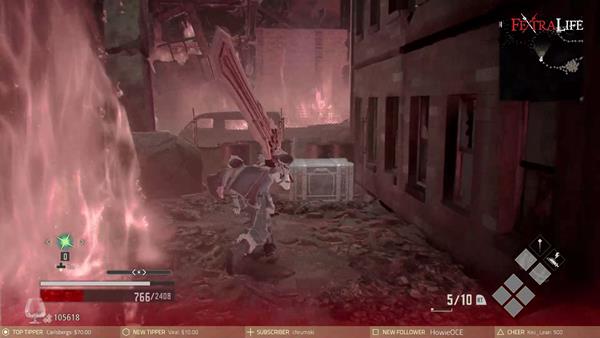
After killing the enemies, you'll find a chest containing 1x White Vestment +6. Next, head up the stairs and kill the enemy along the way, you'll find 1x Stuffed Toy at the right side on the ground.

Now, jump down from the ladder ahead and you'll find the Back Alley Mistle - activate it to rest and to map the surrounding area.
Successor of the Claw

You've now found the Mistle near the crypt of a successor, before heading into the crypt, make sure to talk to Thebe by the entrance to repair and obtain the Scathach Vestige II, Scathach Vestige III, and Scathach Vestige IV. Make sure you have restored all three vestiges from Thebe before facing the boss - if you're done, head towards the crypt and a cutscene will trigger.
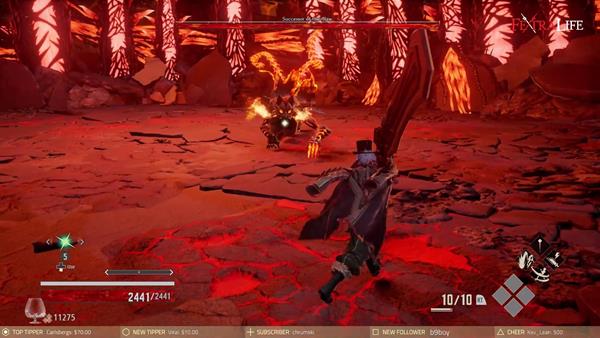
To learn about the strategies on how to defeat this boss, you can click here. Defeating the boss rewards you with 84560 Haze and 1x Blazing Claw.

Another cutscene will then follow and you'll be teleported into Emily's memories - as mentioned make sure you've restored all the vestiges from Thebe in order to restore Emily's memories and to acquire the Scathach Vestige V. Also, before teleporting, you can pick up Eos Vestige Part B from where Thebe was near the entrance of the crypt - this area is now complete, and you'll have to make your way to the next area, Crown of Sand to rescue Eva.
Video
Map
Trivia & Notes:
Trivia and notes go here
 Anonymous
You could use flame protection to reduce the scorched floors

 Anonymous
The Lost Knight near the ladder did not give me a Mark of Honor

 Anonymous
It's actually a regen activation factor not an extension factor for this area.


If you have Yakumo as your partner and you have foulblood barrier, then you can both use foulblood barrier to block 100% damage from one attack. This also blocks all damage from the scorched floors but it does not remove the barrier since it is not an attack so you can walk along them without taking any damage as long as you don't get hit by an enemy or walk into fire.
9
+11
-1