Area J-11 Provisional Government Center is a Location in Code Vein.

General Information
- Previous: Provisional Government Outskirts
- Next: Gaol of the Stagnant Blood
- Bosses: Attendant of the Relics
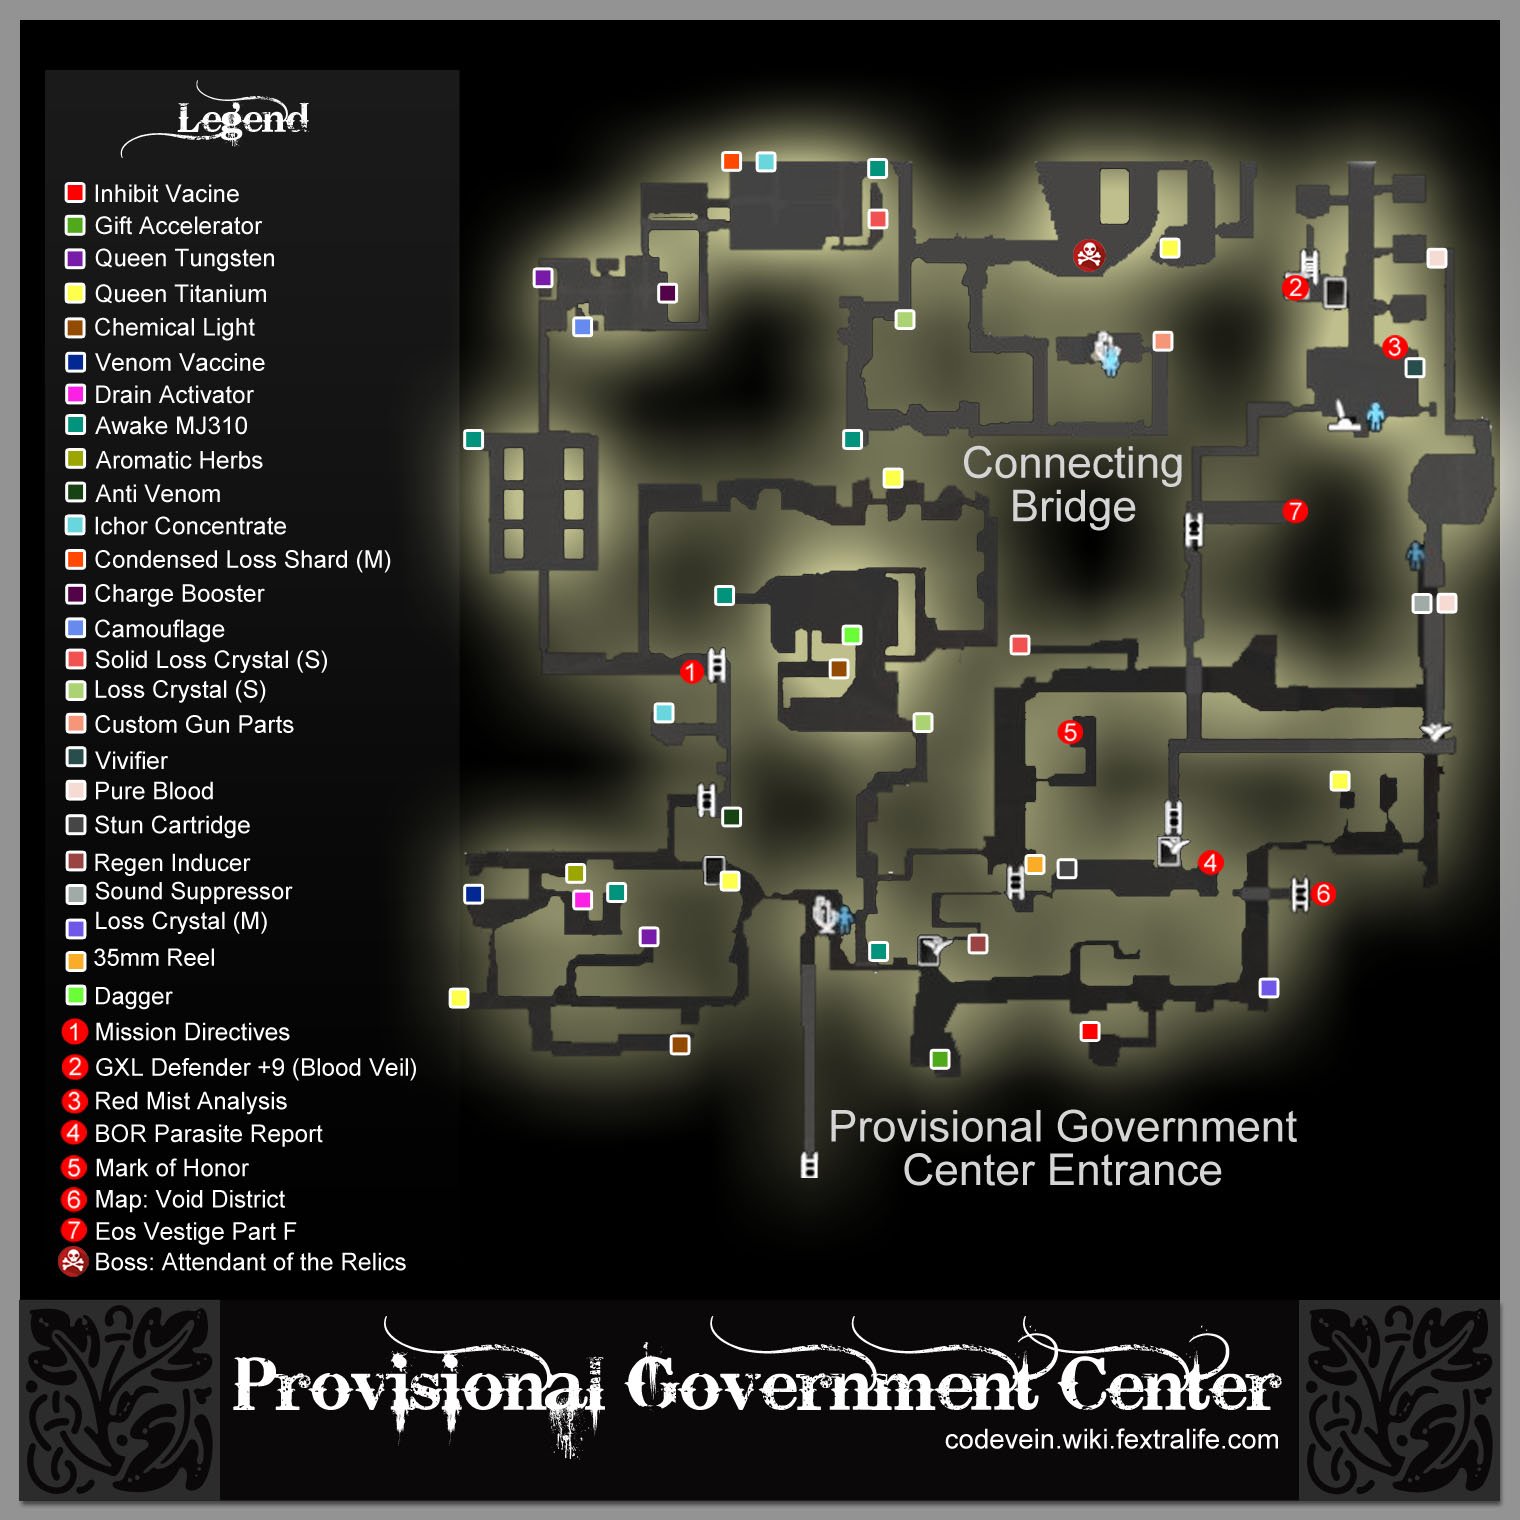
- Mistles: Provisional Government Center Entrance, Connecting Bridge
Video Walkthrough
Map
NPCs in the area
- Dominic
- Attendant of the Relics
Bosses
Items
Consumables and Trade Items
- 1x Vivifier
- 2x Antivenom
- 2x Pure Blood
- 1x 35mm Reel
- 1x Camouflage
- 2x Stun Cartridge
- 1x Regen Inducer
- 6x Chemical Light
- 2x Drain Activator
- 2x Charge Booster
- 1x Aromatic Herbs
- 1x Loss Crystal (S)
- 2x Gift Accelerator
- 1x Loss Crystal (M)
- 2x Ichor Concentrate
- 1x Sound Suppressor
- 1x Solid Loss Crystal (M)
Equipment & Upgrades
Key Items
Vestiges
Enemies
- Lost Knight
- Stone-Crusher
- Mutated Hound
- Elite Executioner
- Axe-wielding Lost
- Sword-wielding Lost
- Bayonet-wielding Lost
- Sunset Axe-Wielding Lost
- Sunset Shield-Wielding Lost
- Argent Wolf Berserker
Full Area J-11 Provisional Government Center Walkthrough
Upon discovering the unfortunate past of Cruz Silva, the party continues further to the government center to stop the monstrous Skull King from bringing chaos.
Provisional Government Center Entrance
To reach this location, head towards the path that was blocked by the Queen's Knight Reborn. Along the way at the bottom of the ladder, you'll find the Map: Zero District which you can give to Davis to access Depths: Zero District.

You'll arrive at the entrance of this location where you'll find the first Mistle next to an Attendant of the Relics - she won't speak if you talk to her, unless you have Io as a companion, so proceed to the section opposite of the NPC once you've activated the Mistle.
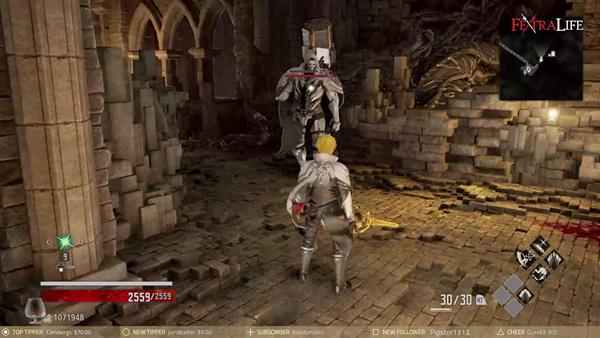
The door to the right is locked and needs to be opened from the other side, so go left, where you'll encounter your first enemy of the location, a Lost Knight wielding a heavy hammer. Kill the enemy to acquire 1x Queen Titanium, then pick up another near the door. As you continue forward, 2 more enemies will attack you which is 2x Sword-wielding Lost.

For the next section, you'll find another Lost Knight patrolling the area, then 2x more Sword-wielding Lost and another Lost Knight at the left side. Make sure to kill the enemies for a chance to drop an upgrade material, especially the Lost Knight wielding a sword and shield to get 1x Queen Tungsten. You'll find another Queen Titanium on the ground at the end, another Queen Tungsten at the section to your right, while the path to the left will have 3x Chemical Light beside the corpse of a Lost Knight.
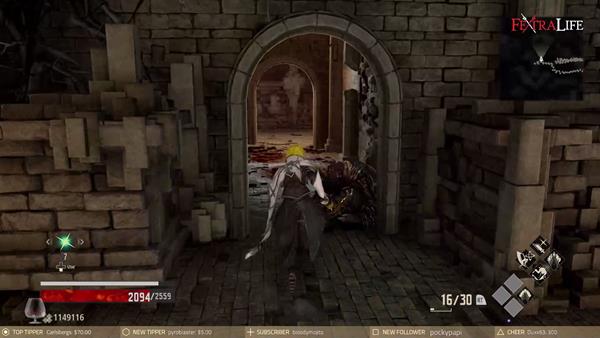
After acquiring the items, go back to where you picked up the Queen Titanium material and go right. The Lost beside the door will stand up when you're near it and the walls ahead as indicated on the image above will set off a trap where spikes will plunge out from the wall.

Once you've passed through, pick up 2x Venom Vaccine on the left side then continue further. The path you'll take next is the one on the left with the stairs while going inside the room to your right, you'll encounter 1x Sword-wielding Lost and 1x Axe-wielding Lost and you'll find 2x Drain Activator and 1x Awake MJ310 beside the sleeping Lost Knight.

For the next path that's on the left, you'll encounter a Mutated Hound, a Lost Knight, and a Sunset Axe-Wielding Lost. You'll find 1x Aromatic Herbs as well, you'll find the locked door ahead which you can open up for a shortcut near the entrance Mistle.
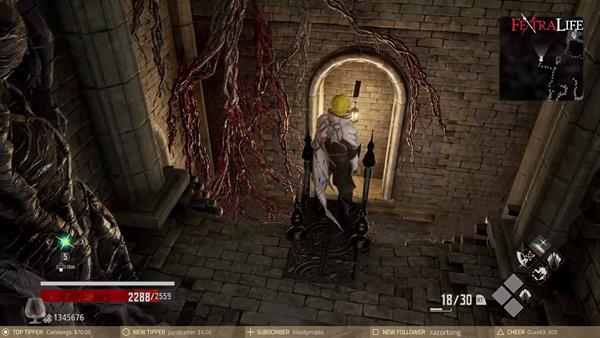
After opening the door, there's another path you can take on the left where you'll find a ladder that you can climb down to. There are a couple of enemies here that are pretending to be dead, most especially the ones that are next to an item, so be cautious. Clear the enemies, and loot the section for 2x Antivenom, 1x Loss Crystal (S), 1x Awake MJ310, and 1x Ichor Concentrate. You'll also find another ladder here which you'll need to kick down, later on, to open up a shortcut - once you're done, head back to the entrance Mistle and take the path near the attendant.
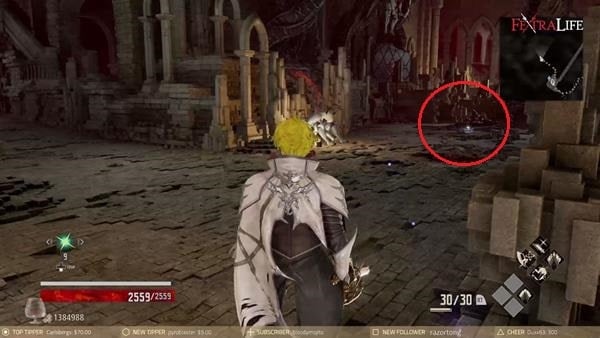
For the next section, there's another locked door to your left that can only be opened from the other side and 2x Gift Accelerator that you can pick up that's on your right. Obtain the item then continue forward where you'll encounter another Lost Knight accompanied by a Sunset Axe-Wielding Lost and a Sunset Bayonet-Wielding Lost - make sure to kill the enemies to acquire another Queen Titanium and Queen Tungsten.
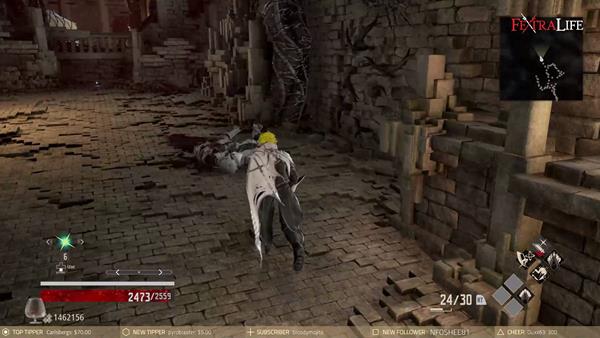
The next path you'll take is straight ahead, but make sure to head up the stairs to your right where you'll find 2x Inhibit Vaccine by the ledge. As you continue forward, try to avoid walking near the corpse of the Lost Knight since another wall trap will trigger if you're near it - there's 1x Loss Crystal (M) that you can pick up as indicated on the image above.

For the next section, the next path you'll take is where the Lost Knight and Mutated Hound is. But before heading straight, the first room to your left, you'll find 1x Queen Titanium behind the breakable boxes, while the room next to it, there's a Stone-Crusher. There isn't anything in the room where the Stone-Crusher is but killing it will give you Haze. Once you're done head towards the section ahead and fight the enemies - there's about another Lost Knight and 2x Sword-wielding Lost as well, so be careful since you're outnumbered.
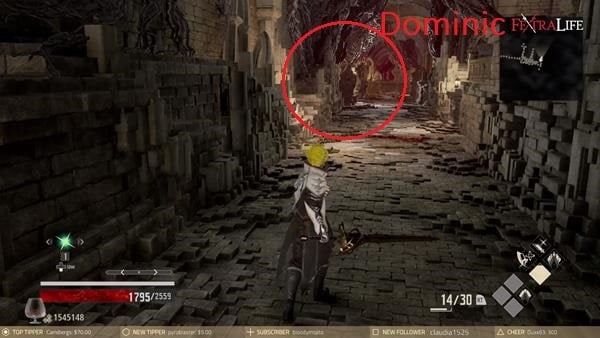
The next path you'll take is on the left side of this path. But before you head down, make sure to pick up 1x Sound Suppressor that's at the end and speak to Dominic - Dominic is a human who will ask you to search and bring him important documents.

After speaking to Dominic, head to the next section as indicated on the image above, you'll notice a Stone-Crusher that is accompanied by a Bayonet-wielding Lost and Sword-wielding Lost. Clear out the section then go right into a narrow path before heading straight, there's 1x Solid Loss Crystal (M) that you can pick up next to a dead Lost Knight - a Lost Knight will ambush you from behind after picking up the item.

Once you've obtained the item, continue forward where you'll encounter two more Lost Knight as indicated above. Kill the enemies, then break the boxes and glass capsule that's on the right to find a secret room. You'll find 1x Mark of Honor beside a dead Lost Knight - a Sunset Axe-Wielding Lost will ambush you once you pick up the item.

Next, break the boxes and glass capsules ahead to find another secret path that has a ladder and 1x 35mm Reel. Head down, take the path that has stairs to your left, pick up 1x Regen Inducer, and purify the Rotten Mistle at the top. There's also a door that can now be unlocked to open up a shortcut near the entrance Mistle.
Now, head back to where the ladder is and head inside the room that has a lot of wooden boxes and glass capsules. The Lost Knight that's next to the boxes on the left is alive, so attack it while it pretends to be dead. You'll also find 2x Stun Cartridge behind the boxes. At the left side, there's a locked door that can only be opened from the other side which is also behind the boxes, then for the capsules and boxes ahead, there's a secret path where you'll find Map: Void District and 1x BOR Parasite Report, just be careful when you break through the boxes since 2x Sunset Axe-Wielding Lost and a Sword-wielding Lost will ambush you from behind - after you've acquired the items, kill the Lost Knight that will try to ambush you once you retrace your steps, then climb back up the ladder that you took earlier.
Once you're back, take the path to your left which is the next section you'll go to. There'a Lost Knight and 1x Sword-wielding Lost and 1x Sunset Axe-Wielding Lost patrolling the area, kill the enemies, pick up 1x Awake MJ310 at the left side then continue forward.
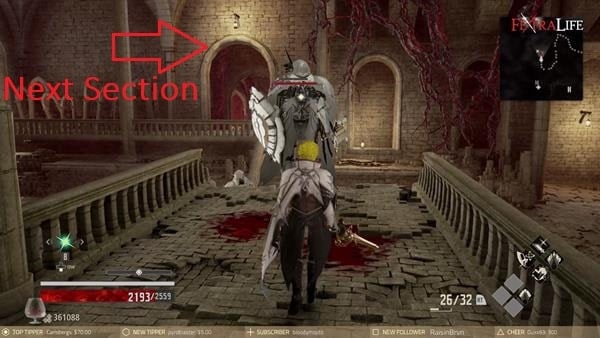
As you reach the next section, there will be multiple enemies patrolling the area. As indicated in the image above, that Elite Lost Knight will call out the enemies within the section once you attack it. So be cautious since you'll be outnumbered once the rest of the enemies come after you. Also, right where that enemy is standing, you can pick up 3x Chemical Light - after clearing the room, make sure to loot the section for another Awake MJ310 before heading inside the next section that's indicated above.
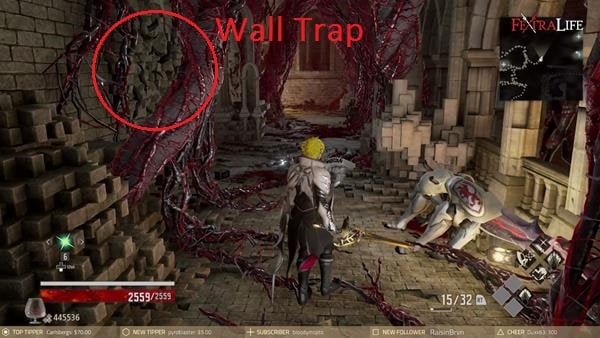
You'll come across a path filled with vines wrapped in blood, as you pass through, make sure to dodge quickly since the traps on the walls will trigger and at the end, there's a Lost Knight standing by the door.
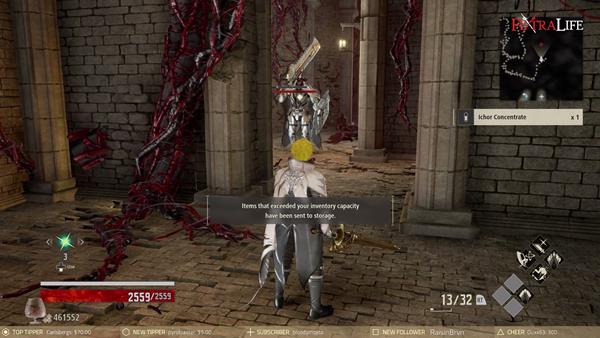
As you head inside the next room, you'll encounter an elite Lost Knight blocking your way, similar to the one you encountered earlier, it will call out reinforcements once you attack it. Once you've killed the enemies, continue forward. But be mindful since there are more wall traps, and a Sunset Axe-Wielding Lost alongside a Lost Knight that is waiting to ambush you at the end.
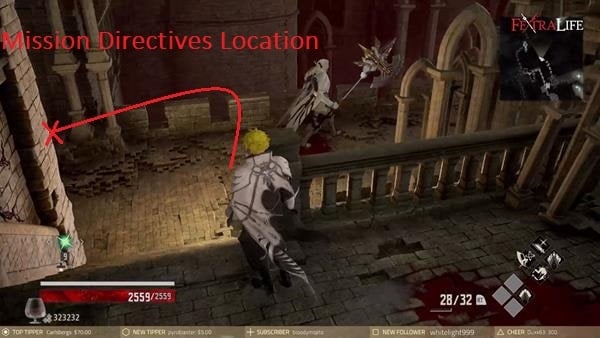
Once you're through and have made it to the next section, go left and break the glass capsules. You'll find a ladder you can kick down to open up a shortcut back to the entrance Mistle as well as 1x Mission Directives - take this opportunity to head back to the Mistle to replenish your health and regenerative items.
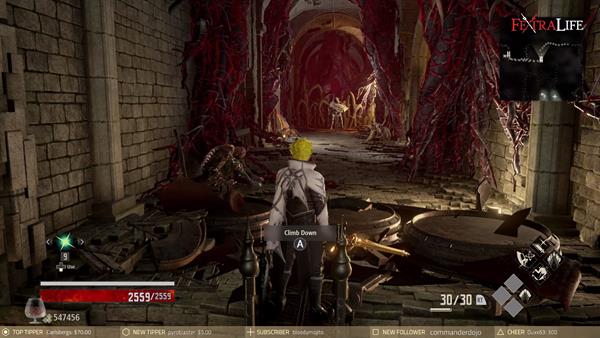
Now, head back to the where you obtained the Mission Directives and head towards another Elite Lost Knight that's blocking the path, two more enemies will appear from behind once you attack the Lost Knight.

Once you've cleared the section, head down the next room that's on your right where you'll encounter another Elite Lost Knight. It may seem that this enemy is alone, but there are a couple of Lost behind the pillars. So to make the fight easier, try to kill the ones that are hiding on each side first then shift your focus onto the Elite Lost Knight.
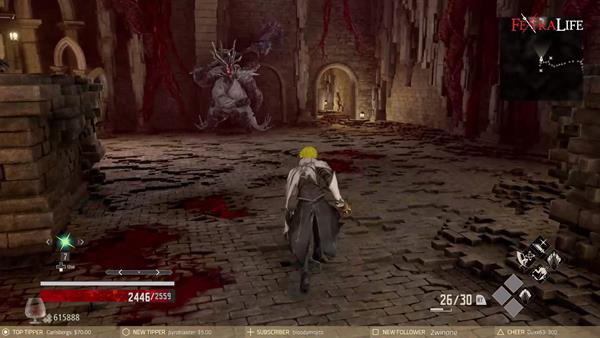
After killing the enemies, head inside the next section where you'll encounter a Stone-Crusher. Kill the enemy, then go straight, take the stairs to reach the 2nd floor of the room and then go left.
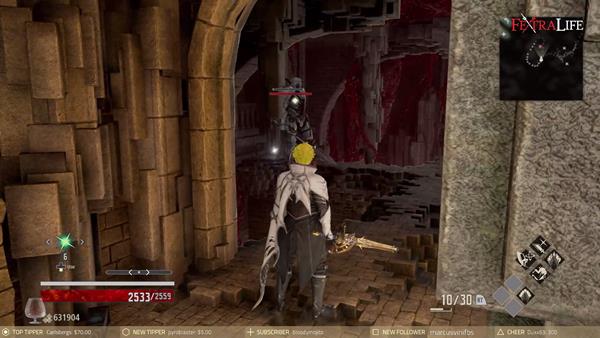
You'll encounter a 2x Lost Knight wielding a bayonet at the top, kill the enemies, pick up the 2x Charge Booster, then try to jump down the platform ahead where you can pick up 1x Queen Tungsten. Just be sure to land exactly where the item is to avoid getting hit by the wall trap - the platform that's on the left side also has 1x Camouflage that you can pick up
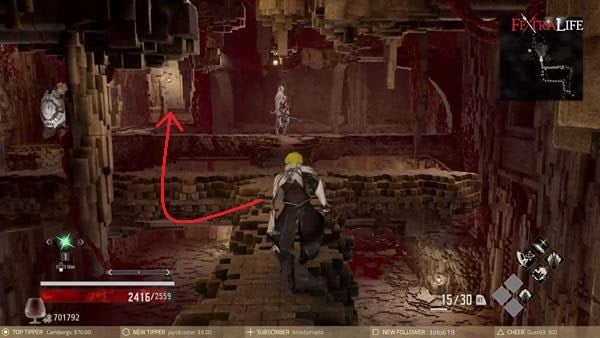
Now for the next path, go back up the 2nd floor and take the exit to your right. There's 2x Lost Knight patrolling the narrow path and 1x Ichor Concentrate that you can pick up. Kill the enemies, obtain the item then continue to the next section then go left where you'll face a boss: Attendant of the Relics. But before that, take the path that's on the right where you'll find the Connecting Bridge Mistle - you'll have to fight your way through an Elite Lost Knight and multiple Lost before reaching the Mistle.
Connecting Bridge

To learn about the strategies on how to defeat this boss, you can click here. Defeating the boss rewards you with 182,00 Haze, 1x Ichor Concentrate, the Eos Vestige Part E, and opens up the next path ahead.

Next, you'll find yourself in a section where another Lost Knight wielding a hammer is patrolling the area. Once you attack it, it will call for reinforcements and 3x Mutated Hound will ambush you.

After you've killed the enemies, before heading towards the lift, check the room that's on your right where you'll find a chest containing 1x GXL Defender +9 -you'll encounter 2 Lost Knight here.

Now, head to where the lift is, and break the glass capsules and boxes that are on both sides of the room. You'll find a path on both sides, 1x Vivifier, and 1x Red Mist Analysis.

Before you speak to the attendant, take the secret path on the right. You'll find the Eos Vestige Part F next to a dead Lost Knight - while the path below will lead you to another rotten mistle and a shortcut that you can open.
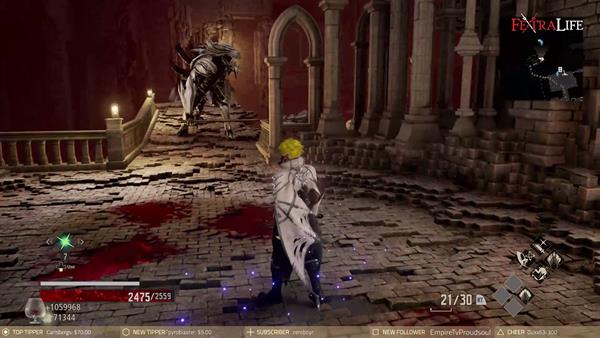
Once you've acquired the vestige, go back to where the attendant is and take the other secret path. You'll find 1x Pure Blood around the corner before heading outside to where an Argent Wolf Berserker is, successfully defeating the enemy rewards you with 1x Regen Activation Factor and 36,400 Haze - you'll also find another Pure Blood at the broken bridge ahead and a rotten mistle - after this, head back to the attendant of the relic that's by the lift and restore the Eos vestiges before riding the lift down, a cutscene will then follow between Io and the attendants.

After the cutscene, open the large steel door ahead and you'll find yourself in the last location of the game, Gaol of the Stagnant Blood.
Video
Map
Trivia & Notes:
Trivia and notes go here
 Anonymous
I have some notice.
- Partner with IO and the attendanta at 2 mistle will talk to us and disperse. The dialouge is not important.
- At the elevator go the right and active ladder.
- I think, if you doesn't defeat argent wolf the last vestige core won't appear. Because, I went to the right first and not found the last core.
 Anonymous
Hands down the worst level design I've ever played. I love exploring but when it gets to the point where I'm running in circles for 2 hours makes playing the game a chore. I want to quit but im too close to the end. **** code vein.

 Anonymous
That Elite Executioner is the hardest enemy in the game. It doesn't even have its own page on this wiki? Lol **** it I don't want the regeneration factor that badly.

 Anonymous
Hate this area. Particularly those stupid tentacles that come out of the walls that STILL hit you 99% of the time, even when you dodge! Trash.

 Anonymous
Stupid series of pits and enemies which send you flying 8 feet

 Anonymous
Welp just got done with this area went to restore the eos vestiges and then crash losing over an hour of progress

 Anonymous
The attendants talked to when when I took Io as a partner with me. Not sure if this is tied to restoring any number of her vestiges.

 Anonymous
The attendant at the start can talk to you, after which she disperses into ash. Believe it is tied to Io having a different dialogue after the Queen's Knight Reborn fight, where she talks about how the attendants were created from Cruz's vestige. On my first playthrough they wouldn't talk to me either, but on second they did, so something must have been different. Maybe restoring Io's first 4 vestiges prior to the fight triggered it.


Gank Squad Center, more like.
5
+11
-1