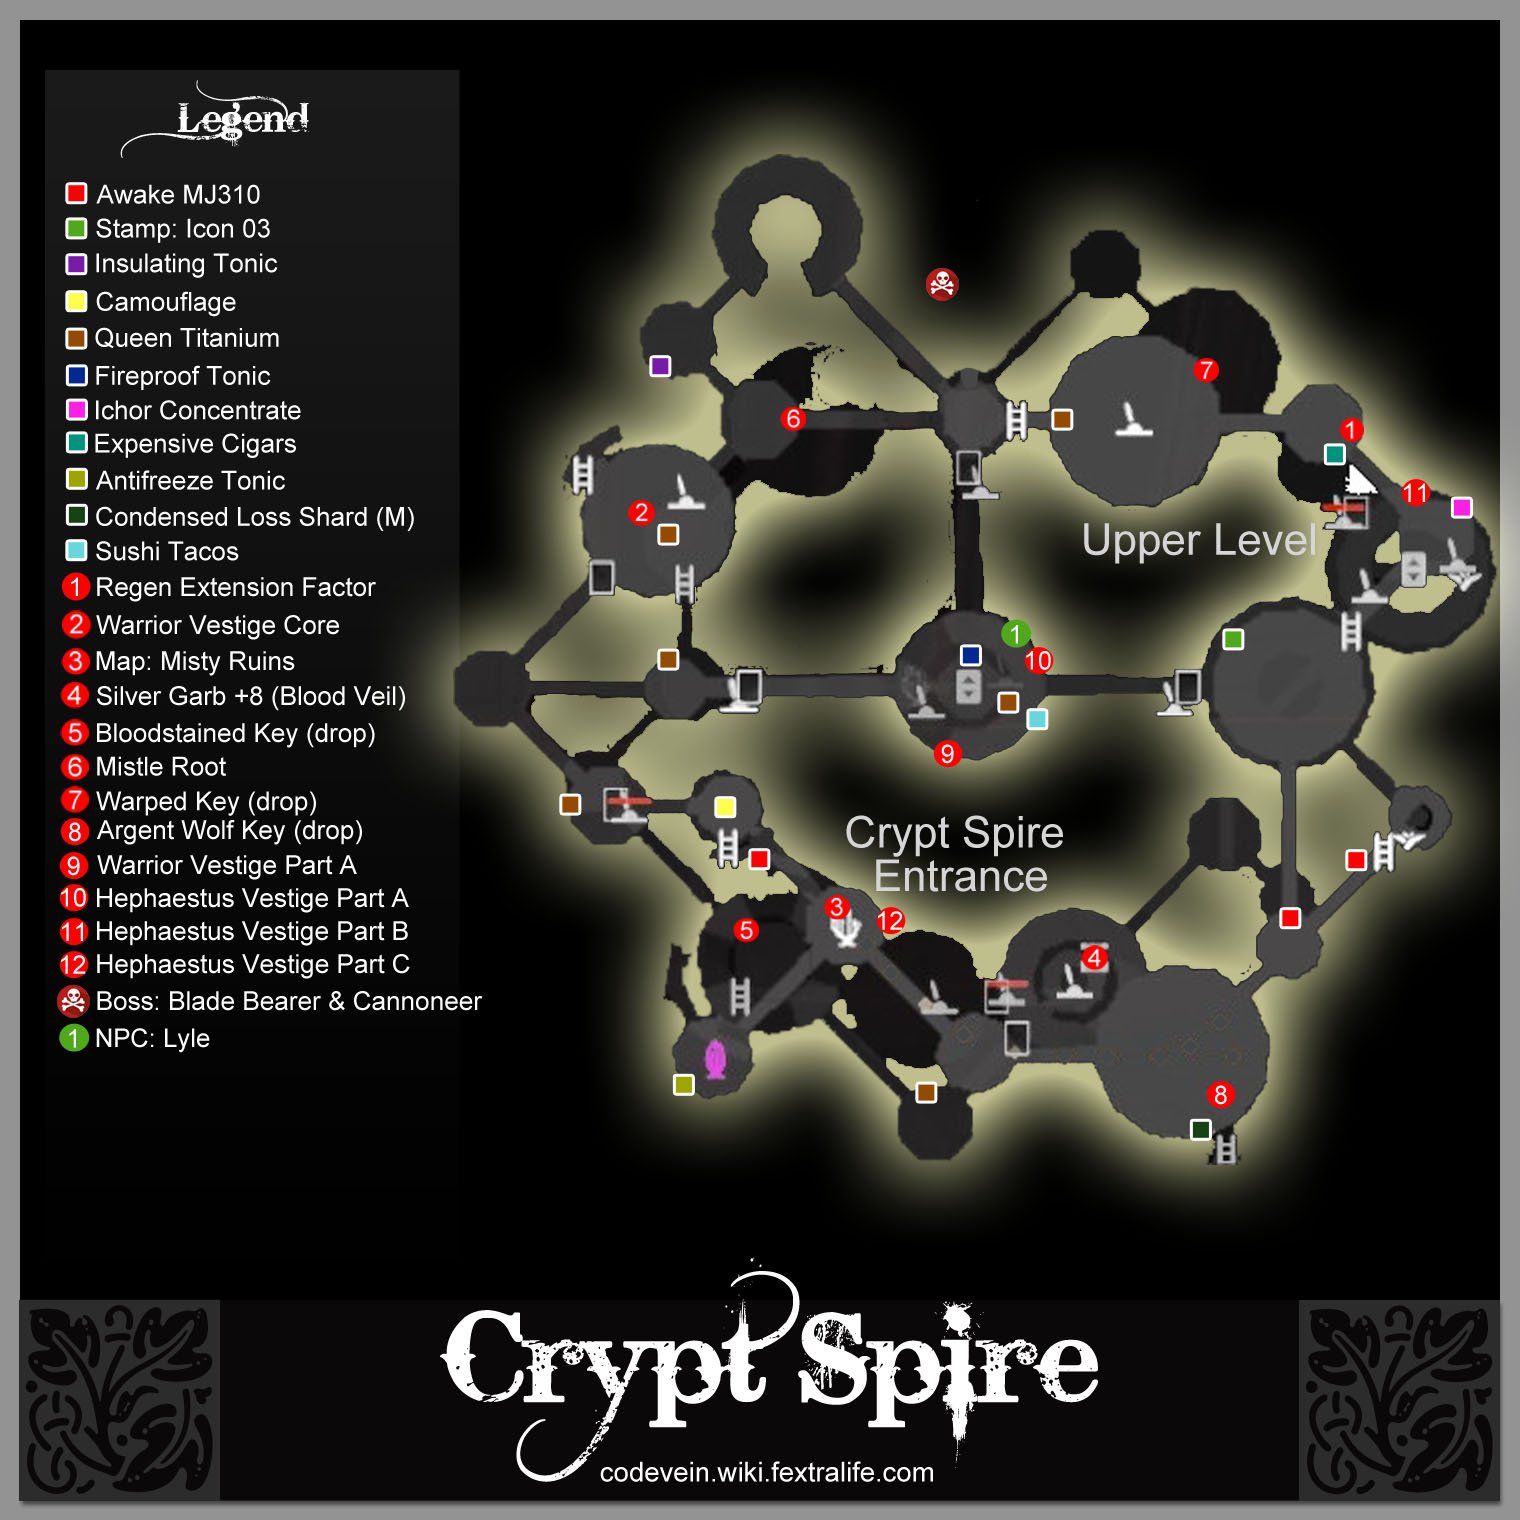
Area M-11 Crypt Spire is a Location in Code Vein. Area M-11 Crypt Spire is a chamber where the well-known researcher Juzo Mido executes his research and experiments. Many have fallen victim to his failed experiments and were left in the crypt to mutate into hostile beings.

General Information
- Previous: Crown of Sand
- Next: Provisional Government Outskirts
- Bosses: Blade Bearer, Cannoneer, Juzo Mido
- Mistles: Crypt Spire Entrance, Upper Level
Video Walkthrough
Map
NPCs in the area
Bosses
Items
Consumables and Trade Items
- Pure Blood
- 1x Mistle Root
- 5x Camouflage
- 3x Fireproof Tonic
- 5x Insulating Tonic
- 1x Expensive Cigars
- 1x Ichor Concentrate
- 2x Condensed Loss Shard (M)
Equipment & Upgrades
- 1x Iceblood
- Black Saber
- Awake MJ310
- Queen Titanium
- 1x Silver Garb +8
- 1x Judgement Edge
- 1x Burning Disaster
- 1x Regen Extension Factor
Key Items
Vestiges
- Warrior Vestige Core
- Warrior Vestige Part A
- Hephaestus Vestige Part A
- Hephaestus Vestige Part B
- Hephaestus Vestige Part C
Enemies
- Mutated Lost
- Lost Assassin
- Stone-Crusher
- Lost Knight
- Bayonet-wielding Knight Lost
- Lost Dark Knight
- Axe-wielding Lost
- Sword-wielding Lost
- Bayonet-wielding Lost
- Sunset Axe-Wielding Lost
- Sunset Shield-Wielding Lost
Full Area M-11 Crypt Spire Walkthrough
Upon saving Eva from Juzo Mido, Jack and Eva join the party to stop Juzo's plans
Crypt Spire Entrance
After the battle with the Successor of the Throat and restoring Eva's memories. Jack, alongside Eva, join the party and opens up a Mistle leading to the crypt spire. To travel to the said location, use the purple Mistle that's located at the crypt of the Successor of the Throat in Crown of Sands.

Upon arriving, you'll find an Antifreeze Tonic item directly behind the purple teleport mistle, & the Crypt Spire Entrance Mistle ahead that you can activate - activate it to map the surrounding the area and for resting.

Proceed further once you've activated the Mistle where you'll encounter a Lost Knight. Kill the enemy then pick up 1x Condensed Loss Shard (M) that's on the side and a Queen Titanium or Black Saber that may be dropped by the enemy - once that's done, continue further and before heading up the stairs, pick up 1x Awake MJ310 that's at the end of the other path.

Next, head up the stairs where you'll encounter a Stone-Crusher, 1x Sword-wielding Lost, and an Axe-wielding Lost - clear out the section, pick up 1x Stamp: Icon 03 next to the corpse of a Lost then continue to the next section.
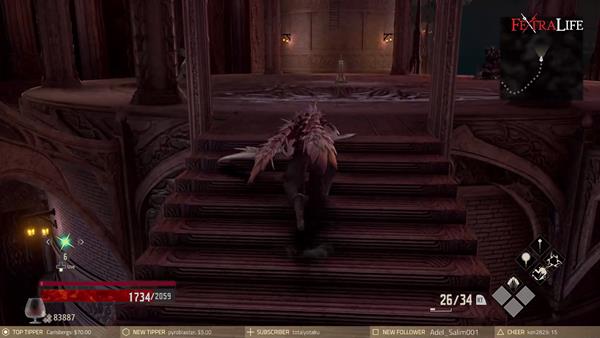
For the next section, you'll find a lever in the middle of the platform with 2x Stone-Crusher sitting on each side - once you've killed the enemies, pull the lever to lower the ladder ahead.
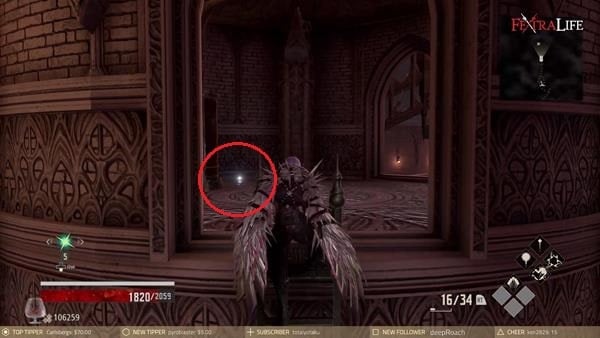
Upon reaching the top, you'll find 1x Condensed Loss Shard (M) on the ground next to the glass capsules. Continue further after picking up the item.

As you continue, you'll come across a section that has a narrow path that goes around and a couple of enemies patrolling the area. You'll have to fight your way through a Sunset Axe-Wielding Lost, a Stone-Crusher, and a Lost Knight - kill the enemies and proceed further where you'll find 5x Insulating Tonic on the other end of the section.
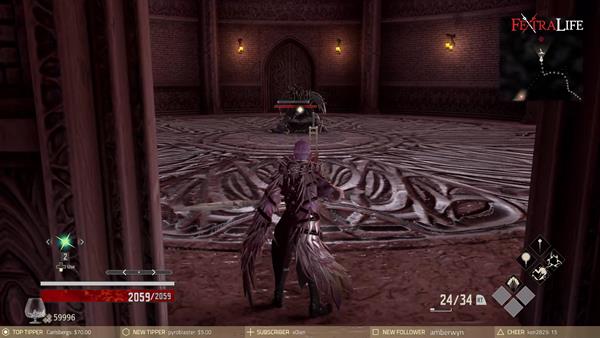
Now, continue forward then go right. You'll find another section that has a lever in the middle of the room and a Stone-Crusher guarding it. Once you engage in battle, it'll call out reinforcements and 4x Lost Assassin will ambush you.
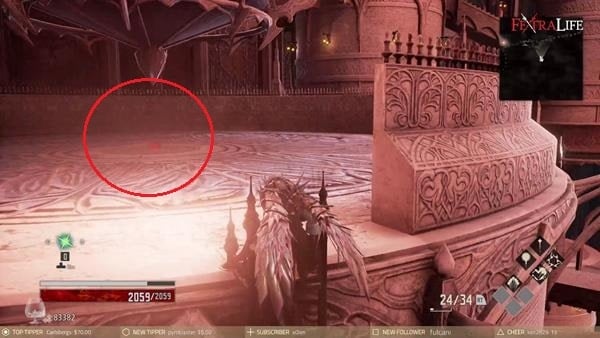
Pull the lever to open the door ahead of you, then exit through the right side where you'll find a ladder. Head to the top and you'll find a vestige, the Warrior Vestige Core which allows you to use the Warrior Blood Code.
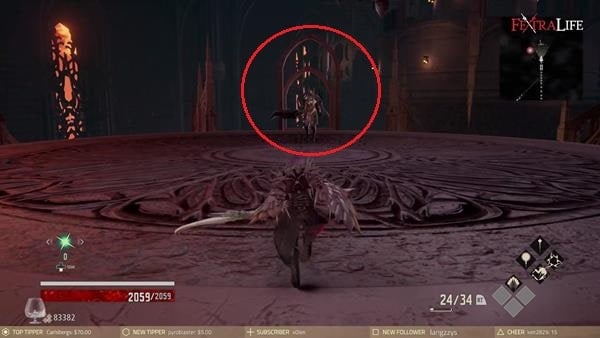
After acquiring the vestige, head back down, go back to where you came from and make your way towards the Lost Knight as indicated on the image above. There's two of them here you'll encounter, so be cautious if you're going in alone - once you've killed the enemies, continue going straight and you'll find 1x Regen Extension Factor by the glowing vines.
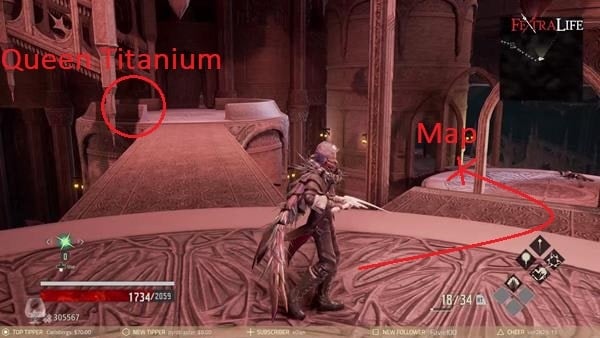
Next, head back to the section where you fought the Lost Assassins and the Stone Crusher and take the path you've just unlocked. As indicated in the image above, take the path on the right side and go down the stairs. You'll encounter another Lost Knight and you'll also find the Map: Misty Ruins at the end of the path - make sure that you also climb the ladder that's nearby where you can find 5x Camouflage at the top.
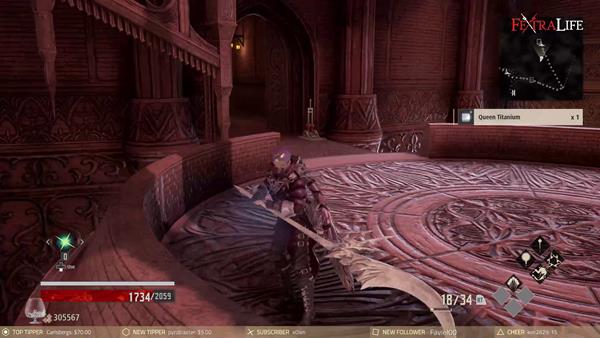
Now, go back and head towards the locked door. Pick up 1x Queen Titanium near the lever, then pull the mechanism to open the door ahead - continue further then pull the next lever to open the door ahead. Before leaving through the unlocked door, if you backtrack to the room you will encounter Lyle a wounded NPC leaning against the wall & talking to him will initiate a Trial of the Blood & some dialogue about Mido. You can initiate this encounter at any point, so make sure your healthy before talking to him. Once you've dealt with the trial (or not), head on through the unlocked door.

Head inside the unlocked path. First, take the path on the left, down the stairs & purify a Rotten Mistle to map the area. Kick the ladder beside to open the shortcut to the starting area, then go back upstairs to move forward. Take the path up the stairs on the left, & at the first landing, you will find an Awake MJ310. In the room ahead, you'll encounter another section that is being patrolled by 2x Stone-Crusher. Kill the enemies, and go around the room. You'll find a lever in the middle of the room and a chest containing 1x Silver Garb +8 - after you've acquired the blood veil, pull the lever to open the nearby door.

Go through the unlocked door and make your way up the next section where you'll encounter another Lost Dark Knight in a room that has a few intersections and 1x Sword-wielding Lost, 1x Axe-wielding Lost, 2x Bayonet-wielding Lost, and a Lost Dark Knight - kill the enemies, especially the Lost Dark Knight to obtain the Bloodstained Key that opens up the door ahead.

Upon entering the next section, you'll find a lever to your right which opens the locked door next to it and a ladder to your left. Go right and unlock the door first where you'll find a room filled with glass capsules and boxes. Destroy the capsules first to find 3x Fireproof Tonic, then at the right side next to the boxes and capsules you'll find the Warrior Vestige Part A behind the boxes- the opposite path is where you'll have to go next, but before that, go back outside and climb up the ladder. Upon heading to the top, you'll find a room with a bloodspring that's being guarded by a Sword-wielding Lost and 4x Lost Assassin - once you attack the Sword-wielding Lost, it'll call out the Lost Assassins to attack you. After killing the enemies, walk up the bloodspring and you'll find 1x Mistle Root.
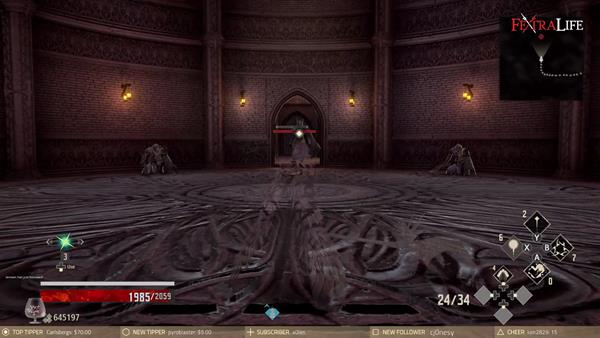
Now, go back to where you found the Warrior Vestige Part A and head into the next section where you'll encounter a group of Lost Dark Knight. Kill all the enemies, especially the one standing in the middle to acquire the Warped Key - once you've cleared the room, head towards the locked door ahead, pick up 1x Expensive Cigars near the lever, and use the Warped Key to activate the lever which opens the door next to it.
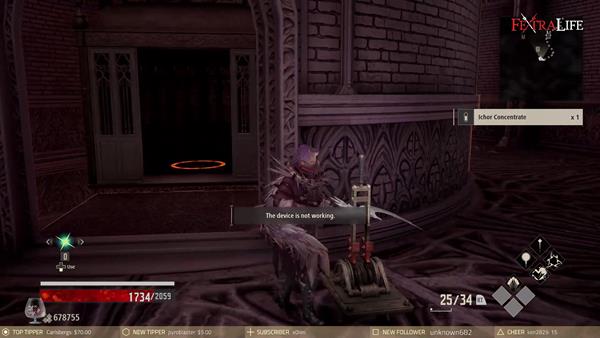
Next head inside, go around from the left where you'll find 1x Ichor Concentrate and ride the lift down.

Once you've descended, go around from the left to find a ladder which you can kick down to open up a shortcut and also find a Rotten Mistle.
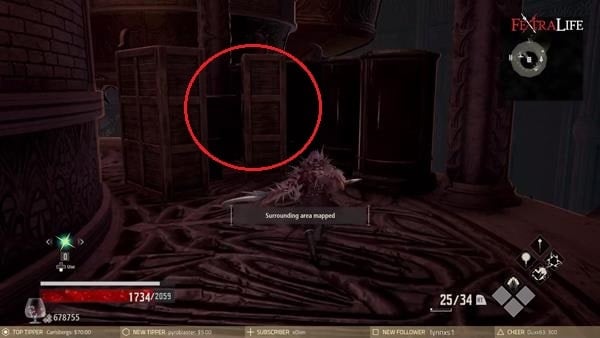
After purifying the mistle, continue going around where you'll find wooden boxes and glass capsules - break it to find another vestige, Hephaestus Vestige Part B.
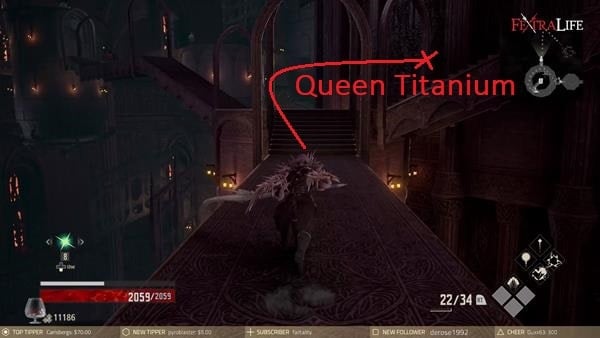
Now, ride the elevator back up and head towards the other exit. As indicated in the image above, the path that you need to take is on the left, but if you go right, you'll fight a Lost Dark Knight and you'll also find 1x Queen Titanium at the end. So once you've collected the material, head down the opposite path. For the opposite path, there's a couple of enemies blocking your way, a Sunset Shield-Wielding Lost and 2x Bayonet-wielding Lost. Try to clear the path first, then inside the room, there's a door to your left and a ladder next to it.
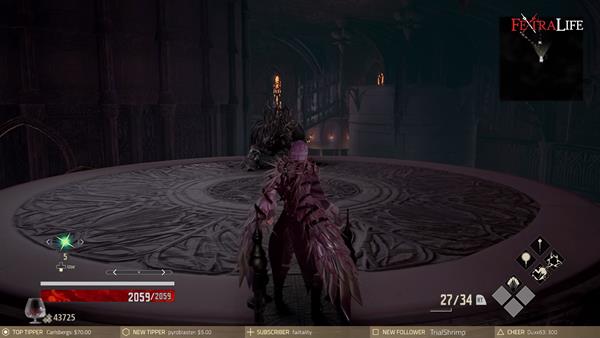
Climb up and you'll find a Stone-Crusher sitting at the edge, kill it to obtain the Argent Wolf Key - simply head back down and head towards the locked door and use the key to open it.

You'll come across another room that has a lever in the middle of the room, a vestige to your right which is Hephaestus Vestige Part C and 1x Queen Titanium to your left. Once you approach the item or try to pull the lever, 2x Dark Lost Knight and 1x Lost Assassin will awaken and attack you - once you've killed the enemies, pull the lever for the ladder ahead to drop then climb up to reach the next section.

The path ahead is straightforward, so first, get rid of the Sword-wielding Lost and open the door using the lever where you'll find another room with a lift.

Before you get on the lift, go to the back of the room where you'll find wooden boxes and glass capsules. Break it and you'll find 1x Queen Titanium and Hephaestus Vestige Part A - once you've obtained the items, ride the elevator up.
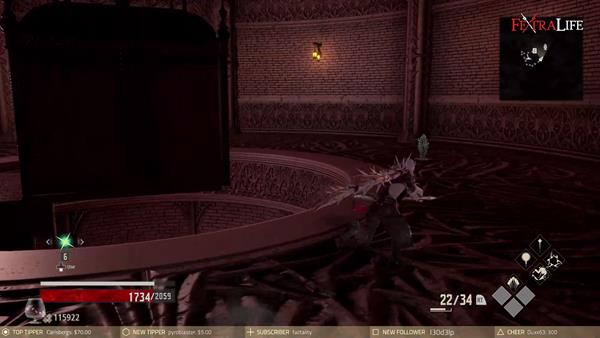
Upon arriving, you'll find the Upper Level Mistle behind the elevator, activate it to rest and to map the surrounding area - if you're done with your preparations, head towards the next section towards a boss arena.
Blade Bearer and Cannoneer
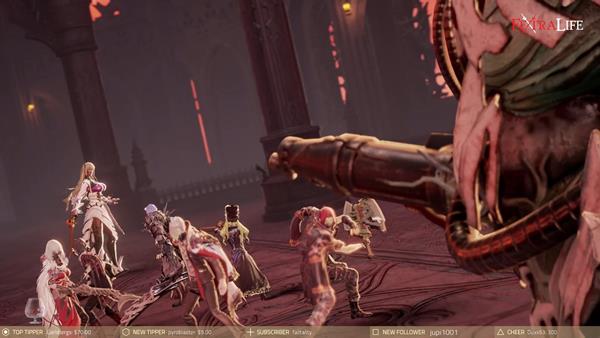
Once you reach the arena, a cutscene will trigger before facing the Blade Bearer and Cannoneer.
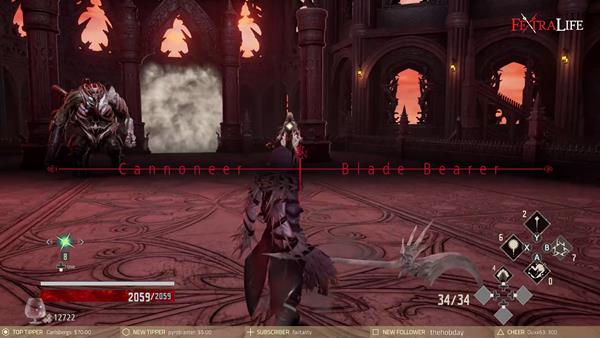
To learn about the strategies on how to defeat these bosses, you can click on their names that are linked above. Defeating the boss rewards you with a total of 127,120 Haze (63,560 Haze for each), 1x Iceblood, and 1x Burning Disaster - after the battle, make sure to rest at the Mistle first before proceeding further to fight the next boss.
Juzo Mido
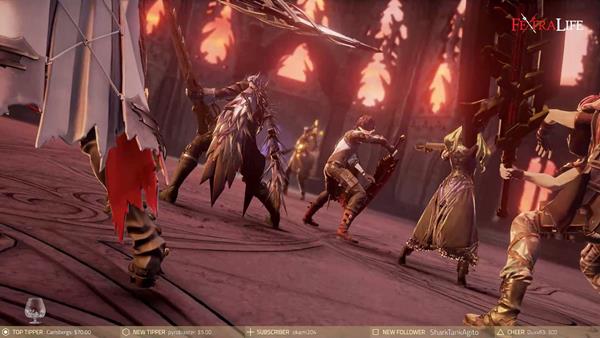
Once you've rested and made further preparations, continue towards Juzo Mido's location and another cutscene will trigger before the battle against Juzo Mido starts.

To learn about the strategies on how to defeat this boss, you can click here. Defeating the boss rewards you with 127,120 Haze and 1x Judgement Edge - another cutscene will trigger once you've defeated the boss.

After the cutscene, head towards the next path and to the top of the stairs until you reach a ladder that will take you to the next area, Provisional Government Outskirts.
Video
Map
Trivia & Notes:
Trivia and notes go here
 Anonymous
 Anonymous
After over 10 times death with mido
1. he always have 3 times swing
first 2 is normal swing you can roll side but the last is side swap or full front chop you have to use phantom dash to his back or back dash 2 time to dodge it.
2. If you far from him too much he will always use the homing attack or the balck orb that is diffcult to doge or guard (if you time is perfect you can dodge, but it hard
when you have to near mido to avoid red homing attack)
3. Yakumo or jack is the best for partner because their attack style.
 Anonymous
Just as a quick note. If you don't have the DLC, and you're like me and use "Prize Perception" on every single map, it will tell you that there's one item left here. It's behind the Mido boss fight, downstairs behind the door that you can't open without the DLC (there is also a pure blood in front of the same door), I have no idea what this item is, but it's extremely frustrating that it appears when we can't even open the door. This drove me mad for hours. Hopefully you won't suffer the same fate.

 Anonymous
Anyone else have a teally slow elevator that seems to just decide to not work sometimes? Only in this area

 Anonymous
I am missing a mistle in this area. Still with this guide at 75% - anyone knows where there is one more? Have entrance, upper and the small one mentioned in this guide but there must be one more

 Anonymous
The guide is missing one pure blood after you kill Mido. The door behind him, instead of going upstairs for the next map, you can go downstairs first and find the pure blood.

 Anonymous
There's a quest in this area and I can't get to the person. I'm guessing this is a glitch.


Where are all the mistles in this area? So far there's been exactly one mistle at the literal entrance and no more. Does it expect me to walk for nearly fifteen straight minutes each and every time I want to go to another area?
0
+10
-1