Cathedral of the Sacred Blood is a Location in Code Vein. The Cathedral is structured like a maze filled with towers and secret paths where Lost and Warriors roam around.

General Information
- Previous: Howling Pit
- Next: Memories of Player
- Bosses: Argent Wolf Berserker
- Mistles: Cathedral of the Sacred Blood Entrance, Artificial Tower, Outlook Tower, Gated Room
Video Walkthrough
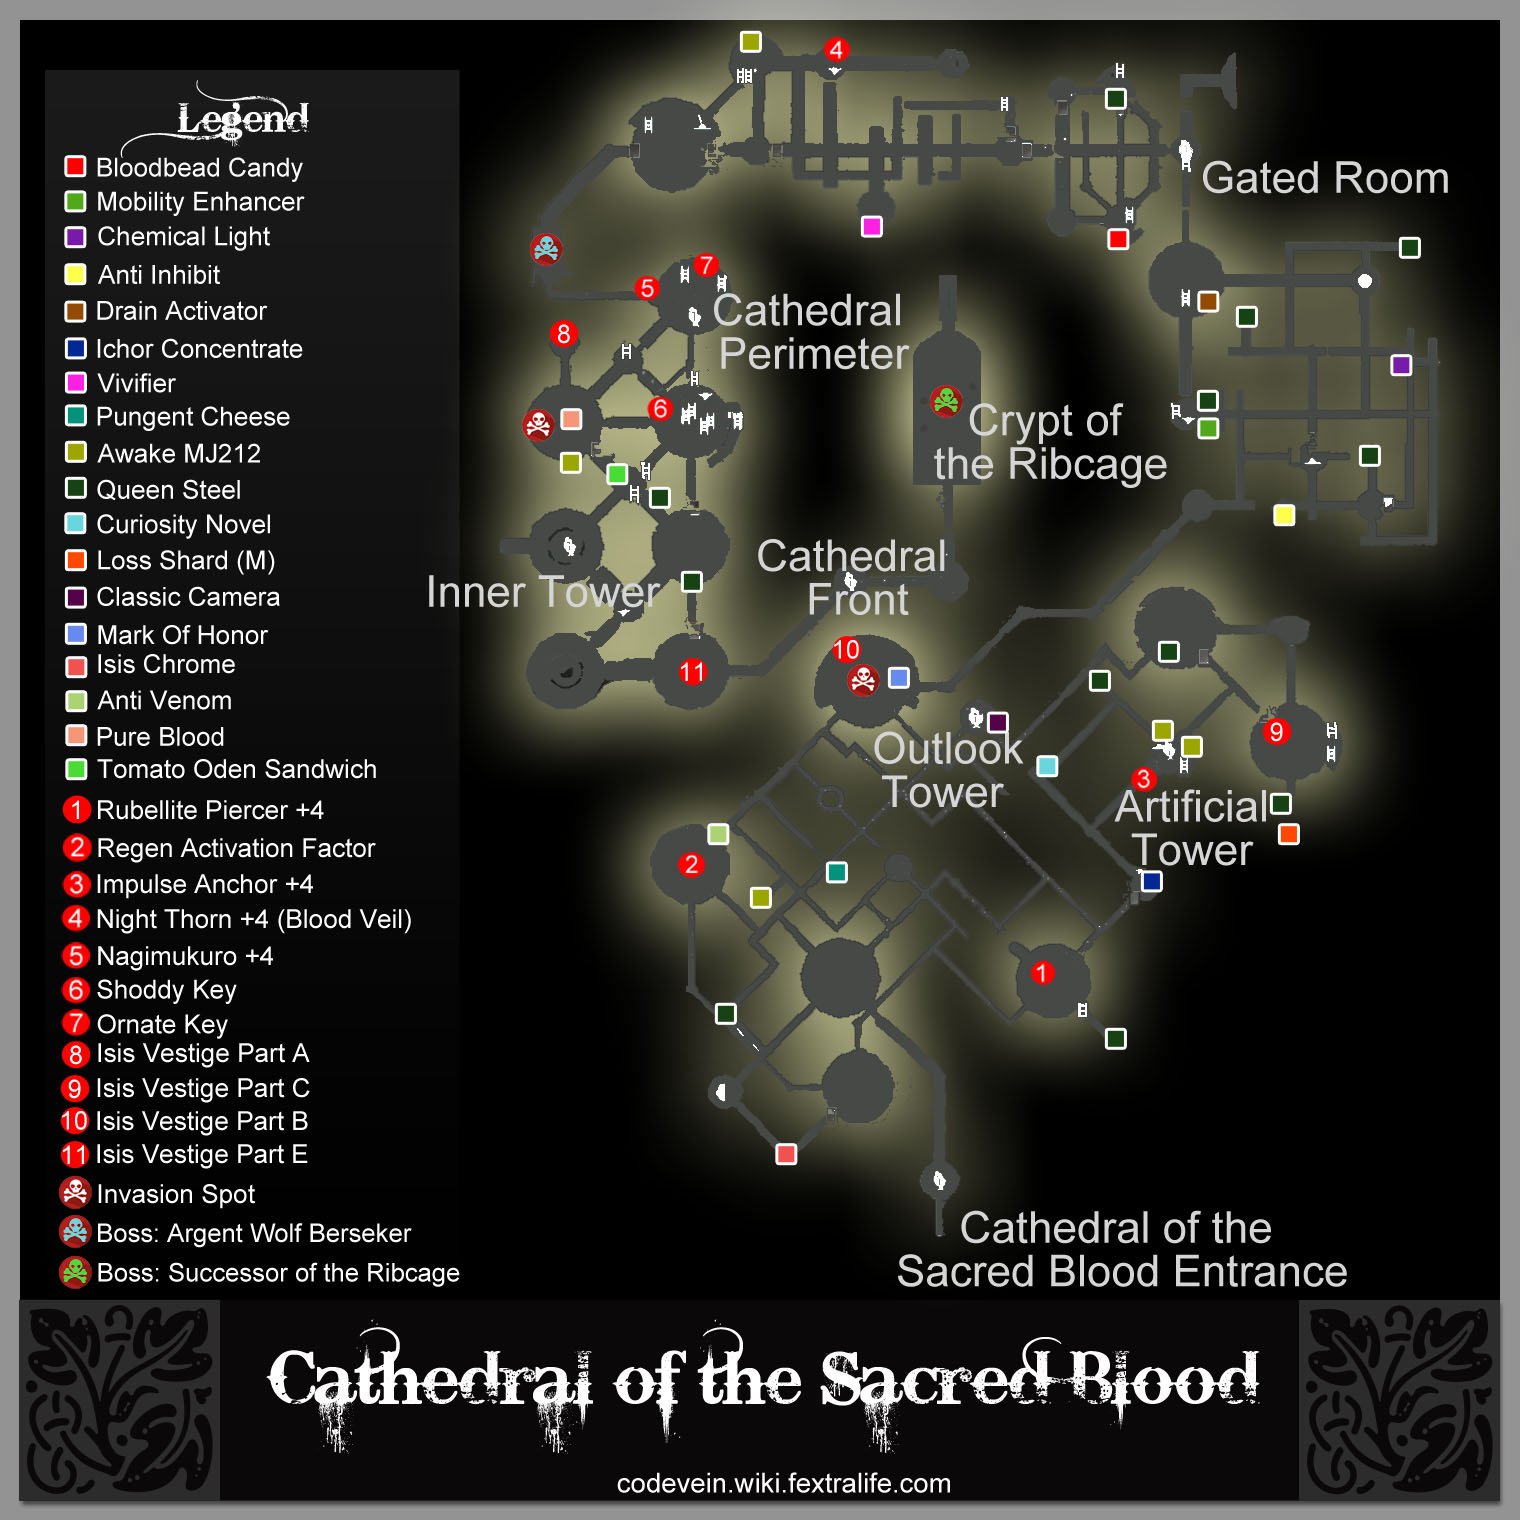
Map
NPCs in the area
- n/a
Bosses
Items
Consumables and Trade Items
- Vivifier
- 1x Anti-Inhibit
- Loss Shard (M)
- Loss Crystal (S)
- Ichor Concentrate
- 1x Drain Activator
- 1x Classic Camera
- 1x Curious Novelty
- 5x Plasma Cartridge
- 1x Mobility Enhancer
Equipment & Upgrades
- Isis Chrome
- Queen Steel
- Awake MJ212
- 1x Obliterator Axe
- 1x Impulse Anchor +4
- 1x Rubellite Piercer +4
- 1x Regen Activation Factor
Key Items
Vestiges
Enemies
- Assassin Lost
- Stone-Crusher
- Axe-wielding Lost
- Armored Female Lost
- Sword-wielding Lost
- Female Spiked Lost
Full Cathedral of the Sacred Blood Walkthrough
After taking Mia back to the Home Base, the party continues to search for the source for blood beads by following the bloodveins from a bloodspring.
Home Base
After defeating the Invading Executioner back at the Howling Pit, the team takes Mia back to the Home Base. She then joins the party and can be chosen as your companion that you can bring during your exploration. Before continuing your journey, make sure to talk to Mia in order to acquire the Artemis blood code.
Locating the Cathedral
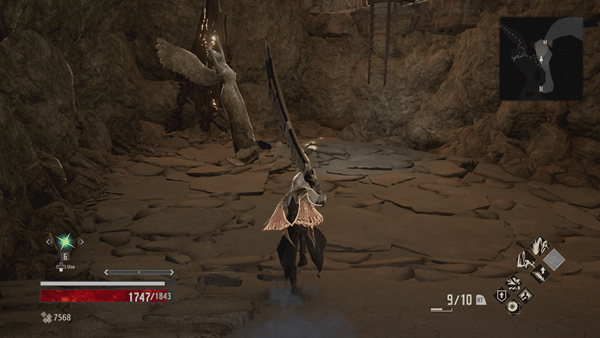
In order to find the cathedral, teleport to the Park Ruins mistle at the Ruined City Center. You'll notice that there is a ladder that you can climb down, simply head down and walk towards the statue of an angel that's shown above - interact with it and the ladder next to it will descend.
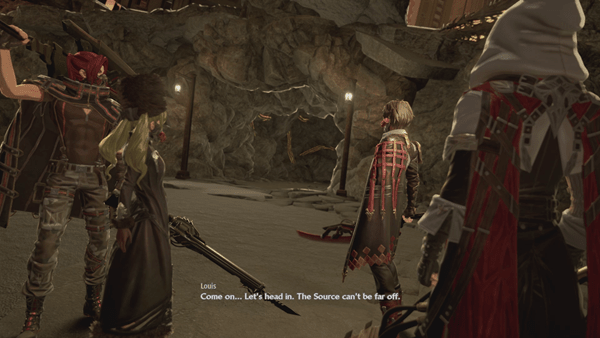
Now, climb up the ladder and a cutscene will begin once you approach the bloodspring - after the cutscene, simply head inside the cave and go through the long path until you reach another ladder.
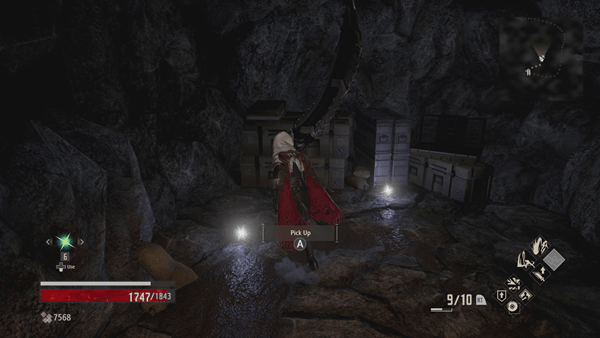
Climb up the ladder and when you reach the top, head to the backside first to find 5x Plasma Cartridge and Map: Flood of Impurity.
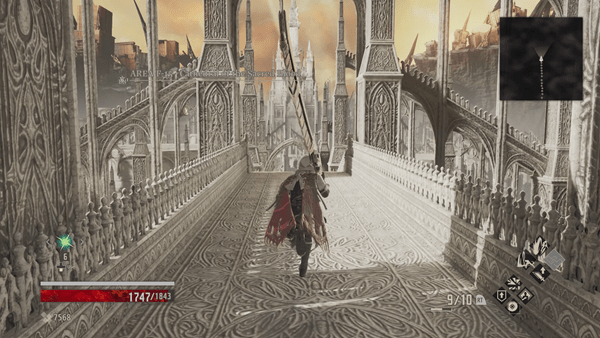
Continue through the path after acquiring the items where you'll now find yourself outside the cathedral.
The Cathedral
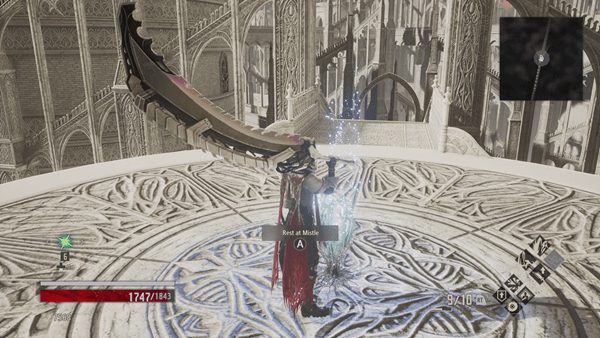
Head straight until you reach the Cathedral of the Sacred Blood Entrance Mistle and activate it.
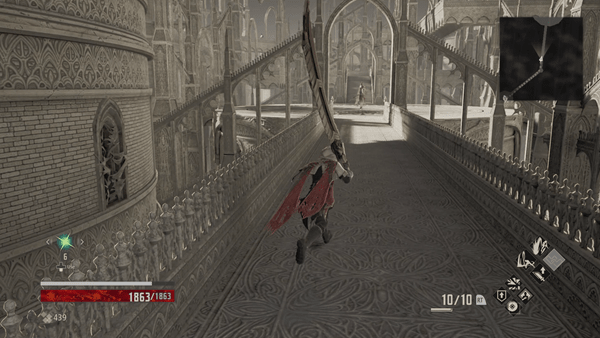
Now, start your exploration by heading down the stairs. You'll find an open arena and an Armored Female Lost in the middle of the arena - kill it and pick up the item it dropped which is 1x Queen Steel.
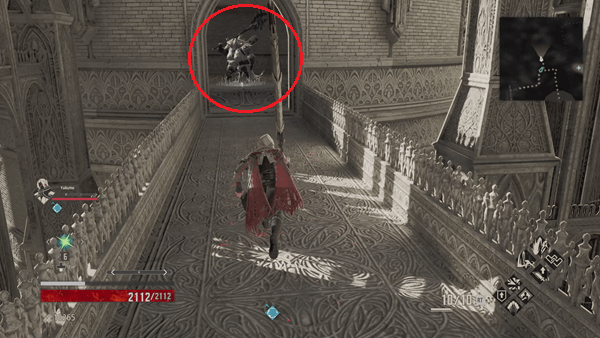
*** If you go straight, and then make a left you'll find a Stone-Crusher guarding an item by the glowing vines - make sure to kill it to obtain 1x Regen Activation Factor that is on the vines.
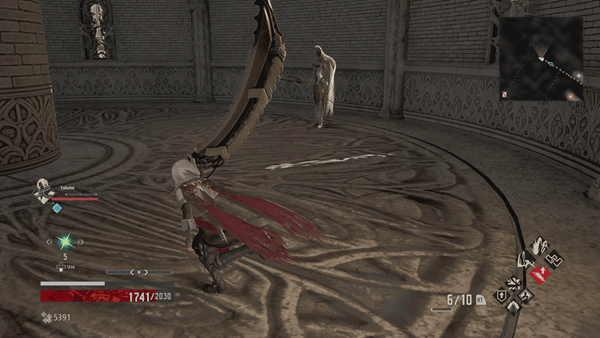
Next, go right from where you came from until you reach an indoor area - again, there will be another Armored Female Lost - kill it and acquire 1x Isis Chrome from it.
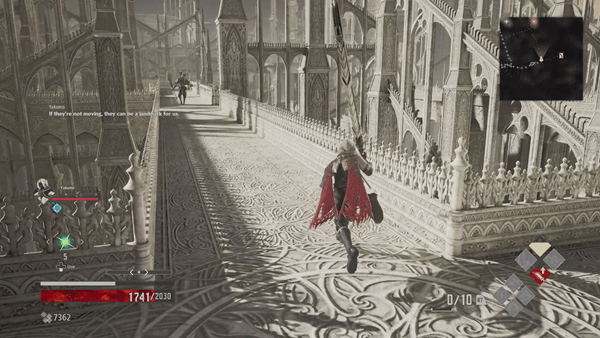
Head out the other exit and make a left, you'll find an Axe-wielding Lost patrolling the area - kill it and pick up 1x Loss Shard (M) it drops.

Continue going straight, then make a left at the end, then right, you'll encounter another enemy patrolling, a Sword-wielding Lost.
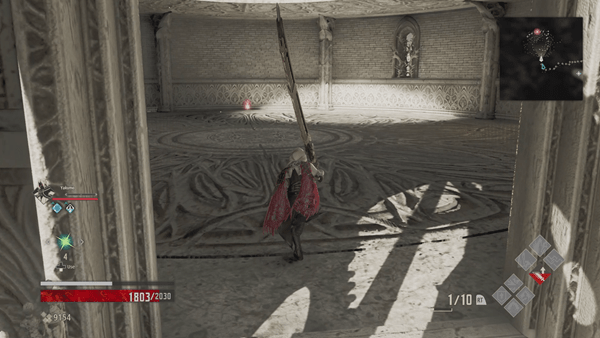
Go straight after killing it and make a right at the end, you'll find another arena-looking room. The Trial of Blood will then commence and enemies will spawn from behind. You'll face a group of Female Axe-wielding a Stone-Crusher wielding a heavy axe and Assassin Lost for a total of 7 waves - surviving the onslaught and killing the enemies rewards you with 1x Loss Crystal (S), you can also obtain various items such as 1x Queen Steel and 1x Loss Shard (M) that are dropped by the enemy.
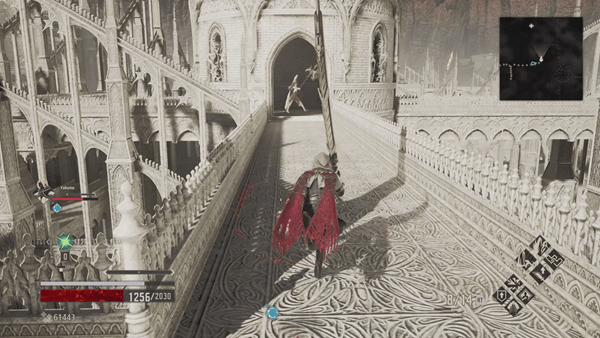
After the trial, head back to where you entered the arena and this time, go straight, up the stairs at the end, then a left at the end. You should find another Armored Female Lost patrolling the gazebo-looking structure ahead - kill it and continue through the path.
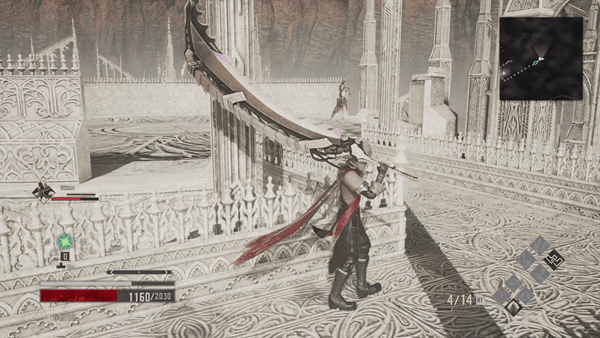
Next, you'll want to make right and then left until you reach yet another open arena that is being guarded by another Armored Female Lost. Kill it, climb down the ladder that's on the right side of the arena, then drop down onto the surface below - you'll find 1x Queen Steel at the edge.

Now, continue forward into another indoor area where you'll have to fight 2x Armored Female Lost wielding a sword - both of them may drop an Isis Chrome.

Kill the enemies and you'll find a chest containing 1x Rubellite Piercer +4 - continue your exploration and head outside the other exit after acquiring the weapon.

Drop down to the bottom and purify the rotten mistle next to the corpse of a Lost to map the surrounding area.

After that's done, head inside the tower and go all the way to the top, you'll find 1x Ichor Concentrate at the side - there's also a lever by the door, you can pull it to unlock a shortcut that will take you back to the Mistle of the cathedral entrance.
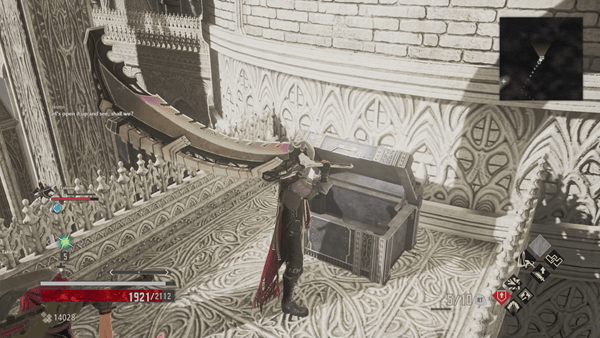
Next, go through the exit that's in front and make a right at the first intersection, you'll find another chest containing 1x Impulse Anchor +4. Continue going straight until you reach a dead-end and then drop down to the surface that's on your right - you'll find 1x Curious Novelty that you can pick up once your drop.
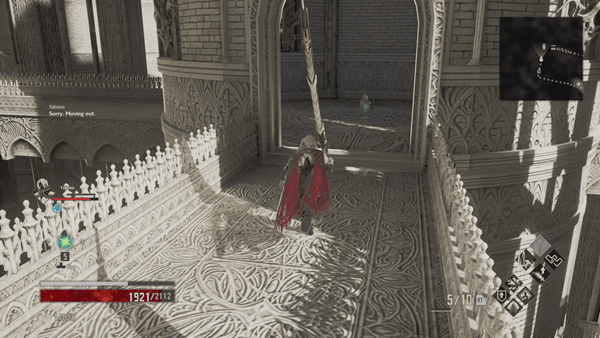
Now, go straight then turn left to pick up 1x Queen Steel and then go to the opposite direction, you'll find another Mistle.
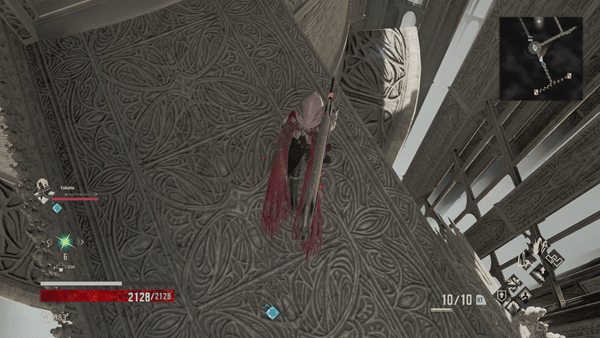
The doors ahead are locked, so near the mistle, you'll find a path that you can drop down to - you'll find 1x Awake MJ212 on the ground.

Next, go the opposite side and climb up the ladder. You'll find yourself in a tower that has a lever, pull it to open the locked door that's on your left.

Head back down and proceed into the unlocked room, you'll find another Armored Female Lost by the stairs and another at the top that is guarding an item, kill it and pick up 1x Queen Steel. Afterwards, continue through the path until you find yourself inside an indoor arena with 2 more Armored Female Lost - kill the enemies to acquire Haze and some items it may drop.

Once that's done, head out the other exit and drop down below the surface. You should find 1x Loss Shard (M) that you can pick up.

Next, head inside the room where you'll fight another Armored Female Lost, kill it and pull the lever to unlock the door that's in front of you - this unlocks the other door that was locked earlier near the Mistle. From here, head back to the exit you came through and drop down onto the surface that's on the left side - you'll find 1x Queen Steel on the ground that you can pick up.

Next, proceed into the room where you'll fight a Stone-Crusher, kill it and pick up the vestige that's nearby: Isis Vestige Part C. Afterwards, go out the other exit and climb up the ladder until you reach the top.

You should now find yourself at the top of which seems to be an open area and another Stone-Crusher that is blocking your path, kill it then proceed further and fight the next enemy, an Armored Female Lost.
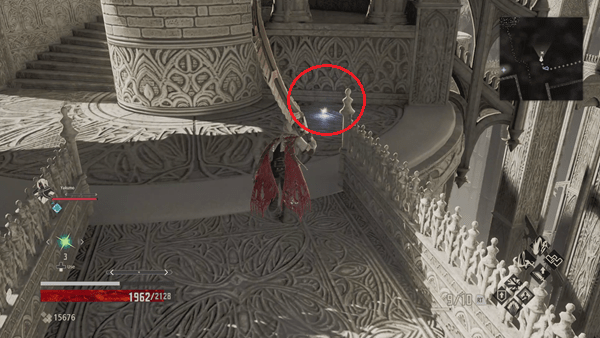
Once that's done, head over to the next path that's on the left side until you reach the end - you'll find 1x Classic Camera that's on the side.
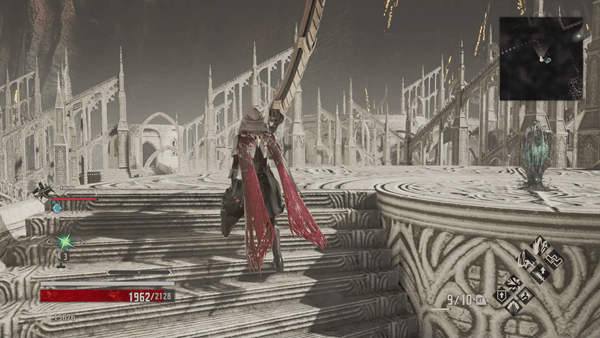
Next, head up the stairs and you'll find the next Mistle that you can activate - take this opportunity to increase your level or travel back to Home Base to upgrade your gear if needed.
Outlook Tower
After activating the Mistle and have made further preparations, continue towards the path and then make a right. You should find yourself in a tower looking room with a couple of flight of stairs leading down. Head down, and then make a left. You will see a black knight kneeling in the center of the room, & upon killing it you will receive a Regen Activation Factor. Now turn back around & go straight into the tower ahead.
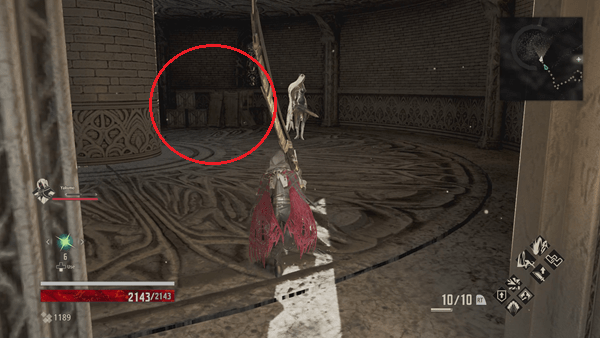
You'll find yourself inside another room where an Armored Female Lost is standing next to a pile of boxes. Kill it then destroy the boxes to find 1x Mark of Honor - head up the stairs and you'll encounter another Armored Female Lost.
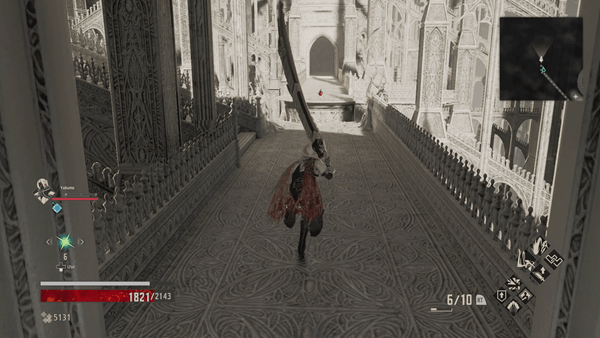
Now, head outside, make a right, then left until you reach a dead-end, and follow the path ahead. You should find yourself on the other side of the cathedral where you'll see a rotten mistle across a broken path.
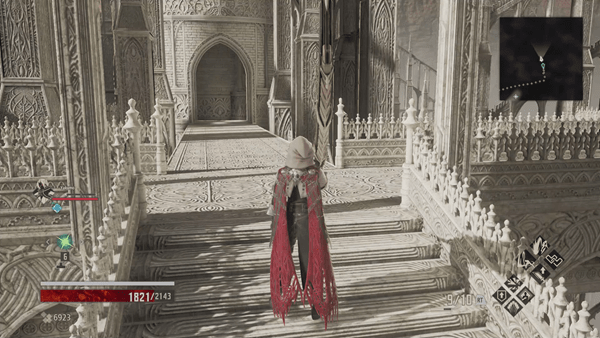
Since you can't cross, go left, straight, then right until you reach another room - head inside and go up the stairs.

Next, if you go right, you'll find 1x Queen Steel by the edge of the stairs. Pick it up and head in the opposite direction.
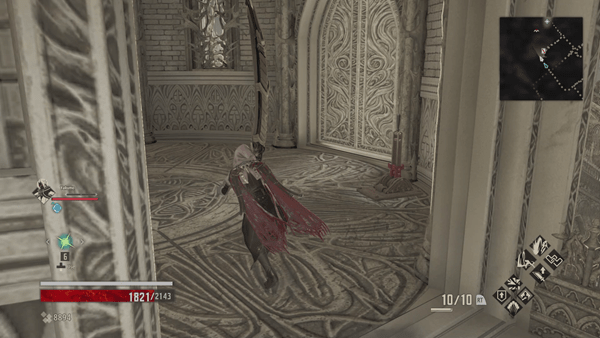
Continue following the path then make a left and then a right, you should find the lever that will unlock a shortcut that will take you back to the path you took earlier.

Now, go back from where you came from and drop down onto the ledge that's on your right. From where you dropped, go straight, make a left and follow the path. You should find yourself inside a tower, kill the Armored Female Lost on the first floor, then head up the stairs where you'll find an Axe-wielding Lost guarding an item. Kill it then pick up 1x Drain Activator - you should also notice that there is a ladder above, you'll need to find the switch to pull the ladder down.

After obtaining the item, head back down and go through the other exit where you'll see another Armored Female Lost patrolling the area. Kill the enemy then climb down the stairs - you'll find a rotten mistle that you can purify to map the area and 1x Mobility Enhancer that's on the edge.

Next, you'll need to find the lever that will cause the ladder in the tower room to drop. To find the lever, retrace your steps back to the path where you found the tower and you'll have to drop down twice onto the path below.
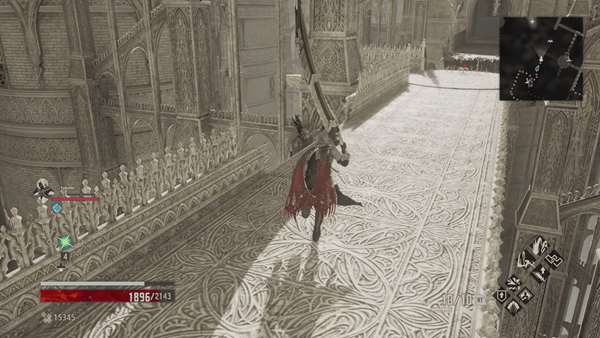
Eventually, the path you'll take will lead you into another room that has a lever that unlocks the door next to it. And the exit opposite of the lever is where you'll find the rotten Mistle that you couldn't get to earlier. As you approach the Mistle, a Mutated Lost will climb up to your left. Kill it, purify the rotten Mistle, pick up 1x Anti-Inhibit next to it, then drop down onto the ledge where the Lost was climbing earlier.
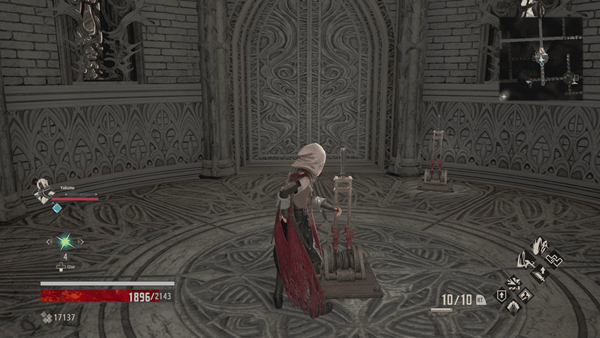
You should now find a room with two levers, pull the one in the middle to lower the ladder in the tower then pull the other lever to unlock the door next to it. From here, make your way back to the tower and climb up the ladder to reach the top - you can easily reach the tower by heading out the unlocked door, make a left then drop down at the end. You'll find yourself back to the rotten mistle near the corpse of a Lost that you purified earlier, then climb up the ladder to reach the tower.
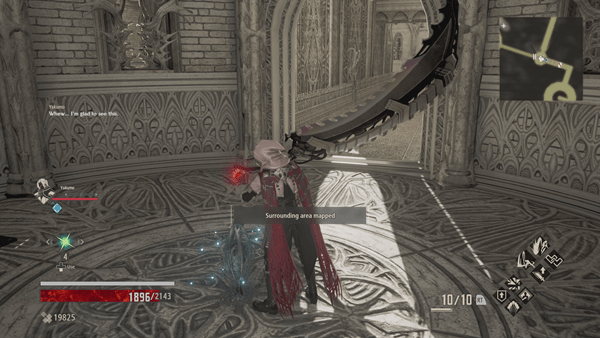
Upon reaching the top, follow the path and you'll find the another Mistle that you can activate - use it to rest and make further upgrades or preparations.
Gated Room

After activating the Mistle, you'll notice that there's a door with wings ahead of you that's locked, ignore that for now and head towards the path where a Armored Female Lost is patrolling - the door ahead of the enemy is also locked, so after you kill the enemy, there's a ledge on the right side of the path that you can drop down to.
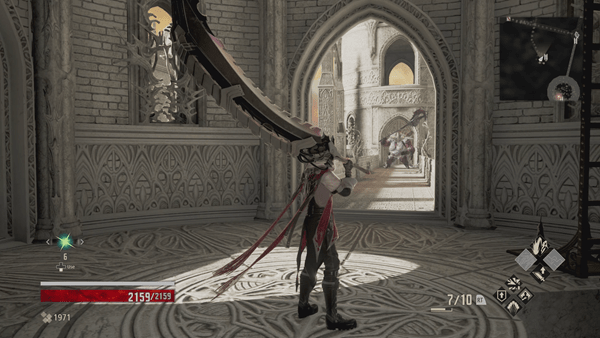
Follow the path leading to another tower and head up the stairs. There's a ladder at the top, a Stone-Crusher wielding an axe ahead and another path to your left.
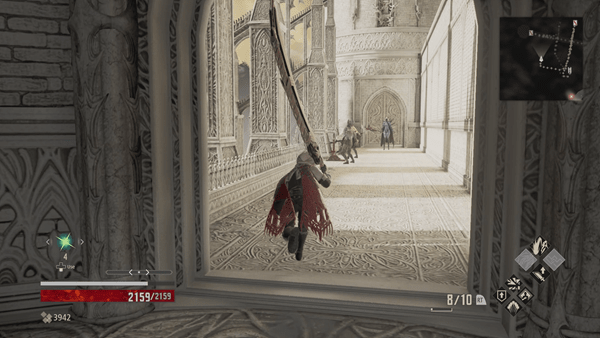
First, go left, you'll come across another path where you'll encounter 2x Sword-wielding Lost and a Armored Female Lost that's guarding a lever, pull the lever and the door below you will open - you'll find yourself back at the tower Mistle.
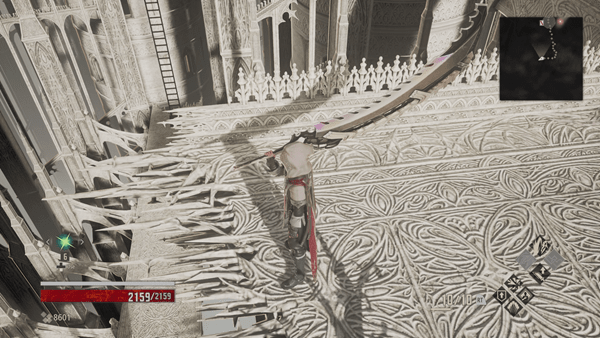
Next, make your way towards the unlocked path then make a right. You'll notice that there's a ladder that leads to a lever that unlocks a shortcut, you can drop down from the ledge but you'll take some damage from the impact since it's too high - once you've dropped down, climb up the ladder and pull the lever to unlock the door next to it, this serves as a shortcut for your exploration.
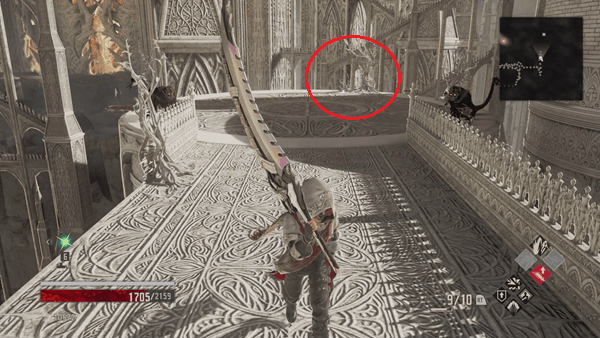
Now, continue your exploration and go straight towards the patrolling Armored Female Lost, kill it then make a left towards a dried-up bloodspring. You'll find an item next to it that you can pick up, but as soon as you approach it, 4x Assassin Lost will ambush you - after killing the enemies pick up 1x Vivifier from the bloodspring.

After acquiring the item, drop down the nearby ledge that's on your right and follow the path ahead. There will be 2x Female Spiked Lost along the way - simply go straight then drop down again from the ledge that's on your right.
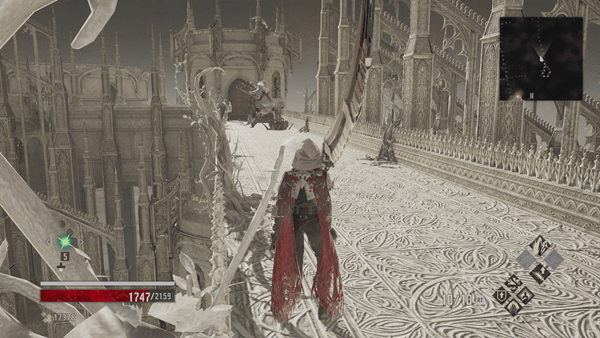
Follow the path through the towers until you reach the top where you'll find a Stone-Crusher blocking the path ahead - kill the enemy and proceed forward into another tower that leads down towards 2 levers that unlocks the doors.
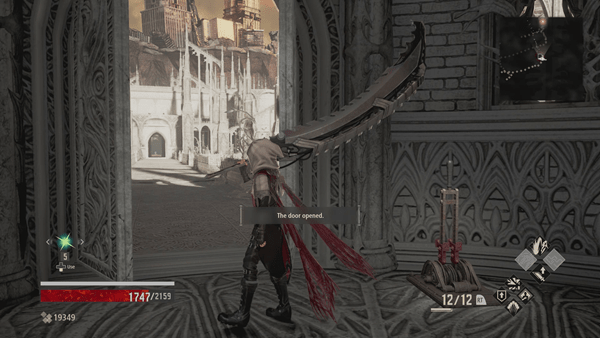
The lever to your left unlocks a shortcut that can take you back to the Mistle while the opposite lever unlocks a new room.

Inside the new room, you'll have to fight 2x Armored Female Lost if you step inside. You can deal with them one at a time by heading back for now.
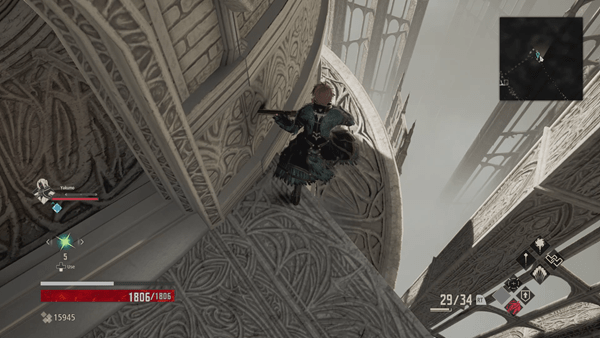
Head back up from the tower that you came from and drop down from the ledge that's on the left side of the tower exit
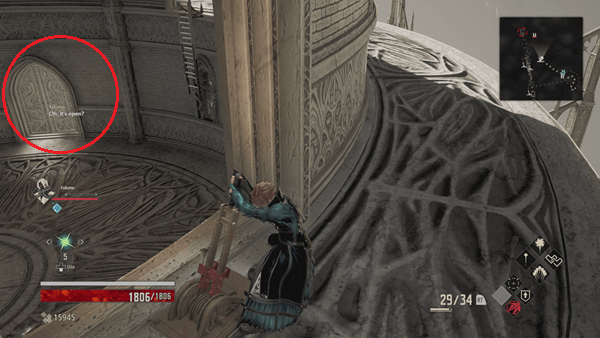
Go through the short path, climb up the ladder and you'll see a lever to your right that unlocks the door below you. Before you head down, turn around and climb up the ladder that's ahead of you. You can find 1x Awake MJ212 at the top- now, don't jump down from the switch, but instead, go around and you'll find a ladder that you can kick down to open up a shortcut you can take if needed. Be careful, as an Armored Female Lost stands guard at this ladder. It is one of the two you would have faced had you entered the circular room from before. Defeat it, then drop down and defeat the one standing in the room you saw earlier. (This one, however, has an extremely small positioning window for backstab attacks. Unless you know exactly where to stand, the chances of landing it are rather slim.)
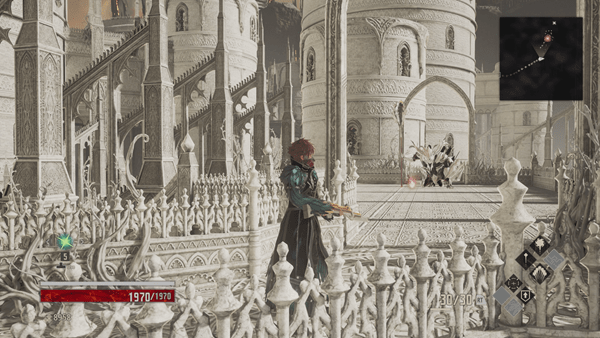
Continue forward through the door that you unlocked and you'll now encounter a boss, the Argent Wolf Berserker, that you'll have to defeat in order to proceed further.
Boss: Argent Wolf Berserker
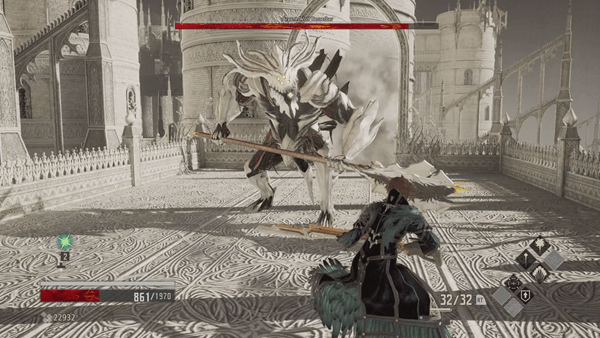
To learn about the strategies on how to defeat this boss, you can click here -defeating the boss rewards you with 4480 Haze, 1x Obliterator Axe. and unlocks the section ahead.

After the battle walk up to the unlocked section where you'll find a "special vestige" - interact with it and you'll be teleported to the next area Memories of Player.
Video
Map
Trivia & Notes:
Trivia and notes go here
General Information
- Previous: Memories of Player
- Next: Ridge of Frozen Souls
- Bosses: Successor of the Ribcage
- Mistles: Cathedral of the Sacred Blood Entrance, Artificial Tower, Outlook Tower, Gated Room, Cathedral Perimeter, Inner Tower, Cathedral Front, Crypt of the Ribcage
Video Walkthrough
Map
NPCs in the area
Bosses
Items
Consumables and Trade Items
- 2x Pure Blood
- 1x Loss Crystal (S)
Equipment & Upgrades
- Queen Iron
- Awake MJ212
- 1x Nagimukuro +4
Key Items
Vestiges
Enemies
Full Cathedral of the Sacred Blood (Revisited) Walkthrough
After absorbing the "special vestige", you recovered a memory where you were dispatched on a mission that did not end quite well. Your journey continues as you awaken back at the cathedral to find the source.
Cathedral Perimeter

After defeating The Queen's Knight during Memories of Player, you'll be ported back to the Cathedral where you interacted with the "special vestige". Simply follow the path to find the next Mistle: Cathedral Perimeter.

After activating the Mistle, climb up the nearby ladder where you'll encounter an Armored Female Lost patrolling the area - kill it to obtain a Queen Iron then climb up the next ladder.

You'll find a chest at the top containing 1x Nagimukuro +4. A Stone-Crusher will ambush you from above as you open the chest, so be prepared to kill it - after dealing with the enemy, head back down and go through the room where you'll find another Armored Female Lost patrolling the area.
Trial of Blood

From the tower, climb down the ladder, head towards the room ahead and the trial of blood will start once you step inside - you'll be surrounded by enemies from both sides so it's recommended that you have a companion with you if you want to complete the trial.

You'll face a total of 6 waves of Stone-Crusher, Female Spiked Lost, Assassin Lost - surviving the onslaught and killing the last enemy rewards you with 1x Loss Crystal (S) - you can also find 1x Pure Blood inside the other room.
Into the Cathedral

After the trial, head back up the ladder and the stairs until you reach the top of the tower.

You'll find yourself in another room where an Armored Female Lost is guarding the area - kill it then go to the left side exit and climb down the ladder.

Enter the bottom tower and climb up the ladder first until you reach the top.

You'll find a chest containing the Shoddy Key that is being guarded by 2x Armored Female Lost - kill it, obtain the key from the chest, and climb down the ladder until you reach the end.

Upon reaching the bottom, you'll come across a locked door - simply pull the lever next to it to unlock the door.
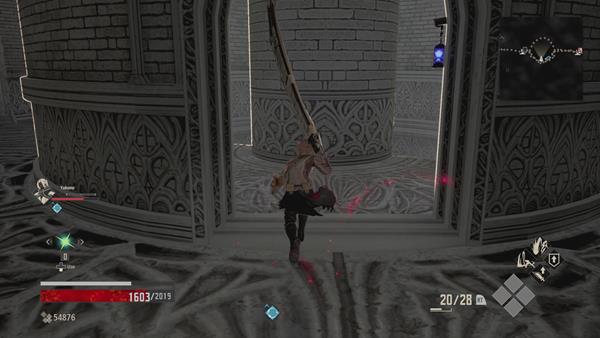
Next, ignore the path where you'll see a couple of dead Lost, (you'll need the Ornate Key to unlock the door ahead ) so go down the stairs where you'll encounter another Armored Female Lost.

Eventually, you'll find yourself at another tower where you'll find a vestige.

To get this vestige, go back and head up the stairs that will take you to the top of the tower, you should find a Female Spiked Lost and a Armored Female Lost at the top - at the other side, you'll encounter a Stone-Crusher and another Armored Female Lost.
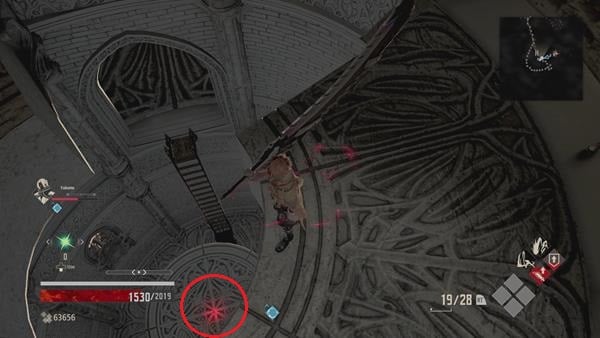
After killing the enemies, you can jump down from the ledge and onto where the vestige is which is Isis Vestige Part E - after acquiring the vestige, jump down then climb up the ladder.

Next, you'll want to head back to where you dropped from to get to the vestige and head up the stairs to reach the top tower and find an opening that you can drop onto.

You'll find a Rotten Mistle under the stairs of the tower - after purifying it, head up the stairs to reach the top of the tower.

The path will lead you to another Miste: Inner Tower - activate it to rest and to map the surrounding area.
Inner Tower

Once the Mistle is activated, head towards the exit to your right and climb up the ladder.

You'll find a locked door that requires the Shoddy Key to open, before you open the door, make sure you've kicked the other ladder down to open up a shortcut. Since you've already acquired it earlier, you can go on ahead and pull the lever - there will be 2x Armored Female Lost at the other side.

After you've killed the enemies, go on ahead and jump down the next path below where an Assassin Lost will try to ambush you. Then jump down again onto the path below where you can pick up 1x Awake MJ212 next to a Lost corpse.

From where the corpse is, make a right towards the other tower where you'll find another Rotten Mistle that you can purify to map the surrounding area.

Next, climb down the ladder and follow the path where you'll find a chest containing the Ornate Key - with the key in hand, you can go back and unlock the door.

Now, go back and try to kill the Rotten Armored Female Lost you saw earlier to further map the surrounding area and make sure you destroy the boxes that are behind the enemy to find the Isis Vestige Part A - you can now go back to the locked door that requires the Ornate Key, either drop down the bottom for a shortcut and survive the trial of the blood or use the long way by taking the same path that you took earlier until you reach the locked door.

To identify the area that you need to reach, the path leading to the locked door will have bodies of the Lost on the ground.

Follow the path and you'll find the Cathedral Front Mistle that you can activate to rest and to map the surrounding area - congratulations! You've finally made it out of the maze!

After you've activated the mistle and made preparations, head towards the front of the cathedral and a cutscene will trigger where you'll find a woman named Leda who looks like Io. She'll provide you with a vestige, Isis Vestige Part D.

Before heading through the path ahead, speak to Leda to restore the Isis Vestige I and Isis Vestige III - after you've restored the vestiges, approach the shielded door where a boss awaits and choose "Yes" if you are prepared.
Successor of the Ribcage

Upon entering the room, you'll now find yourself inside the crypt of the cathedral's guardian, the Successor of the Ribcage.

To learn about the strategies on how to defeat this boss, you can click here. Defeating the boss rewards you with 22400 Haze.

A cutscene then triggers after killing the boss and you'll be ported into a memory where you'll see Aurora. You'll also acquire Isis Vestige IV which will allow you to use Aurora's Blood Code, Isis after the cutscene.

Once you've regained control of your character, proceed to the door that has wings, unlock it, and head to the bottom of the crypt where you'll find the "source" - after the cutscene make sure to approach the source to obtain 1x Pure Blood.

Now, head back up to the crypt and another cutscene will trigger where you'll encounter Jack Rutherford and Eva Roux

After the cutscene, use the Crypt of the Ribcage Mistle, teleport to the Inner Tower, unlock the gate ahead, and activate the purple Mistle which will teleport you to the next area, the Ridge of Frozen Souls.
Video
Map
Trivia & Notes:
Trivia and notes go here
 Anonymous
In the first 25% of the map I died about 27 times. 25 of those were those infuriating pit , the other two was from wandering too close to the first Invasion. Also took me quite a while to find the path forward. For the rest of the map, it was mostly the enemies that gave me trouble, namely the teleporting armored enemies. The first boss was remarkably easy. Although I could die rather quickly if I let my guard down.

 Anonymous
the Infamous Catedral of Parry and Mazes, this place is a walk in the park if you parry. My tip, use an Ivy type Blood Veil, they are the slowest to start the parry animation, yes, BUT you have more "parry frames", those female knights won't be a bother anymore. (The white ones are the fastest and the dark/purple are the slowest). Also, to dodge their teleport, just wait until they're almost disappearing and dodge forward, NOT backwards. The teleport ability of the ones with the Axe/Hammer are more easy to dodge since they come from above.

 Anonymous
 Anonymous
It might be worthwhile to say that just before interacting with the "special vestige" that there's a mistle right down the stairs that should be unlocked first. That saves having to deal with those two female armored lost in the room right before this mini-boss.

 Anonymous
Everyone is talking about how confusing it is and the structures being pasted in other places
But it’s supposed to be like that. The map was built so that players couldn’t blaze through it in 5 minutes
It’s meant to be a challenge.
 Anonymous
Theres literally ZERO reason to finish any Lost Invasion. If you run into one, just run away back to the nearest Mistle and rest and it will go away. Then dont go that way again and you wont trigger it. The rewards for beating all the waves of enemies is not worth it. A few Haze collectibles you can crush for some minor Haze. Pathetic and not worth the hassle.

 Anonymous
I H A T E T H I S A R E A .
Honestly had to take a break from my playthrough because of this eye-bleaching labyrinth. Tedious, hideous, reused textures everywhere. YOUR COMMENTING ON HOW SAMEY THE AREA IS DOESN'T MAKE IT OKAY, YAKUMO!
 Anonymous
the main issue is this made me not want to play ng+ to go through this place again

 Anonymous
Honestly, this area is great. The level design is so bad, it becomes comically hilarious. I had the biggest, most stupid grin on my face running through this absolute mess, while the poor AI companion hopelessly tried to deal with the enemy spam I was running through. If the game wasn't fun to play however, I don't thing this joke would have landed.

 Anonymous
Anor Londo called and said they're suing for architectural copyright infringement. Lol

 Anonymous
If Code Vein was an anime and the Cathedral section was Season 2, the characters would spend all 30 episodes of the season getting through it.

 Anonymous
Imagine Anor Londo but if it was a cluster f**k of a maze, that's this entire area in a nutshell so if you've ever wondered what it's like to have a brain aneurysm... this section of the game should help :)

 Anonymous
Took me 2 hours to get to the memories of the player, and another hour getting to the successor. Hopefully the rest of the game isn't as much of a maze.

 Anonymous
It's decent guid for me. But some parts are not clear enough. if you skip it a little bit, you might lose.
Once, before I got the ornate key, I miss some words and go down to the trail of blood (I tired for over 10 times and couldn't beat it.)
I dropped down and boom trail started. I retraced from the start and found the way to the rest part.
In some part the guide will guide you roundabout, before go to the mistles
to get important items/vistages.
I advice you to skim reading the guide. It will be safer and save time.
PS.I think defeat ribcage is around 50% of the story.Congrat all player that
endure to this point. (For me get over 30 hours to this point. It is hard for
casual gamer like me, but I always finish my games)
 Anonymous
I hate that I love this area, and I hate this area with a loving passion.

I don't know who wrote this walkthrough, but it relies heavily on a "if you know what I mean" style of description, To much vague "go back the way you came" or "retrace your steps to that bit you were at earlier" No offense to the person who did so, I'm sure they were trying, the levels aren't exactly teeming with landmarks, but it's still not very good.

 Anonymous
Lost here for 3 hours of running around in a circle. Three ****ing hours

 Anonymous
I finished the whole game and got the good ending a few days ago , I did the DLC too but I have some questions . I will just post the one about the Cathedral . So Aurora became frenzy before we restored her memories but how did the Cathedral came to be ? Did Aurora build the Cathedral ?

 Anonymous
This walkthrough is equally or more confusing than the game's map. I got through it, through sheer willpower. The biggest thing is the ups and downs. This is not a "casual filter". I'm not sure where you'd get that idea. Some games like to throw in twists in maps and I get it, but this game's style of not revealing the map and only showing footprints until you find mistles ultimately leads to multiple ups and downs, turn arounds, backtracking, losing awareness. The white eye bleach + repeated textures + no elevation differentiate + locked doors + switches + + + + does not "filter out casuals", it filters out the impatient, the people not wanting to spend 2 hours running in circles. The battles are easy, this is a simpler Dark Souls, really it is. I'm like level 80, +7 on everything and mixing codes for buffs. I'm taking out most mobs before my stamina is spent with few hits on me if any.

 Anonymous
This guide leaves a lot to be desired. The map is also missing few critical piece of information.
if like me you are stuck trying to figure out how to lower the ladder follow these instructions.
- Starting from the Ladder Room (this the room where we are trying to lower the ladder)
- Take the East exit until you are in the small tower with stair going up and an exit to the South.
- take the South exit and then go west after going down the stairs.
- You should see the fence is broken on the side. Jump down, go South and jump down again.
- Keep going South following the path until you come to the room with the leaver.
- Pull the lever to open the door, then take the Western exit. There will be a mistle to activate.
- After activating the mistle go half way towards the tower you just came from and jump down on your right.
- Follow the path and you will come to a room with two levers. One to open the door and the other to lower the tower.
 Anonymous
 Anonymous
Take it slow and take your time. Abuse the hell out of Camera Mode to search for hidden places to drop down. It was honestly really fun w/o a guide but I have a fairly good spacial awareness and sense of direction.

 Anonymous
 Anonymous
One of the most annoying areas to double back but felt good to actually figure out and get to new places. Really tests the limit of your spacial orientation and exhausting your ability to find areas. Only problem with it is that it has very few unique cues (landmarks) that help you remember where exactly you have been, even with the helpful map.

 Anonymous
I got lost even with 100% map because it doesn't show elevation...

 Anonymous
These instructions for navigating are mostly helpful but 'retrace your steps' and 'if you go forward' coupled with 'back to where you came' got so confusing. I wasn't sure if going back which way to be facing, the way I started or the way I am after I've gone back for the 'left and right'. I just feel a few times using some North/South etc. would be helpful for those of us who leave the minimap stationary.

 Anonymous
Most disturbing map ever i get so confused am i going the right way where to go next do i go back. I got lost 6 times before finding a mistle

 Anonymous
my first reaction to this map was "damn, this fake anor londo is a mess". But, tbh when you start to understand how things work in this map, is pretty easy to keep going.

 Anonymous
I looked at this map before I got to the level and it didn't seem too bad. I've never been so wrong in my life. I'd rather face Midir over and over before exploring this map a second time.

 Anonymous
Ya'll missed a regen activation factor immediately after the third mistle, its a drop from a unique looking knight if you take a left rather then going straight to Outlook tower.

 Anonymous
If is see that right you totally missed out the large part of the area, after the boss. Turn left and dont touch the memory thing. I found one of two needed keys to open some strange door there, than gave up (for now) cause the ways are hard to find... Maybe you'll wanna look that up again.

 Anonymous
I spent 6 hours running in circles on this copy-paste spam anor londo RIP-off. I've been enjoying the game up until now, but this entire zone is like, half a dozen terrain features pulled straight from ds2, sepia filter applied randomly copy-pasted a hundred times.

 Anonymous
I have used fextra's guides ever since finding a random YouTube video watching (them?) play through one of the dark souls games. Always the standard I hold every other guide to. I only use them after I've beaten the level to ensure I've gotten everything, and admittedly once or twice while stuck in a certain swamp from hell. Also, I greatly enjoyed the challenge this area of the game provided. Much gratitude to Fextralife, and the developers of Code Vein.

 Anonymous
 Anonymous
For some reason it was considered unimportant to include thistle locations. Dosen't make sense to me, they're fairly important.

 Anonymous
Also, after completing this area, you can recruit Io and receive her Blood Code.

 Anonymous
I just used my footprints on the minimap, even when it was black to know if I had been somewhere in this maze. I actually like the level, my biggest issue is missing hidden drop points

 Anonymous
haha my exp in rpg games helped in this map. i usually searched every nook and cranny until the dark portions of any map in an rpg became clear. those who just wants to finish the game quickly will have a headache with this one.

 Anonymous
Designer of this level should be fired and then shot so that he/she never works on something again.

 Anonymous
Use the map provided here as a guideline, but do not rely on it since it does not provide the whole picture. there are multiple levels to this map, sometimes you have to go up the ladders and jump down from certain platforms. use the eyes and your instincts. this map ain't too bad, once you figure it out.

 Anonymous
The guide here might be slightly confusing, however, I don't find it bad nor pathetic, I find the guide helpful. I just have to trust on my instincts while I read this guide.

 Anonymous
A few tips. Trust your eyes, not the map. Only look at the map as an outline or guide. If you want to go to a specific location track the path with your eyes(camera) first before actually walking(for example, you see the map flower thing, track with your eyes first before walking). If it makes you comfortable eave a glowlight before walking, but don't rely on in in the map glow, just leave it as a marker.

 Anonymous
 Anonymous
 Anonymous
Davis's gift, the one which drops off a glowing light? Use it. TRUST ME. USE. IT. If for no other area, this is the one that it's actually useful in so you know just WTF you are, have been, and need to explore. Even with the guide above, you'll get lost due to a few of the fights getting you spun around. And if you truly get ticked off, think of it this way: at least here, you don't have to worry about any ****ing archers.....

 Anonymous
Tips: use that glowing mark item for checkpoint. This helps you from losing direction, and youll know which road you already have passed. I mapped the place with this method and the place is actually straight forward from mistle to mistle to berserker boss. Tha map is huge compare to maps before this, so be patient. And if you find it hard to fight the enemies on this map, i dont have any tip for that. The berserker boss is easier than those "teleports behind u nothing personnel kid" mobs. This section give me anor londo ptsd.. i cant blame u..

 Anonymous
 Anonymous
PLEASE clarify what is meant by "the path where you found the tower". This whole area is 50% towers.

 Anonymous
SPOILER - Something you can do b4 fighting the boss its in a reply to this comment

 Anonymous
 Anonymous
 Anonymous
I've got a pretty big issue... After the bossfight with the Ribcage boss I've seen the cutscenes, but since I was playing with a friend waiting for his bossfight all that time I tried to help him as soon as I regained control, instead of going forward through the door... I've been unluckily defeated in his bossfight and I got back to my game at the mistle before the bossfight... Now I'm locked out of it with a mist blocking the way and effectively locking me out of the chance to procede with the story Anyone else had this problem? Any fix not including a full restart with another character?

 Anonymous
genuinely this place is just mazes stacked on top of each other, once you figure it out it isnt so bad, but the first time through is hell


For those that need a specific guide to the “ladder lever”.
From the start of the area:
> second right
> second left
> first right until you hit the fence
> drop down the broken fence on your right. It is before the stairs(visible when walking to fence)
> go right after dropping down and drop down again
> go straight ahead until you enter tower with a lever to your right
> go left in this tower, you see a map flower and a broken fence to your left
> activate flower, return to broken fence and drop down
Now you are where the lever needed to progress is.(middle of room)
>
1
+10
-1