Area P-9 Ridge of Frozen Souls is a Location in Code Vein. Area P-9 Ridge of Frozen Souls consists of a chain of mountains and structures that are accumulated by snow and ice.

General Information
- Previous: Cathedral of the Sacred Blood (Revisited)
- Next: Ashen Cavern
- Bosses: Successor of the Breath
- Mistles: Ridge of Frozen Souls Entrance, Iceless Falls, Snowfield Summit, Observatory Site, Crypt of the Breath
Video Walkthrough
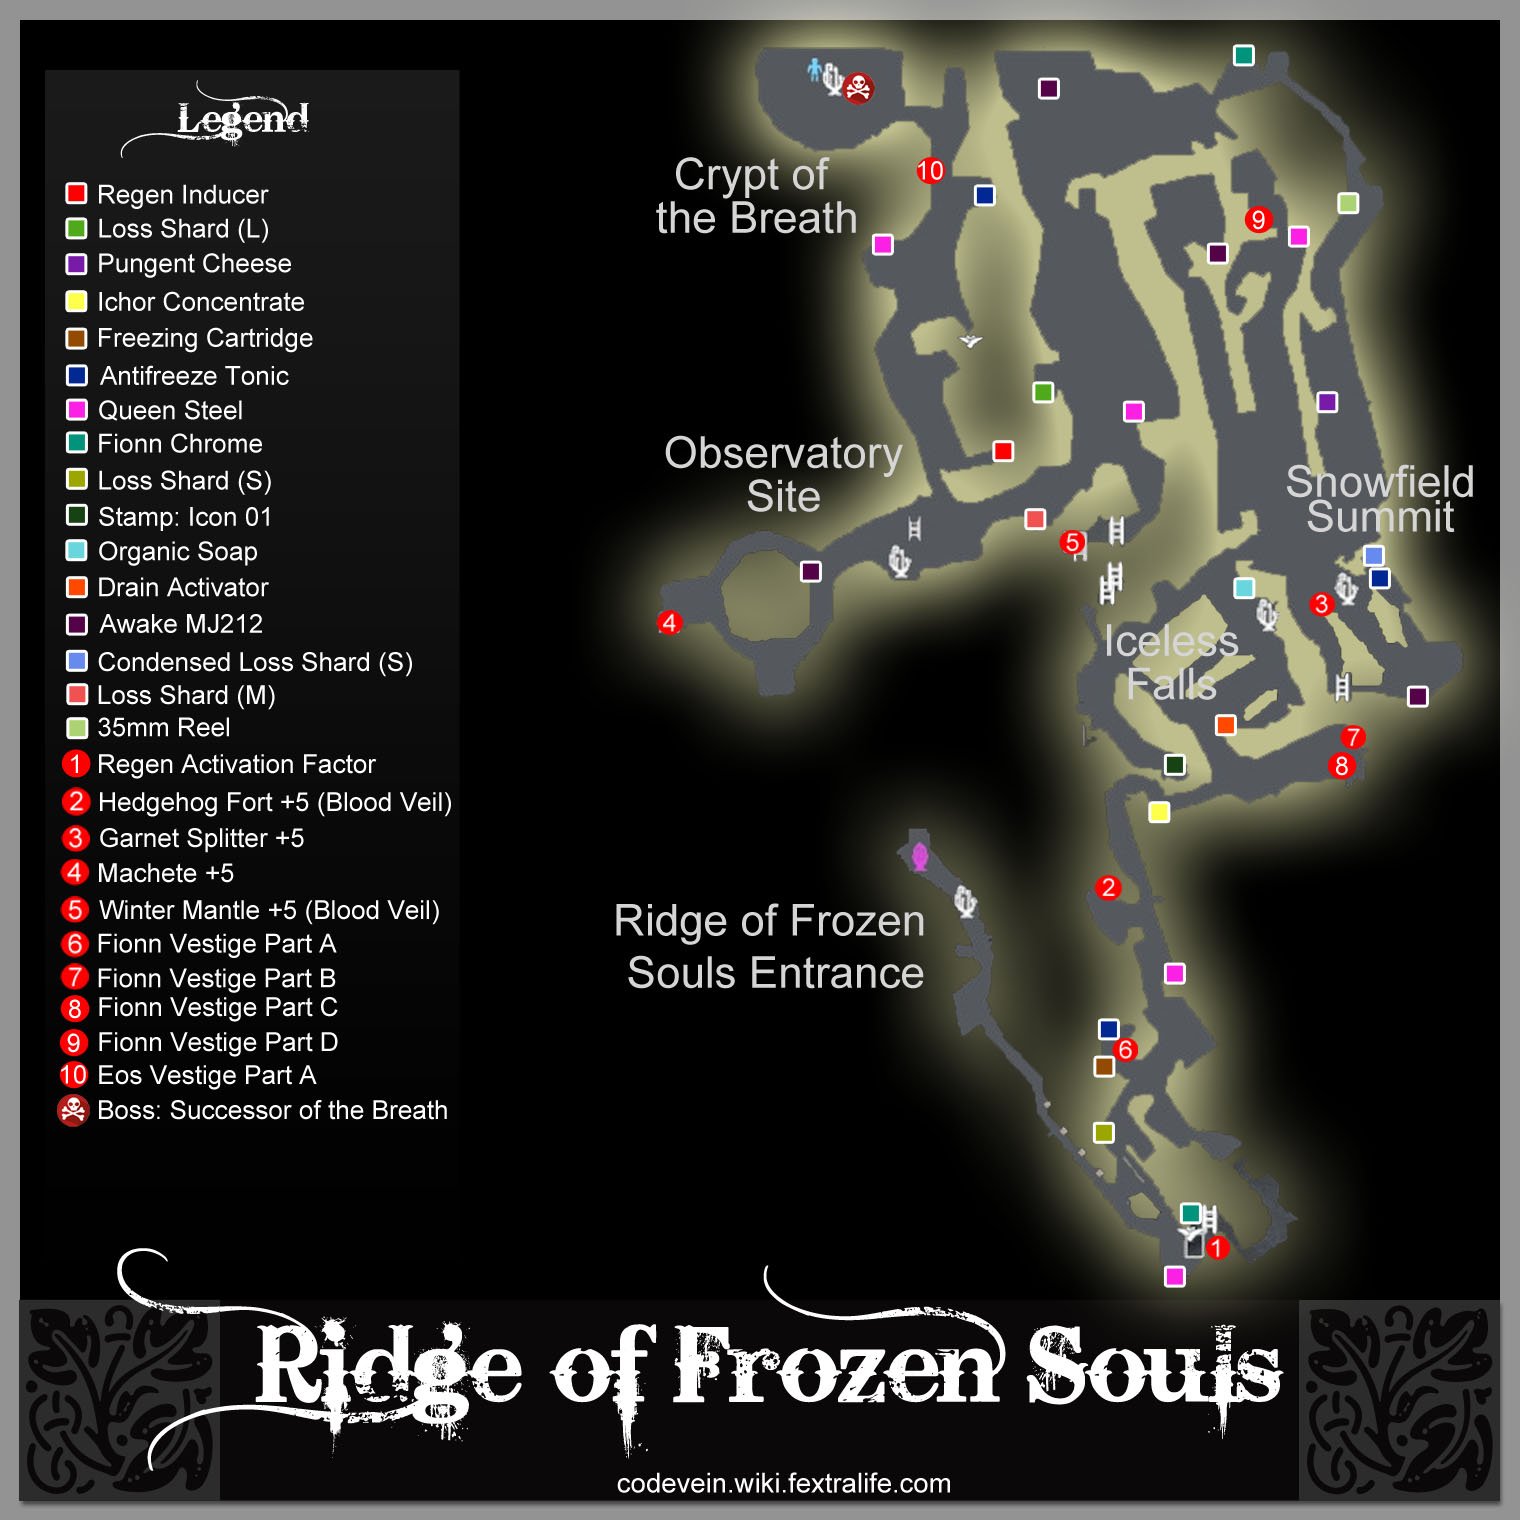
Map
NPCs in the area
Bosses
Items
Consumables and Trade Items
- 1x 35mm Reel
- 1x Organic Soap
- 1x Regen Inducer
- 1x Stamp: Icon 01
- 1x Pungent Cheese
- 2x Antifreeze Tonic
- 1x Ichor Concentrate
- 1x Project Evaluation
Equipment & Upgrades
- Queen Steel
- Fionn Chrome
- 1x Machete +5
- 1x Winter Mantle +5
- 1x Garnet Splitter +5
- 1x Hedgehog Fort +5
- 1x Regen Activation Factor
Key Items
- n/a
Vestiges
- Fionn Vestige II
- Fionn Vestige III
- Fionn Vestige IV
- Fionn Vestige V
- Fionn Vestige Part A
- Fionn Vestige Part B
- Fionn Vestige Part C
- Fionn Vestige Part D
- Eos Vestige Part A
Enemies
- Brute Lost
- Mutated Lost
- Mutated Hound
- Mutated Sea Urchin
- Bayonet-wielding Lost
- Sunset Axe-Wielding Lost
Full Ridge of Frozen Souls Walkthrough
After finding and learning about the "Source", you, Louis, Mia, and Yakumo sets forth on a mission to find the successors before the Queen is resurrected.
Ridge of Frozen Souls
*** Just a refresher, in order to reach this location, teleport to the Inner Tower Mistle, unlock the winged-gate ahead, and activate the purple Mistle which will teleport you to the Ridge of Frozen Souls.
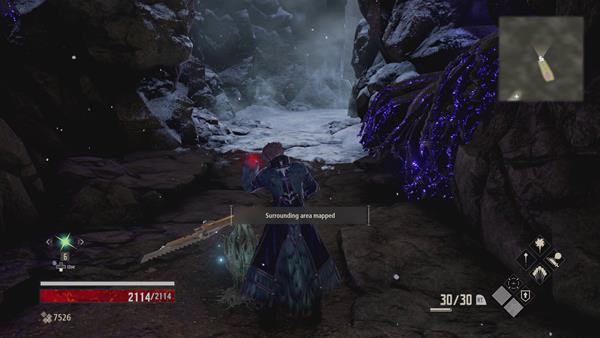
Upon arriving, activate the purple Mistle, then the Entrance Mistle ahead to rest and to map the surrounding area.
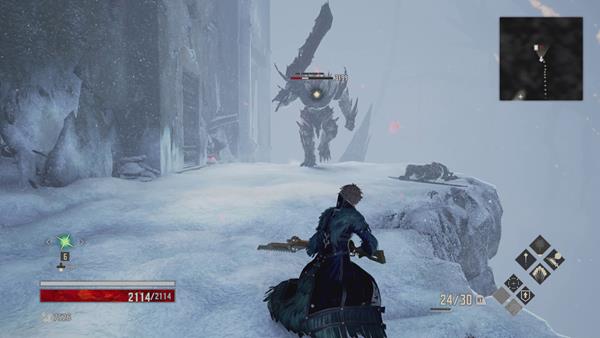
After activating the Mislte, work your way through the narrow path until you encounter the first enemy, a Spiked Executioner - kill it, pick up 1x Queen Steel near the edge, and continue going up the narrow path.

About midway, you'll be ambushed by 2x Mutated Hound around the corner, kill it and proceed further. Eventually, you'll find yourself at the top where you'll see three enemies standing next to a damaged vehicle.
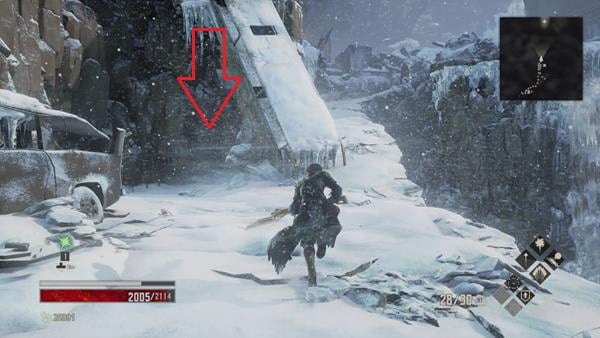
Before heading up the narrow path go left to find a chest containing 1x Hedgehog Fort +5, stay on the right-side since a section of the ground will break which can kill you if you fall down.
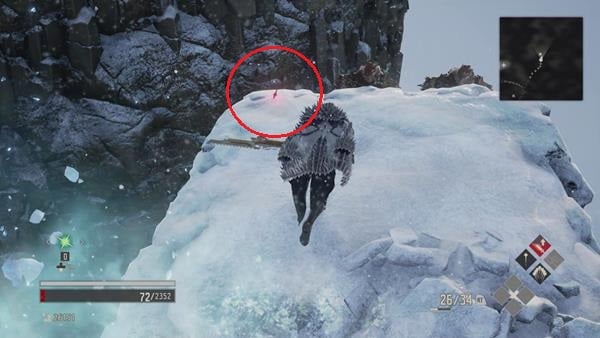
Next, head up the narrow path and kill the enemies that are along the way. About midway, there's 1x Ichor Concentrate at the edge that you can pick up. The continue going up until you reach a dead-end, you'll find the vestige: Fionn Vestige Part B and 2x Sunset Axe-Wielding Lost will climb up from where the vestige is.
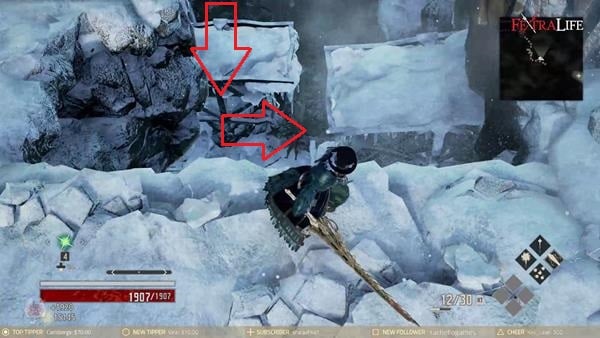
After that's done, retrace your steps back to where the damaged vehicle was and jump down onto the platforms, you'll find Fionn Vestige Part A on the fourth platform.
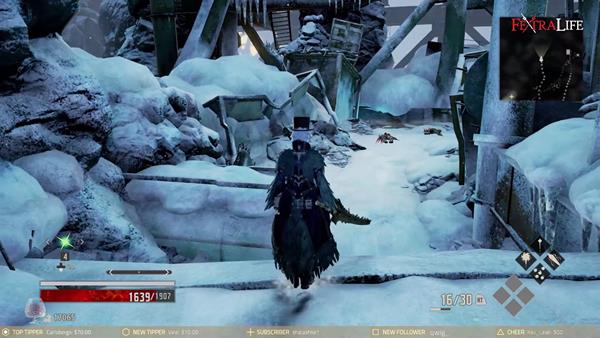
Head down the bottom then follow the path where you'll encounter 2x Frenzy Revenant, kill them, pick up 2x Fionn Chrome near the ladder then climb up the ladder where you'll find a Rotten Mistle that can be purified, 1x Regen Activation Factor, and you can unlock the gate ahead which will take you back to the narrow path.
Iceless Falls
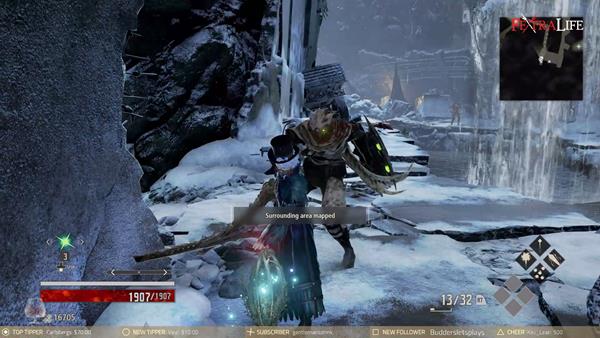
Now, go back up the narrow path and make a left where you'll find more enemies, and the Iceless Falls Mistle behind the waterfall, you'll also find 1x Organic Soap near the Mistle - then before you proceed further, go around the narrow path towards an elite executioner that's sitting by the edge, kill it and you'll find 1x Stamp: Icon 01.
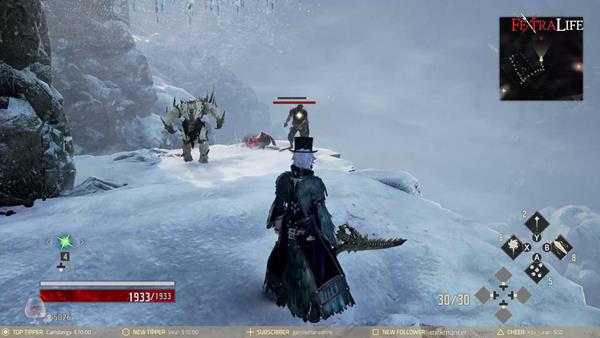
Return to the Mistle. Before going up the uphill caved path, go downhill into the underground path from the Mistle. As you make your way down, watch for a lone spiked urchin patrolling. Near the bottom, you will encounter a split. Going right into the purple cave will lead you to a series of ladders & a purple locked door that cannot yet be opened. Going left at the split will lead you to a Rotten Mistle and a vestige that is being guarded by a Brute Lost and Mutated Lost - kill them, purify the rotten mistle, and pick up the Fionn Vestige Part C.
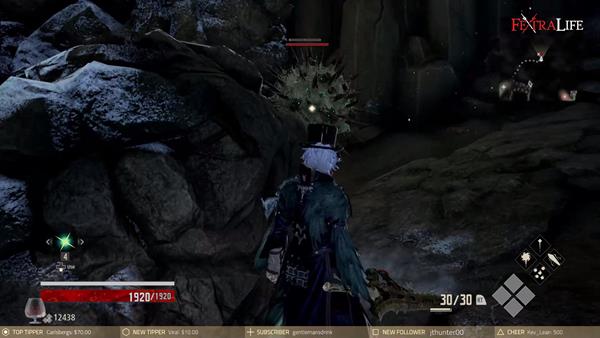
Next, return to the waterfall mistle & continue by going up the caved path where you'll encounter a green-colored Mutated Sea Urchin that will ambush you from around the corner, kill it and you'll find 2x Antifreeze Tonic on the ground - once you exit the caved path, you'll encounter a tough enemy, a Brute Lost that has fast, freeze-type attacks, kill it then make a right before heading up.
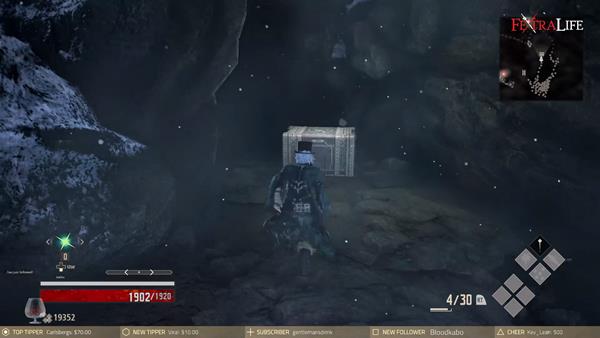
You'll find a chest containing 1x Garnet Splitter +5 - 2x Mutated Lost will then appear from behind to ambush you once you open the chest, be careful since they have grenades that they'll throw at you or will try to go suicidal and set off the grenade when they're close to you.
After obtaining the weapon, climb up the ladder and continue heading to the top where a cutscene will trigger - you'll be able to learn more about Nicola's past through his memories and acquire the Fionn Vestige III.
Snowfield Summit
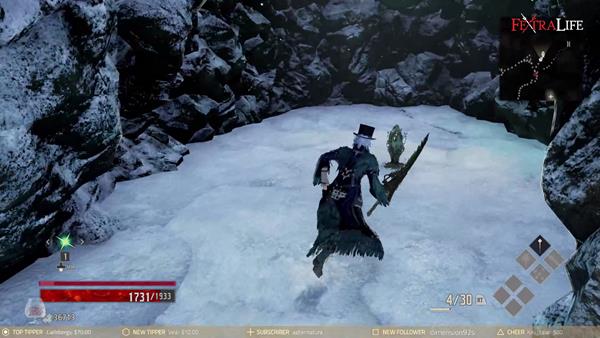
Before you head down the path, you'll find the Snowfield Summit Mistle behind you. Activate it first to rest and to map the surrounding area. The area ahead is split into two segments by splits in the ice, so mind your surroundings & be careful not to fall into them. The left part facing away from the mistle has several enemies, & a vestige, the right path that circles around the building leads to the next area, but offers a ranged approach to deal with the large enemy.
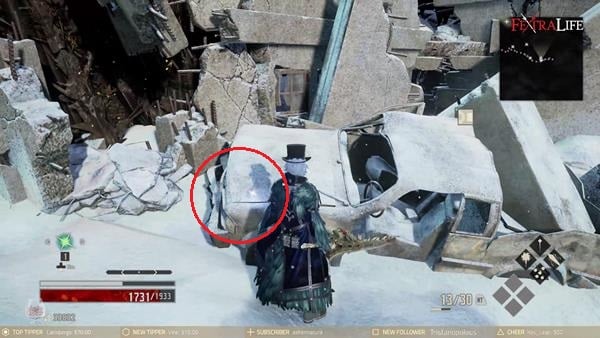
After the activating the mistle, make your way down the path to your right. You'll encounter 2x Mutated Hound and a couple of Brute Executioners that will jump up from the snow-filled ground, so stay alert - you'll find 1x 35mm Reel on top of the hood of the car. From this side of the chasm, you can snipe the large enemy guarding the mistle in relative safety.
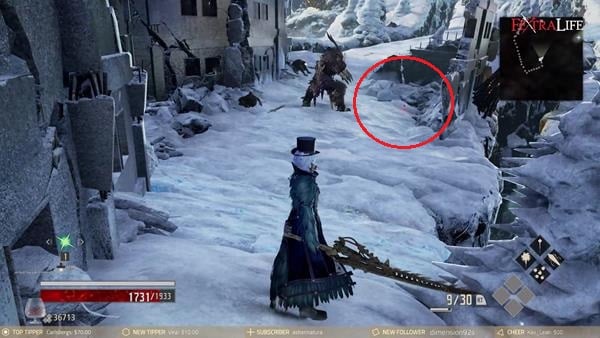
To reach the vestige, you must circle back around the wrecked building back toward the mistle & take the other path (left path if standing at the mistle looking down) to head towards where the Brute Executioner could be seen guarding the vestige. If you didn't already snipe the brute, kill it now, & then pick up the Fionn Vestige Part D.
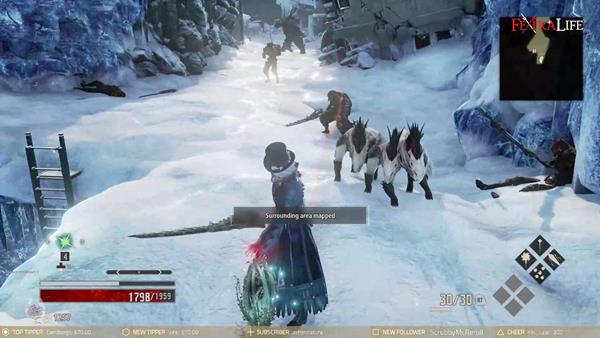
Now, you'll want to return to the mistle & circle back around the building using the right path to head to the next area. Continue to watch for ambushes from snow piles as you make your way down, & avoid the light blue ice covering chasms as it can collapse underneath you. An item is visible along the right edge of the cliff as you make your way down, but be careful as you will be ambushed by two Brute Exocutioners, so be ready. Head toward the ruined buildings ahead, & be ready for a hound ambush as you make your way past the lone building on the left. One hound is inside, & more will come from ahead. When you reach the split in the path, one leads down into the ice cavern to the right, & another up toward the buildings to the left. Head up toward the buildings, but be ready for another fast Brute Lost as you reach the buildings. It has high health, & can quickly hit hard, but the quick charge attack can cause it to fall into one of the chasms. After dealing with the Brute, inside the buildings you will find the fourth Mistle & a ladder that can be kicked down into the ice cave to create a shortcut back to the mistle. Just uphill from the mistle, on the right side,you can find 1x Project Evaluation.
Iced Cave
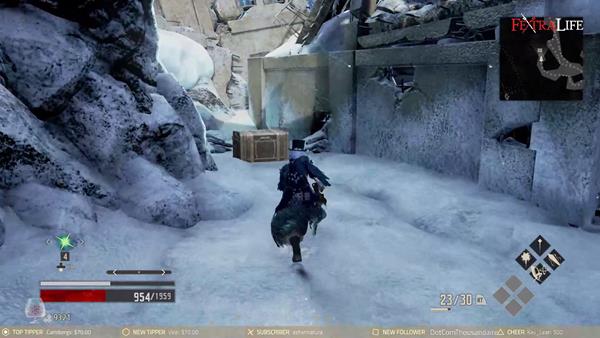
From the Mistle, head straight and make a right and around the structure where you'll find a chest containing 1x Winter Mantle +5 - if you rested at the mistle, you'll have to fight your way back through a Bayonet-wielding Lost, a Brute Lost, and a Mutated Hound.
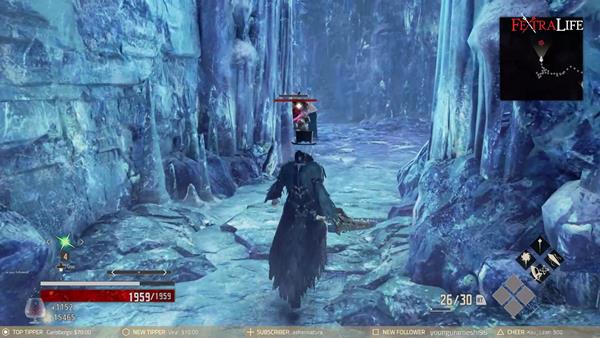
Now, either go back to the Mistle, and climb down the ladder, or go back in front of the buildings, & take the downhill path into the ice cave. You'll find yourself in an ice-covered underground path filled with several urchins throughout the cavern, & in front of the ladder shortcut a circular path with two patrolling urchins, two stationary lost soldiers on the left, & a Rotten Lost Knight on the opposite side of the circle. Watching for the patrolling urchins, go right to circle around behind the Rotten Knight for an easy backstab - killing it will map the surrounding area, you'll also find another chest containing 1x Machete +5. As you continue back around the circle you can take out the two lost soldiers before going back past the ladder & following the left path uphill toward the next area.
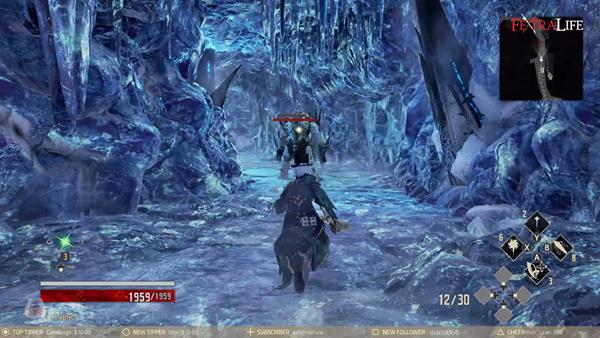
If you descended the ladder initially instead of entering from the mouth of the cave, you can now choose to backtrack toward the mouth for completion if you wish. You'll encounter a Brute Executioner and 4x Mutated Sea Urchin - there's 1x Pungent Cheese that you can pick up that's on the corner right side.
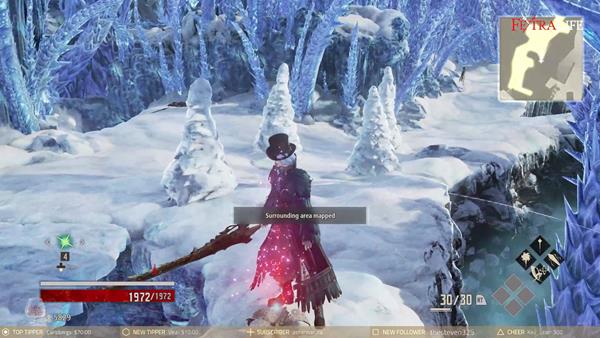
Go back to where the ladder was and take the uphill path which will take you back to the surface, you'll find 1x Regen Inducer and a Rotten Mistle that can be purified. Be careful standing too close to the cliff edge as you approach the mistle as part of the snow may collapse.
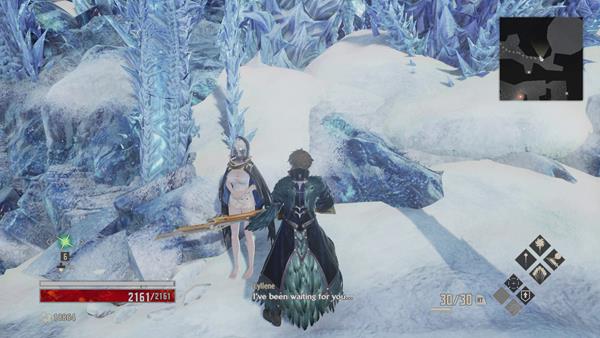
After purifying the Mistle, continue forward, fight your way through the Brute Lost, and speak to Cyllene to restore a few vestiges. With the vestiges you've acquired earlier, you should be able to repair Fionn Vestige II and Fionn Vestige IV as well as to reveal more of Nicola's memories - once you're done and prepared, head inside the iced crypt where you'll face the next successor.
Successor of the Breath
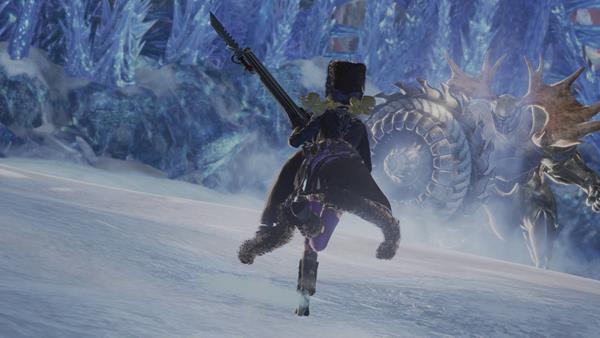
Upon entering the arena, you'll now find yourself inside the crypt of the ridge guardian, the Successor of the Breath.
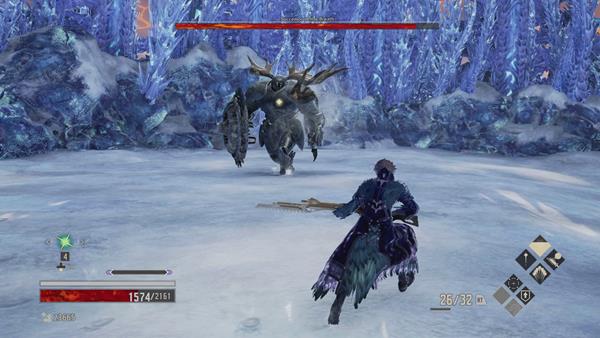
To learn about the strategies on how to defeat this boss, you can click here. Defeating the boss rewards you with 48020 Haze and a cutscene between the Karnstein siblings will follow.
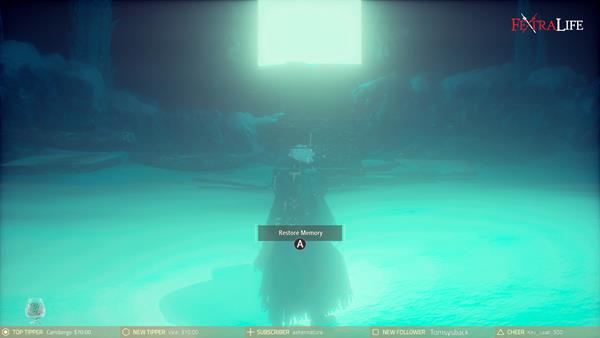
Once you've regained control of your revenant, choose "Restore Memory" to trigger another cutscene and you'll acquire Fionn Vestige V which will allow you to use the Fionn Blood Code.
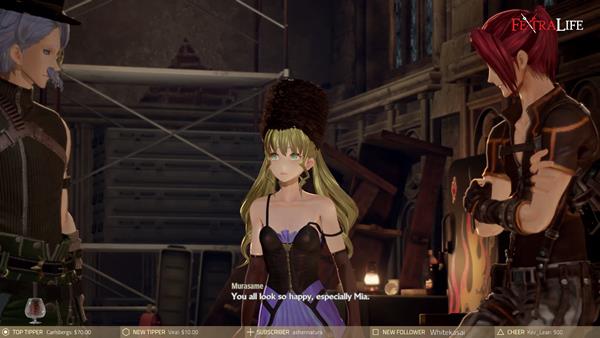
You've now cleared the area, activate the Crypt of the Breath Mistle and teleport back to Home Base to progress the story - you'll now have to make your way to Jack's location, the Ashen Cavern.
Revisiting the area later, Eos Vestige Part A can be found in front of the boss room where Cyllene was.
Video
Map
Trivia & Notes:
Trivia and notes go here
 Anonymous
I just found the trick to fight with brute monk lost (AKA rolling guy)
- put winter mantle buff with fionn chrome
- Boost with elemental wall
- Boost with anti freeze
- buff with Foulblood Barrier (use by youreself or pair with yakumo)
For a while damage was reduce greatly and when anti freeze effective the damage is less than 5% for normal attack.
I found this method,while trying to clear the depth : silent white.
PS. When I played at the ridge my level around 65 and the silent white is around 75.
And you can use this trick to fight successor. Becase I fight the silent white's boss and his attack reduce
as the same as the monk.
PS2. I used to think that enemise's attack is separated between physical and elemental.
So I always use GMX of else with high physical def.
But I was wrong. enemise just like players their attack was buffed with elemental.
 Anonymous
Trick Before go to ice cevern
- run to mistle and the brute will stop (But others will come after)
- Kill all the after then sneak attack the brute
Before go back to home base just back to the entrace where Cyllene stand. You will found the EOS.
Godd luck
 Anonymous
Strugling hard with the brute executioner after the second miste at fionn vestige part D. Is there a trick to it that i dont see? Are there any gains by killing it without pushing it off the map?

 Anonymous
In this map there is an item deep in the cave or something ... I cant seem to get it

 Anonymous
Can someone tell me how to gain access to the black winged door ypu can find in the ridge?

 Anonymous
Not specific enough. Had to look up videos for it because this guide is too vague with some of the description. For example early on it says to go up the caved path after getting fionn vestige c but going up would be going back the way we came and the rest of the description talking about the enemies also implies that we're going back the way we came. That's just once example, this seems to assume that i already know where to go but i'm looking at a guide so obviously i don't


Oh another really annoying bland level, yay
0
+10
-1