Memories of Player is a Location in Code Vein. Memories of Player is a fragment of the player's revenant that transports you to a research facility of a military settlement.

General Information
- Previous: Cathedral of the Sacred Blood
- Next: Cathedral of the Sacred Blood (Revisited)
- Bosses: The Queen's Knight
- Mistles: Research Facility Area, Military Storehouse, Main Battlefield
Video Walkthrough
Map
NPCs in the area
Bosses
Items
Consumables and Trade Items
- 2x Dagger
- Queen Steel
- 1x Pure Blood
- Loss Shard (M)
- 1x Regen Inducer
- 1x Loss Crystal (S)
- 1x Sound Suppressor
- 1x Ichor Concentrate
- 4x Freezing Cartridge
- 6x Blood Barrier Tonic
- 2x Condensed Loss Shard (L)
Equipment & Upgrades
- Awake MJ212
- 1x Night Fang +5
- Blood Code: Queenslayer
- 1x Queenslayer Halberd +5
- 1x Queenslayer Hammer +5
- 1x Queenslayer Bayonet +5
Key Items
Vestiges
- ???
Enemies
- Rooted Lost
- Lost Executioner
- Axe-wielding Lost
- Female Lost Warrior
- Sword-wielding Lost
- Bayonet-wielding Lost
- Sunset Axe-Wielding Lost
Full Memories of Player Walkthrough
After venturing through the maze of the cathedtral, you discover a "special vestige" that transports and reveals the past of your revenant.
Awakened Past
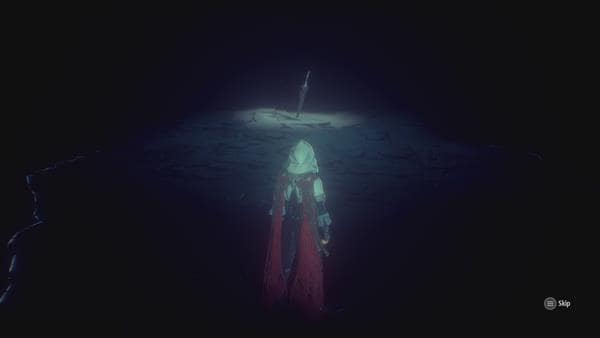
After defeating the Argent Wolf Berserker, the fog behind it will disappear where you'll find a "special vestige". Interact with the vestige and it will teleport you to another area.
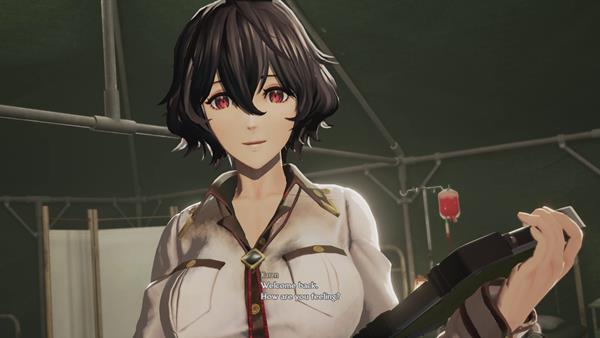
A cutscene will then follow where your revenant will wake up in a military research area and you'll be greeted by a revenant researcher, Karen.
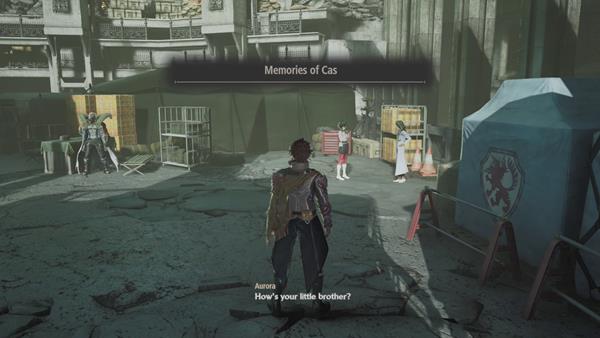
After the cutscene, you'll find yourself outside the facility. You can find Karen speaking to Aurora about her brother Louis, you can talk to both of them to get some information regarding the area you're in - you'll also find Gregorio Silva and other revenants that you can talk to.
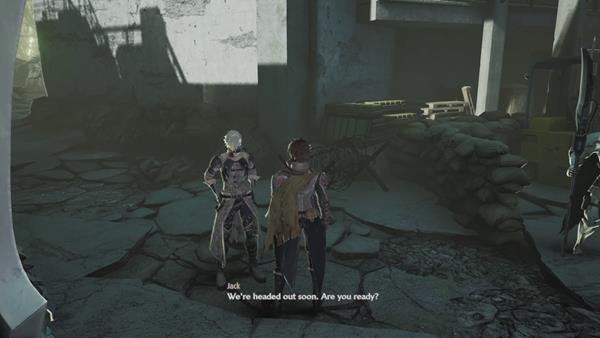
If you're done talking to everyone, approach Jack standing by the exit and tell him you're ready to head out - for this location, Jack will be your companion aswell as being the only available companion when returning to this area.
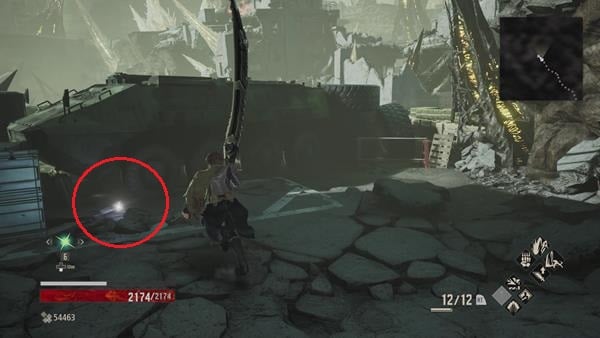
Once the cutscene is done, proceed forward and you'll find 1x Freezing Cartridge next to the weapon cases.
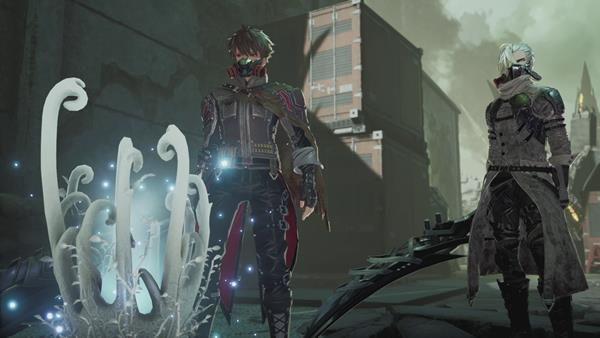
Then continue forward and another cutscene will start upon approaching the Research Facility Area Mistle - you'll learn more about the Mistle and its history during the cutscene.
Research Facility Area
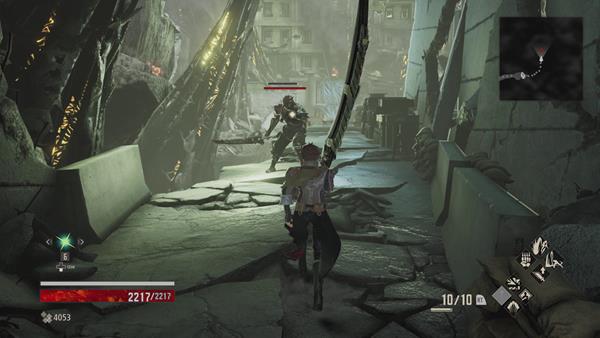
Once you've regained control of your character, head out and explore the area and you'll encounter the first enemy in the location a Sword-wielding Lost.

Proceed further after killing the enemy then climb down the ladder after killing another Sword-wielding Lost that's standing by the gate - you'll need the Barracks Key to unlock the gate, so again, go down the ladder first.

As you head down, be alert since there will be multiple enemies below.
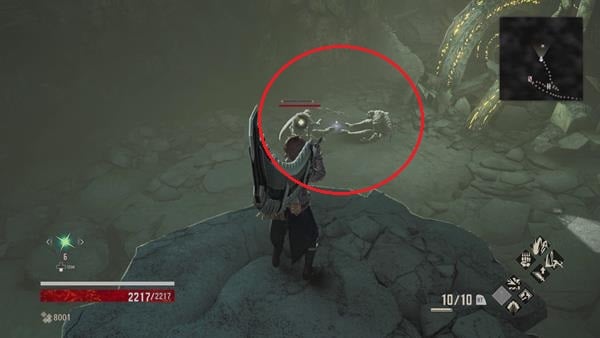
Make a detour first before going straight and go left. You'll find an Axe-wielding Lost and a Sunset Axe-Wielding Lost sitting next to 1x Condensed Loss Shard (L). Head down, kill the enemies and watch out for a Spiked Executioner who'll try to ambush you from behind - the enemies may drop Loss Shard (M).
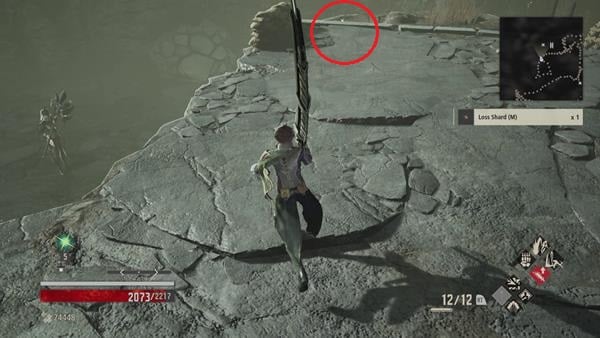
Head back to where the multiple enemies were, kill the enemies and pick up the Barracks Key that's by the ledge, then climb down the ladder ahead of you - you'll find a Female Lost Warrior wielding an axe.
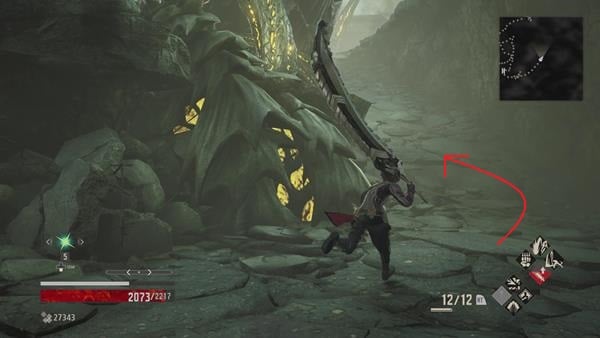
*** If you make your way around and go up the slope where The Trial of Blood will commence. You'll have to fight through a group of Mutated Hound, Axe-Wielding Executioner, Axe-wielding Lost, and Female Lost Warrior for a total of 6 waves - surviving the onslaught and killing the last enemy rewards you with 1x Loss Crystal (S).

Retrace your steps and go back to the Barracks gate to unlock it using the Barracks Key.
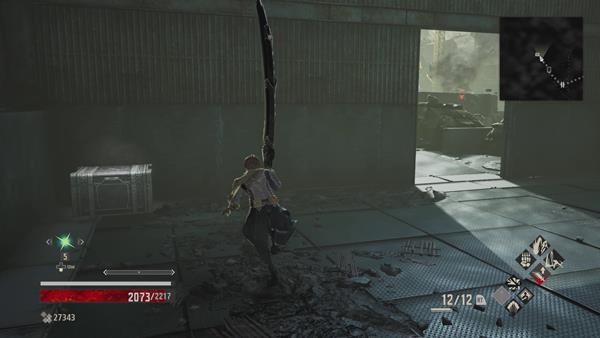
Head inside and you'll find a chest containing 1x Queenslayer Hammer +5.
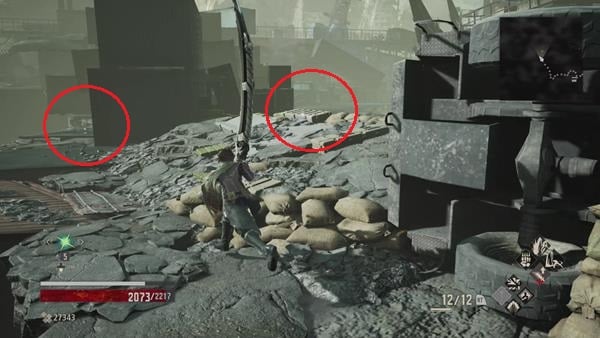
Next, go outside and follow the path. You can pick up 1x Regen Inducer to your right and 2x Dagger to your left - from where you picked up the dagger, drop down from the ledge where you'll find 1x Condensed Loss Shard (L), then drop down again to find an underground path.

Go through the path, kill the Spiked Lost Executioner blocking your way, then climb up the ladder where you'll find a rotten mistle.

Purify the mistle to map the surrounding area then head down the path below you.

Go right and through the supply area where you'll see a Female Lost Warrior patrolling the area, 2 more Sword-wielding Lost and 1 Axe-wielding Lost will join the fight once you push forward.
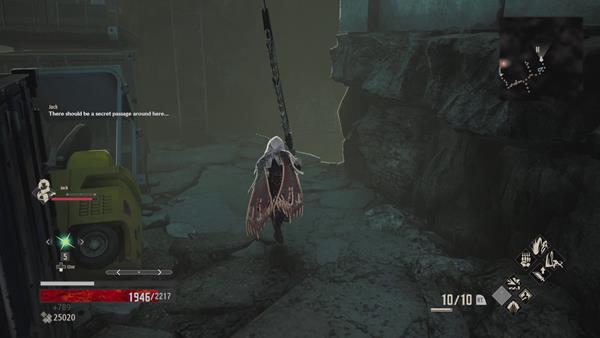
After you've cleared the area, continue forward, make a left, then climb up the ladder.

Upon reaching the top, make a right and go inside the storeroom where you'll find a Spiked Executioner sitting next to a ladder. Kill it with a back-stab attack and 3 more Sword-wielding Lost will jump from above to ambush you. After killing the enemies, continue your exploration and climb up the ladder - you'll find 1x Awake MJ212 at the right-hand corner of the 2nd platform.

Next, you'll want to climb down the ladder that leads to another underground path.

Along the way you'll encounter a 1x Spiked Executioner patrolling the area and another at the end, so be cautious fighting the enemy in the narrow space. There's 3x Queen Steel that you can pick up at the end of the path - since it's a dead-end, retrace your steps, climb back up the ladder, and head towards the exit to your right.

Upon arriving at the other building, you'll find a Female Lost Warrior that seems to be resting. Instead of climbing down the ladder, you can ambush it by going to where the wooden boxes are, then attack it from above to catch it off guard - next to the ladder you can pick up 3x Blood Barrier Tonic.

Now, head outside, make a hard left and drop down from the ledge. You'll find another path towards another ladder leading underground - there's 3x Freezing Cartridge that you can pick up from the ground and 1x Regen Inducer to your left.
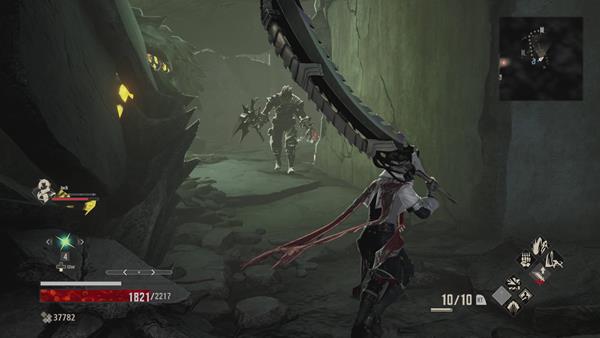
Climb down the ladder, go through the underground path and make a left where you'll find an Axe-wielding Lost guarding a Rotten Mistle by a corpse - make sure to purify it to map the area before proceeding further until you reach another ladder.
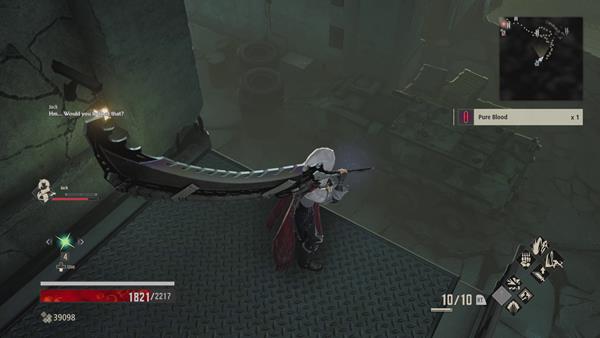
Climb up the ladder and you'll find 1x Pure Blood that's on the edge of the platform - pick it up before jumping down.
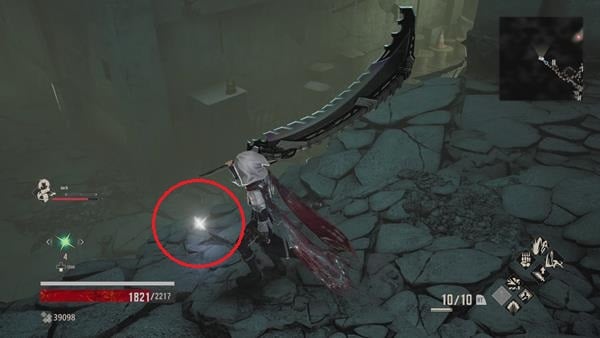
From where you landed, go right and break through the wooden boxes. You'll find 1x Condensed Loss Shard (L) on the ground.
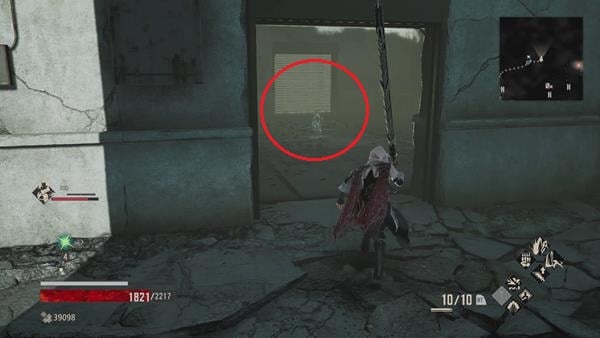
Jump down to the bottom after picking up the item then go right and go inside the building that's on your left to find the Military Storehouse Mistle - activate it to rest and to map the surrounding area.
Military Storehouse
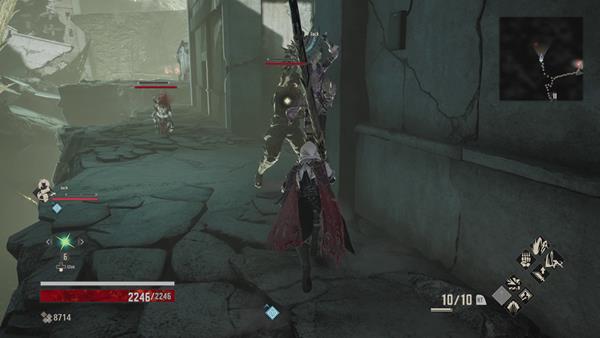
From the Mistle, head outside and go right until you reach the end. From there make another right where you'll encounter 1x Rooted Lost and a Sunset Axe-Wielding Lost.

After killing the enemies, continue forward and go inside the storehouse to your right, kill the 2x Sword-wielding Lost and pick up 1x Condensed Loss Shard (L) on the ground.

Head back outside, go right towards an open field where an executioner is patrolling - as you approach the enemy, a Bayonet-wielding Lost, Rooted Lost, and 2x more Sword-wielding Lost will join in to fight - you can pick up 2x Freezing Cartridge near the barricades next to where the Rooted Lost was.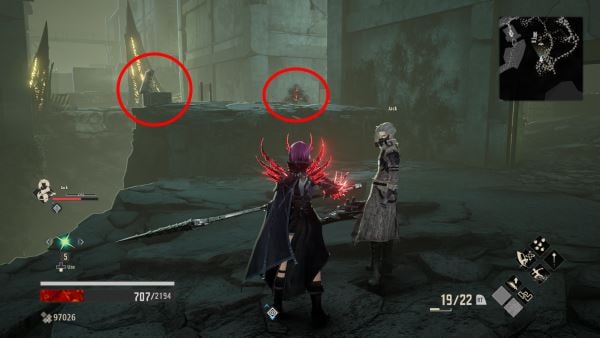
Take note of the nearby Rotten Mistle and chest that is too high to reach here, we'll be coming back for this later (I came back and took this screenshot later after opening the chest which is why the chest appears open here)

Once you've cleared the path, head inside the storehouse where you'll encounter another Spiked Executioner.
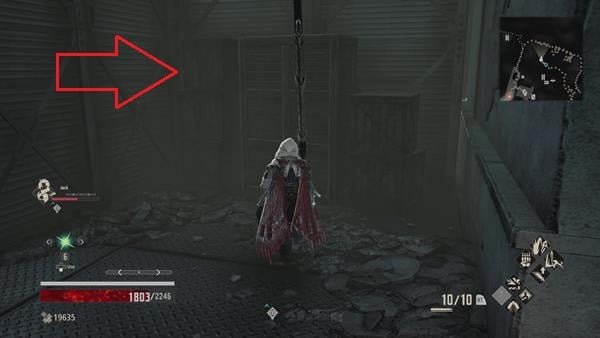
Before you fight the enemy, break the wooden boxes that's on your right. You'll find a hidden ladder that you can climb to reach the 2nd level of the storehouse. There's 1x Sword-wielding Lost above and 1x Condensed Loss Shard (L) that you can pick up.
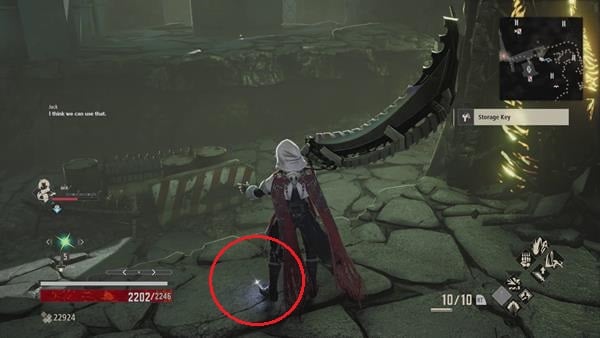
Upon acquiring the item, head back down and head outside the other exit where you'll find 1x Storage Key on the ground.

Retrace your steps back to the Military Storehouse Mistle and head towards the storehouse where you encountered the Spiked Executioner that was sitting next to a ladder. Climb up the 2nd level and then equip a blood code that has the Shifting Hollow gift , you can reach the other end by dodging then use the Storage Key to unlock the shutter door - there's 1x Ichor Concentrate that you can pick up beside the door.

Once you've unlocked the door, you'll find a rotten Female Lost Warrior next to a chest. Kill it to map the surrounding area, then open the chest to obtain 1x Queenslayer Halberd +5 - after you've obtained the weapon, destroy the wooden boxes that are on the left corner to reveal a path below.
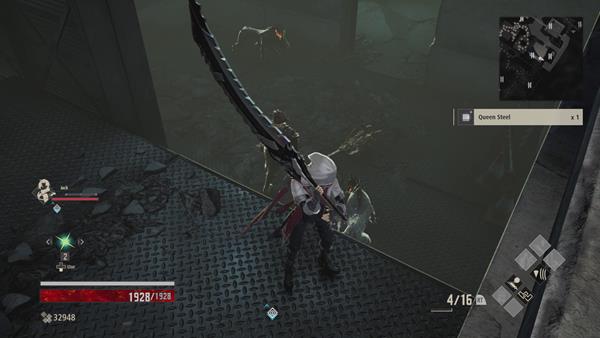
Next, climb up the ladder and you'll find yourself inside another building where you'll see 1x Axe-wielding Lost and 2x Mutated Hound. There's 1x Queen Steel that you can pick up by the ledge - You can ambush the enemies below to kill them quickly.
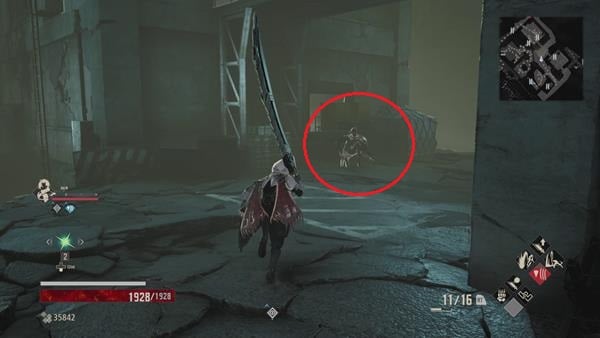
Head outside the building, make a left where you'll see a kneeling Female Lost Warrior, kill it to acquire Old Shutter Key. Since you've acquired the key, you need to head back to the Military Storehouse Mistle. Instead of going back from where you came from, you can take a shortcut.
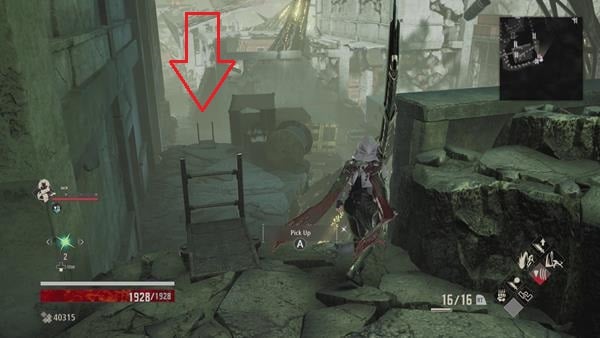
Go around the corner where you'll encounter 2x Mutated Hound, climb up the ladder, pick up 1x Sound Suppressor at the top, then kick the ladder down that leads back to the Mistle - upon arriving, use the key to unlock the shutter door that's in front of the Mistle.
Before proceeding through the now unlocked shutter door however, we will go back to purify the Rotten Mistle and get the chest we saw earlier. Exit back out of the building with the Mistle the way you came in and take a right. 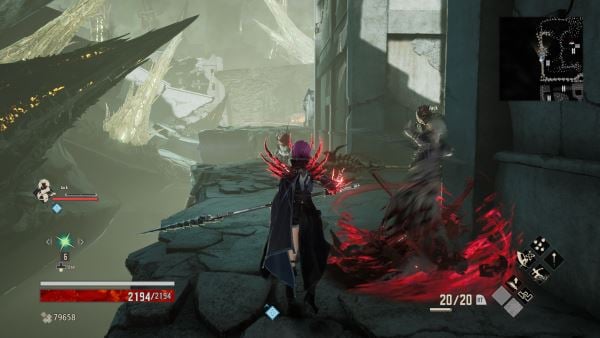
Walk all the way to the end, then take a right again and continue forward, defeating the 1x Rooted Lost and Sunset Axe-Wielding Lost again (which have now respawned since you rested at the mistle). Then enter the next building on the right, making sure to defeat the two enemies in there again so they don't get the jump on you from behind.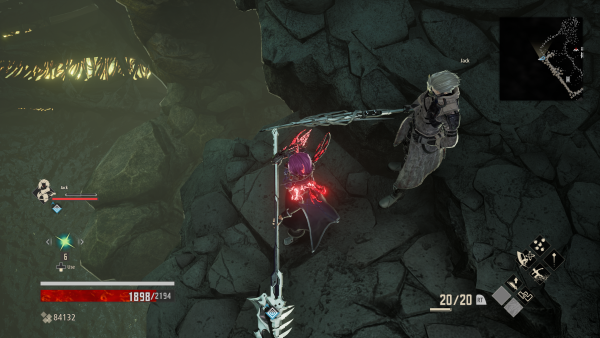
Exit back outside this building the way you came in and look out over the edge, for a place that you can jump down to.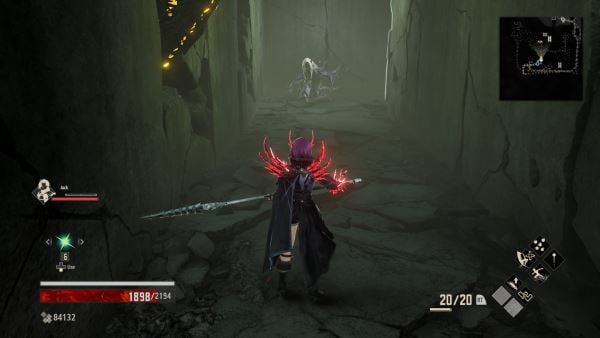
Jump down and follow the path, turning right, then left, until you find a Female Lost Warrior sitting down, who will stand up and attack you.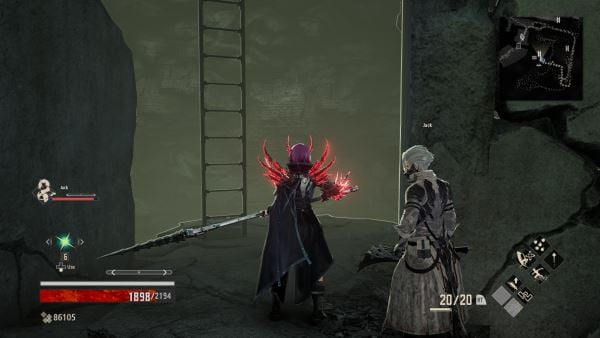
After defeating her, head to the right of where she was sitting to find a ladder going up.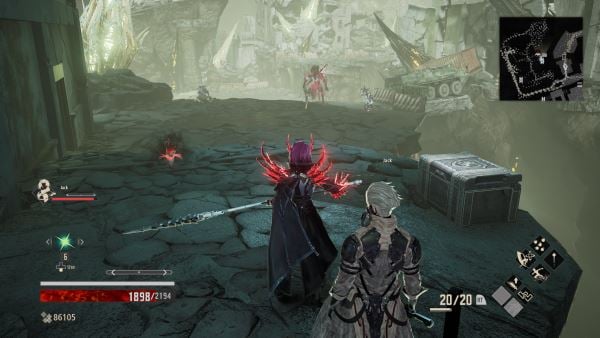
At the top of the ladder you'll find a Rotten Mistle with a chest containing Queenslayer Bayonet +5. Now you can jump down one of the nearby ledges (not back down the ladder you came up from) to head back to the Military Storehouse Mistle again and proceed through the Shutter Door you unlocked using the Shutter Door Key.

Now, there will be multiple enemies ahead such as a Spiked Executioner, Rooted Lost, Axe-wielding Lost, Bayonet-wielding Lost, and Sword-wielding Lost. So make sure to rest at the Mistle before heading out.

After you've cleared the area, head down the path to your right where you can pick up 3x Blood Barrier Tonic - continue further after acquiring the item where you'll encounter 1x Sword-wielding Lost and 1x Sunset Axe-Wielding Lost along the path.

Eventually, you'll find yourself in an open area and find the Main Battlefield Mistle that can be activated - purify it to rest and to map the surrounding area.
Main Battlefield

After activating the Mistle, head towards the 2 Female Lost Warriors that's on the right side of the field, kill them for a chance to obtain 1x Queen Steel, then walk up to the corner next to the military truck where you'll find a chest containing 1x Night Fang +5 - now, make further preparations before heading down onto the open field which will trigger a boss cutscene.
The Queen's Knight
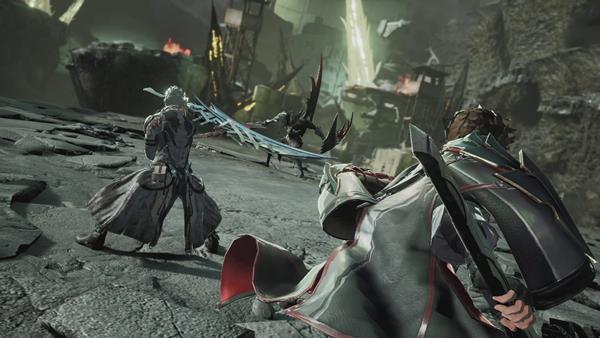
Upon approaching the open field, a cutscene will trigger and a boss, The Queen's Knight will appear.
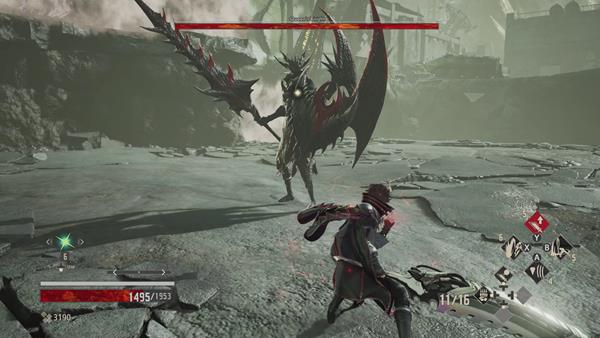
To learn about the strategies on how to defeat this boss, you can click here, defeating the boss rewards you with 32900 Haze - after successfully killing the boss, another cutscene will trigger and you'll return back to the Cathedral of the Sacred Blood and acquire the Queenslayer Blood Code.
Video
Map
Trivia & Notes:
Trivia and notes go here
 Anonymous
 Anonymous
 Anonymous
The snazzy gimmick that this area has is that it forces your character to equip the Queenslayer Claw until you get access to your menu again. If you have the veil in your inventory, the game apparently searches for it and equips that onto you. If you happen to not have the veil in your inventory (or if it's just in your storage), the game will give you one for free.

 Anonymous
For some reason, I didn't get Jack as a companion while doing this area. The Option to choose a companion while resting is grayed out for me. May this be a bug? It works fine in every other location. Just not in the memories.

 Anonymous
I beat the level and have gotten all all the rotten mistles yet it still says 85%› is there something i am missing?

 Anonymous
I can't find an answer to this anywhere: Is this location optional? I hate this location and if I can skip it on future runs, can I?


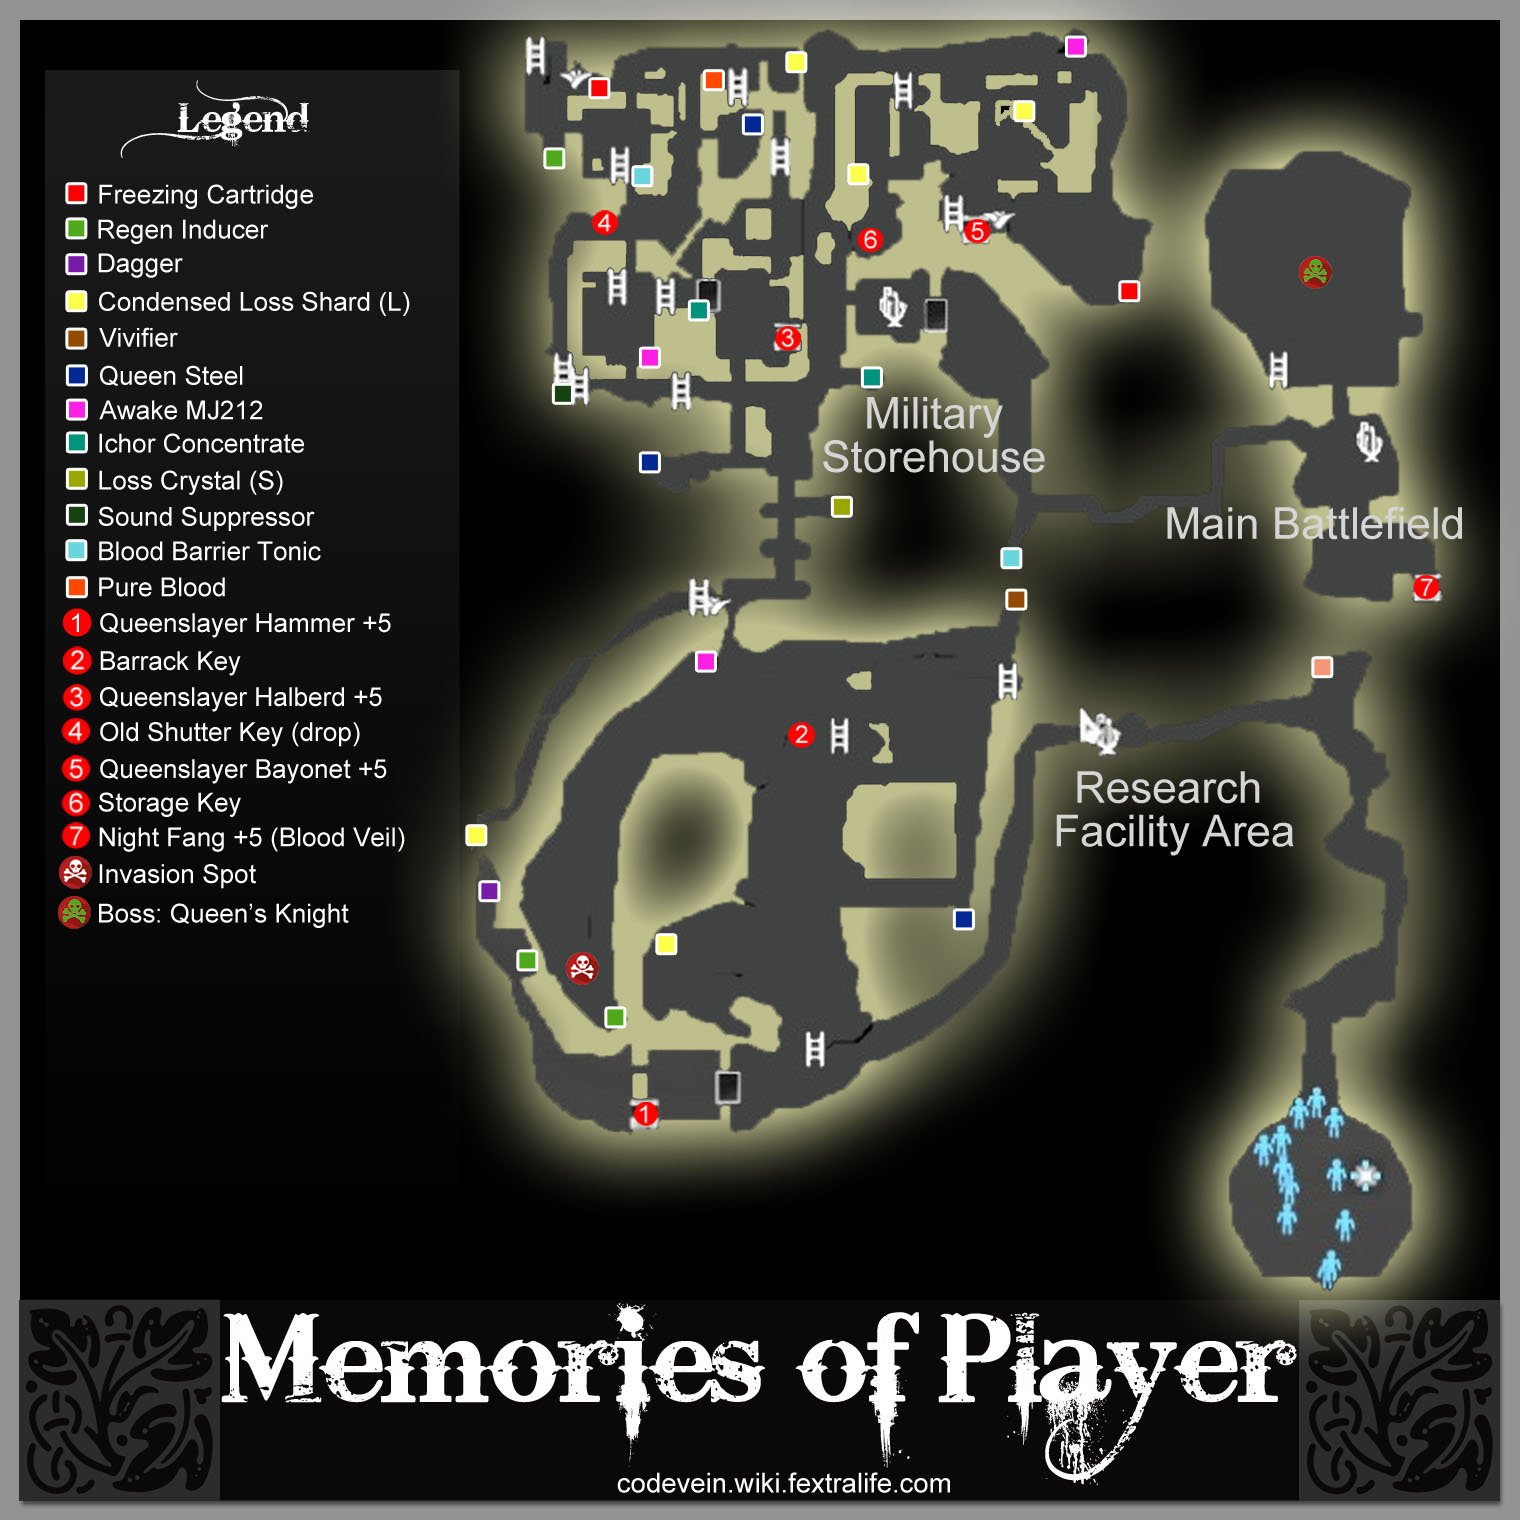
This map is so bad I had to post about it. Why do you have to use 10 different colors when numbers suffice? AND, the first item (a pinkish color) ISN'T EVEN REPRESENTED ON YOUR LEGEND.
0
+10
-1