Area G-12 Howling Pit is a Location in Code Vein. The Howling Pit is an area that is fully covered by mist and is flooded with water where countless lost roam around. See Walkthrough for the rest of the by-area guide.

General Information
- Previous: Dried-up Trenches
- Next: Cathedral of the Sacred Blood
- Bosses: Invading Executioner
- Mistles: Howling Pit Entrance, Hills of Deception, Bottomless Shore, Derelict Oil Rig
Video Walkthrough
Map
NPCs in the area
Bosses
Items
Consumables and Trade Items
Equipment & Upgrades
- 1x Impaler +3
- 1x Queen Steel
- 2x Awake MJ109
- 1x Hanemukuro +3
- 1x Prayer Shawl +3
- 1x Assassin's Sickle
- 1x Regen Extension Factor
Key Items
Vestiges
- Atlas Vestige Part A
- Atlas Vestige Part B
- Atlas Vestige Part C
- Atlas Vestige Part D
- Assassin Vestige Part A
- Assassin Vestige Part B
- Assassin Vestige Part C
- Assassin Vestige Part D
Enemies
Full Area G-12 Howling Pit Walkthrough
Upon exploring the Ruined City Center, you'll discover a deep pit that leads to Area G-12, the Howling Pit. The party sets forth into the mist-filled area hoping to find another bloodspring.
Finding Area G-12
In order to find the path of the Howling Pit, fast travel via a Mistle to the Parking Garage of the Ruined City Center. Head down the ladder and follow the path until you reach the area where you'll find a group of Lost that is in a procession.
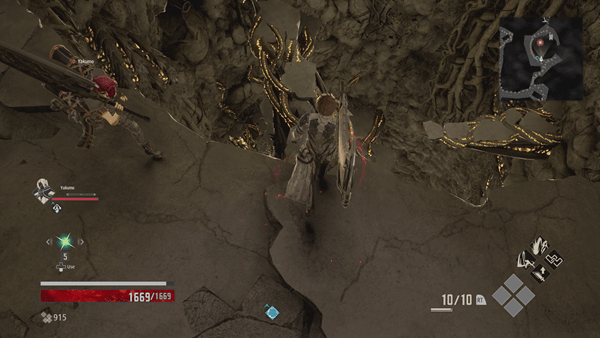
Simply follow them, and head west until you reach an area that has a huge opening. You'll have to head down by landing onto the platforms until you reach the bottom. If you want to head back up, go right. There is an elevator that you can use. Don't bother using the lever since it's not working, simply step onto the circular platform to operate the lift - you'll find a rotten Mistle that you can purify to map the area at the top. The area with the spikes has the following items for pickup: 2x Blood Barrier Tonic, Queen Iron
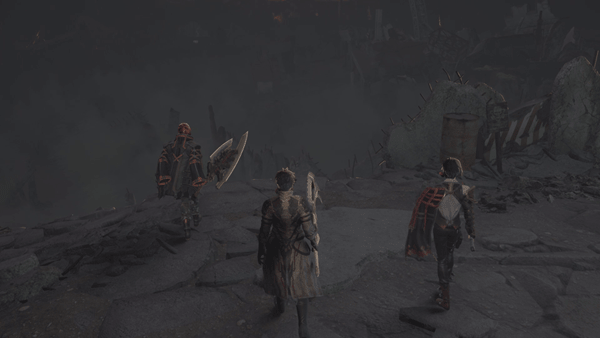
After you've purified the Mistle, ride the lift back down and follow the path until you arrive at the Howling Pit - a cutscene will then follow and then activate the nearby Mistle.
Into the Mist
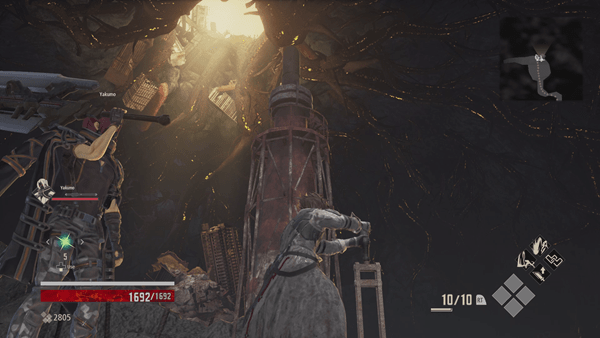
You'll now have to make your way through the mist. First, rest at the Mistle if needed then pull the lever next to it to lit the fire, it will serve as a marker that will guide your path through the mist. Now, making your way around the flooded mist is quite difficult since there are multiple enemies that are hiding and are quite difficult to see, and there are some parts of the area that is quite flooded which restricts you from running or sprinting. A reminder is to look at your surroundings and the pipes that are lit so that you can identify if you've already been to that part of the area.
The first two enemies you'll encounter are 2x Purple Blob and you may loot 2x Stamina Booster from the ground near the descending ramp to the swamp. The rest of the enemies are some Stone-Crusher and an ant-looking executioner type enemies. The ant-looking ones are quite tricky since they hide underwater and will pop out once you're near the, but despite that, you can see their antennas poking from the water - so again, make sure to watch your surroundings.
If you stick to the left portion of the swamp, you can progress until the water gets deep and collect 2x Queen Iron and 2x Insulating Tonic by a ramp. Up the ramp, toward a Stone-Crusher, there's 1x Bugarally Doll and Assassin Vestige Part D. You can pull the lever to turn on the fire and create a progress check line. Down the ramp, there are several Purple Blob enemies to defeat, and you can enter into the deeper water and lure out some larger enemies and slowly loot 2x Sound Suppressor.
Continue exploring the area around the downward ramp with purple blobs, sticking mostly left, and you'll find 2x Stun Cartridge and 2x Venom Vaccine before entering another deep water area. The water area hides ant enemies and spike ball (Mutated Sea Urchin) enemies that drop Antifreeze Tonic. You can loot 1x Awake MJ109 from the area with the Mutated Sea Urchins. A bit further, there will be 3x Purple Blob enemy guarding 1x Queen's Iron and a Rotten Mistle that will map the surroundings.
Now that you can see the map, head toward the horseshoe-like unexplored area in the middle to face off against a Two-Handed enemy, that is guarding the Assassin Vestige Core.
Head back toward the mistle and explore the paths you haven't, sticking to your left as you go. You'll come to a ramp leading to a spear-wielding ant guarding a Tresure Chest with GXM Variant +3 Blood Veil and 1x Awake MJ109.
Right of the Mistle
Once you're back at the ramp, with your back to the initial Mistle, take the right path and follow it to a dead end where 1x Queen Iron is guarded by 2 enemies. Double back (sticking right) and you can go up a ramp
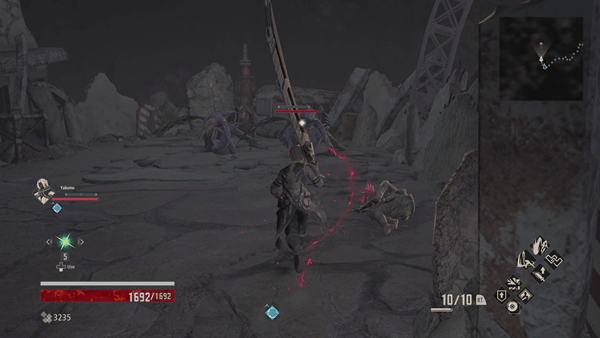
Make your way around and head up the slope where you'll find two of the ant-type executioners that seem to be looking at a red glowing item. Kill them and pick up the item to acquire the Atlas Vestige Part A - make sure you also pull the lever nearby to fire up the pipe. Down the slope, you'll collect 2x Dagger. Continue through the flooded mist and every time you find a slope go through it to find a lever that you can activate.

Head back down into the mist and go right, you'll find a group of Purple Blob, clear out the area and you'll find 1x Boutique Sake where the enemies were grouped.
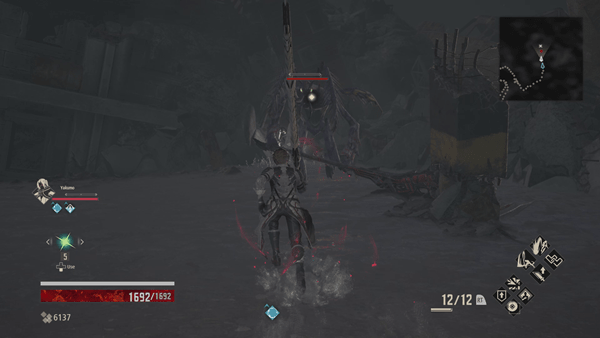
Next, you want to walk straight then make a left until you see an executioner ant-type enemy guarding an item by the glowing vines, kill it to obtain the item it was guarding which is 1x Regen Extension Factor.

Make your way around the mist until you come across an elite lost wielding a heavy sword, you'll notice that it's guarding a vestige behind it - kill it and pick up the vestige to obtain Atlas Vestige Part C.

From where you got the vestige, head back down then make a left, you should find another group of Purple Blob from afar, follow it and you'll find a rotten mistle you can purify to map the surrounding area. There's also 3x Antivenom to pick up.
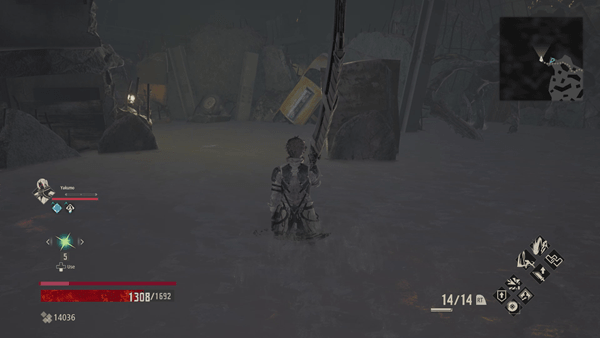
Next, from the Mistle, go back and try to reach the far right end of the map where you'll encounter multiple Ant-type executioners.

Clear out the enemies and head to the area indicated above to find another vestige, Assassin Vestige Part B.

From where the vestige was, just turn around and you'll find a slope that will take you on higher ground - you'll find the bloodspring and another Mistle.
The Siblings

Upon approaching the bloodspring, another cutscene will start. Here you'll meet another revenant named Mia Karnstein and her brother Nicola , she'll try to attack your party in order to steal the Blood Bead from you. You'll also learn that her brother Nicola is on the verge of frenzy due to thirst and that the reason why Mia is trying to steal the blood bead from you is to quench his thirst and stop him from losing control, eventually, Yakumo hands over the blood bead - the cutscene ends with siblings leaving the area to search for more blood beads and the party decides to chase after them.
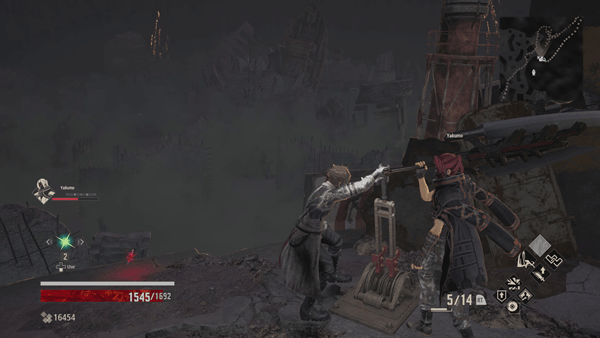
Once you've gained control of your character, walk up to the nearby lever to find another vestige, Atlas Vestige Part B, activate the lever to lit up the pipe and the nearby Mistle.

Next, walk towards the bloodspring to find another vestige, Assassin Vestige Part C.
Follow the Siblings
From the bloodspring, head down the path to the left, pull the lever to drain the water and head towards that path - you'll find 1x Awake MJ109 at the corner left side.
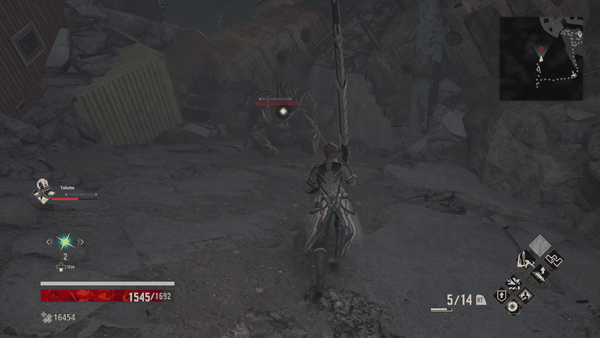
Now, go right and you'll see an elite lost wielding a heavy sword sitting at a corner - kill it to acquire the Rusted Sluiced Key.
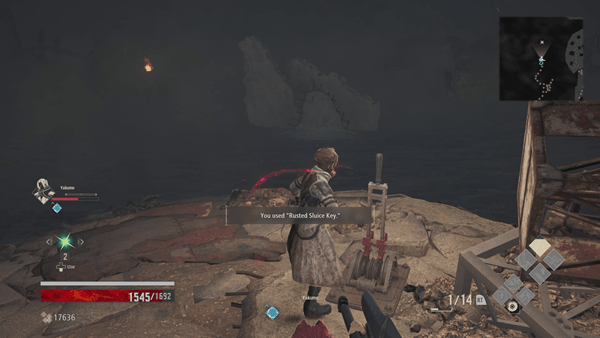
Continue through the path until you find another lever, activate it by using the key you got earlier which will lower the water around the area ahead of you.

Next, loot the area for 2x Vivifier, 1x, Queen Iron, and you'll notice another group of Purple Blob and near it, you can pick up 1x Ichor Concentrate. A path near here takes you to a locked door, that needs the Eagle Key - keep this in mind as you'll backtrack later!
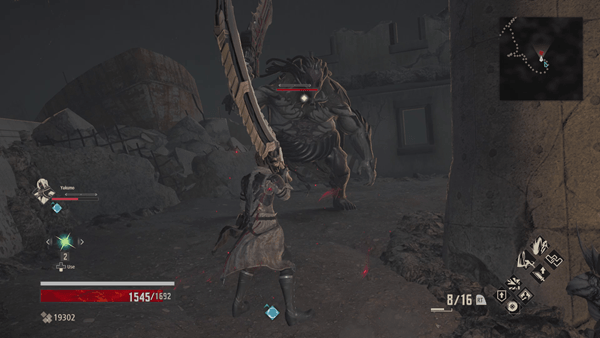
Continue going straight until you reach another slope leading to high ground, you'll encounter another elite lost with a heavy sword as you approach the spot - you can find 1x Awake MJ109 next to a corpse.

Head back down to the mist-filled area, you should notice a unique looking enemy that has blue claws and blue tentacles on its back - be careful when you face this enemy since it's quite agile as it uses water-based attacks such as a dive attack and a swinging attack which allows it to move around the area quickly. You can try to bait it as well by standing on the edge, and when it attacks in an aggressive way, it can fall to its death.

After dealing with the enemy, head to where it was standing and you'll find the Eagle Key on the ground.
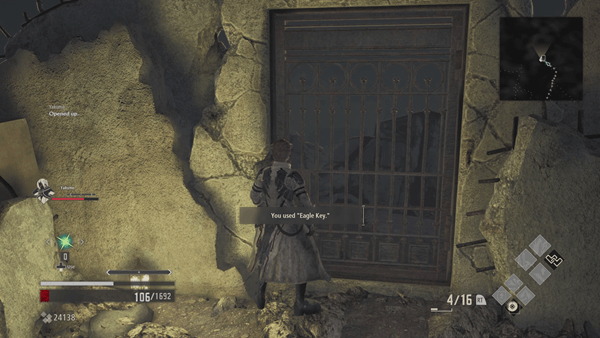
Retrace your steps back to where you used the Rusted Sluiced Key, but instead of going up the slope, go right until you reach a gate. Use the Eagle Key to unlock it.
Bottomless Shore
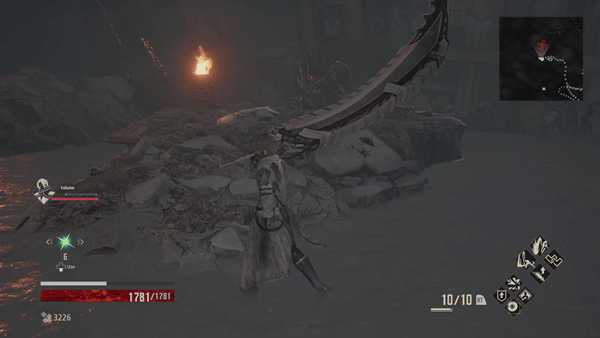
Proceed further into the pit through the gate and make a right, you'll find another elite lost wielding a heavy sword sitting, kill it to obtain the Moss-covered Key.

After killing the enemy, make sure to walk up to the edge to find another vestige, Assassin Vestige Part A.
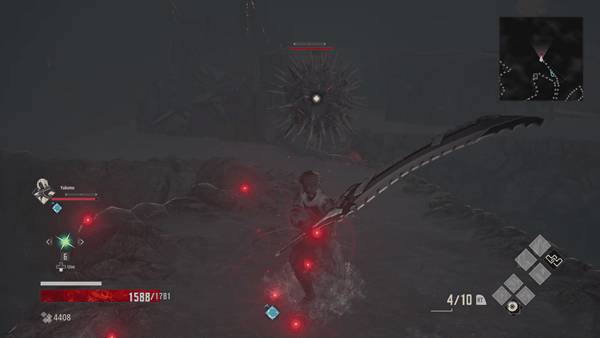
Head back to where you came from and keep going straight towards a new enemy, a Mutated Sea Urchin - be careful as you go further since the area ahead is flooded which restricts your movement and more sea urchins and Purple Blob will be around the area. You can loot 1x Queen Iron from the path ahead, but first...

You'll also find a makeshift platform, head up and you'll also discover a chest containing 1x Prayer Shawl +3.
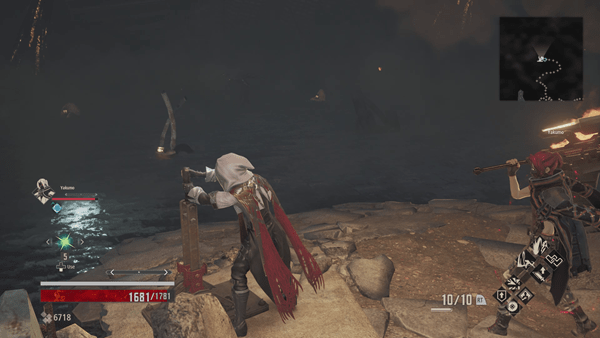
Now continue on ahead until you find another lever - activate it with the use of the Moss-covered Key and the water ahead of you will drain.
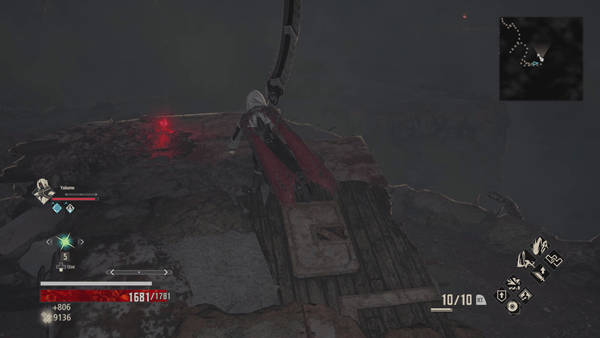
Now, head down and go right, there will be an ant-type executioner along the way, so kill it and proceed further where you'll find Atlas Vestige Part D. You can also loot 1x Queen Steel from a platform nearby, and be mindful of two enemies that will crawl up to the platforms as you approach.
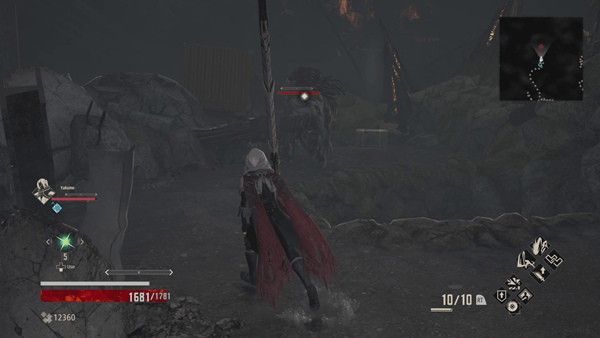
Retrace your steps and go the other way around, you will see 3x Anti-Slow shining by a dead end. Onward, you will find another elite lost with a heavy sword that's guarding a chest - kill it and open the chest containing 1x Hanemukuro +3.
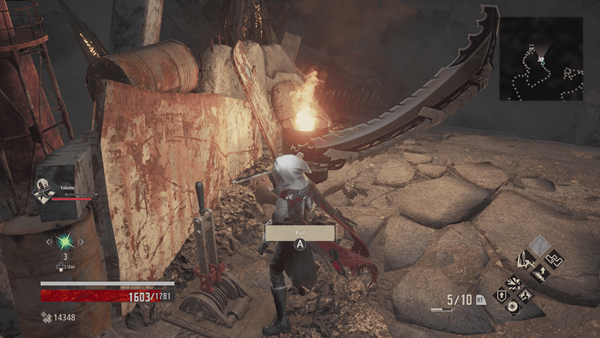
From the chest, make a left and then another left, and go up a slope. You'll find a lever, pull it to light up the fire signal and continue.
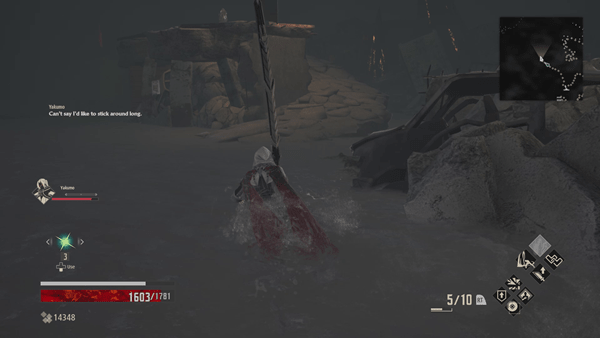
Next, from the lever, go down the path to your right, you'll find high-ground to your right that has the Bottomless Shore Mistle on it - head towards it and activate it to rest and map the surrounding area.
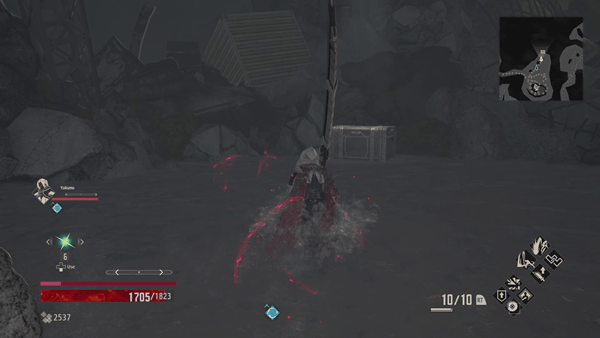
After using the Mistle, head back down. You should see 2x Mutated Sea Urchin roaming the area - kill it and you'll find a chest containing 1x Impaler +3.

Head back to the lever you pulled earlier and go the down the other path, as you continue forward, you'll hear a guy speaking to Nicola and Mia trying to stop the guy from doing something to her brother, follow the path and you'll come across a rotten mistle - purify it and pick up 1x Queen Steel next to it. After you've purified the mistle, make sure to make further preparations as you will now be entering a boss arena - approach the arena and a cutscene will begin.
Boss Battle: Invading Executioner

After the cutscene, you'll face a boss against the Invading Executioner, you can click on the link to learn more about the strategies on how to defeat this boss. Upon defeat, you'll be rewarded with 13440 Haze, 1x Assassin's Sickle, and Mia will be recruited. Another cutscene will follow and you'll acquire another vestige core which will reveal the memories of Nicola - the cutscene ends with Mia and the party back at Home Base.
Video
Map
Trivia & Notes:
After completing the area, the following NPCs may be found:
Richard: Shows up by the Hills of Deception mistle. He is looking for a sleeping bag. Go down the slope toward the blue icon on the map to pick up Threadbare Sleeping Bag and return it to him to complete the quest. Rewards Loss Shard (L)
 Anonymous
The bottomless pits where you can easily fall to your death due to the area being flooded. One of the couple examples of artificial difficulty in this game.

 Anonymous
if ure doing this are first, mia is not going to attack and ure missing some things...

 Anonymous
Take Blighttown, remove the verticality, remove the poison, expand the bottom, and make every enemy either one of the Barbarians or a bonewheel skeleton.

 Anonymous
Creepy level. Dark, misty, flooded. The ant monsters are quite scary-especially that lone blue one you encounter about 2/3rds through the map. At least the water isn't poisonous....

 Anonymous
When does Richard shows up in this map? I've completed it and he doesn't appear there.


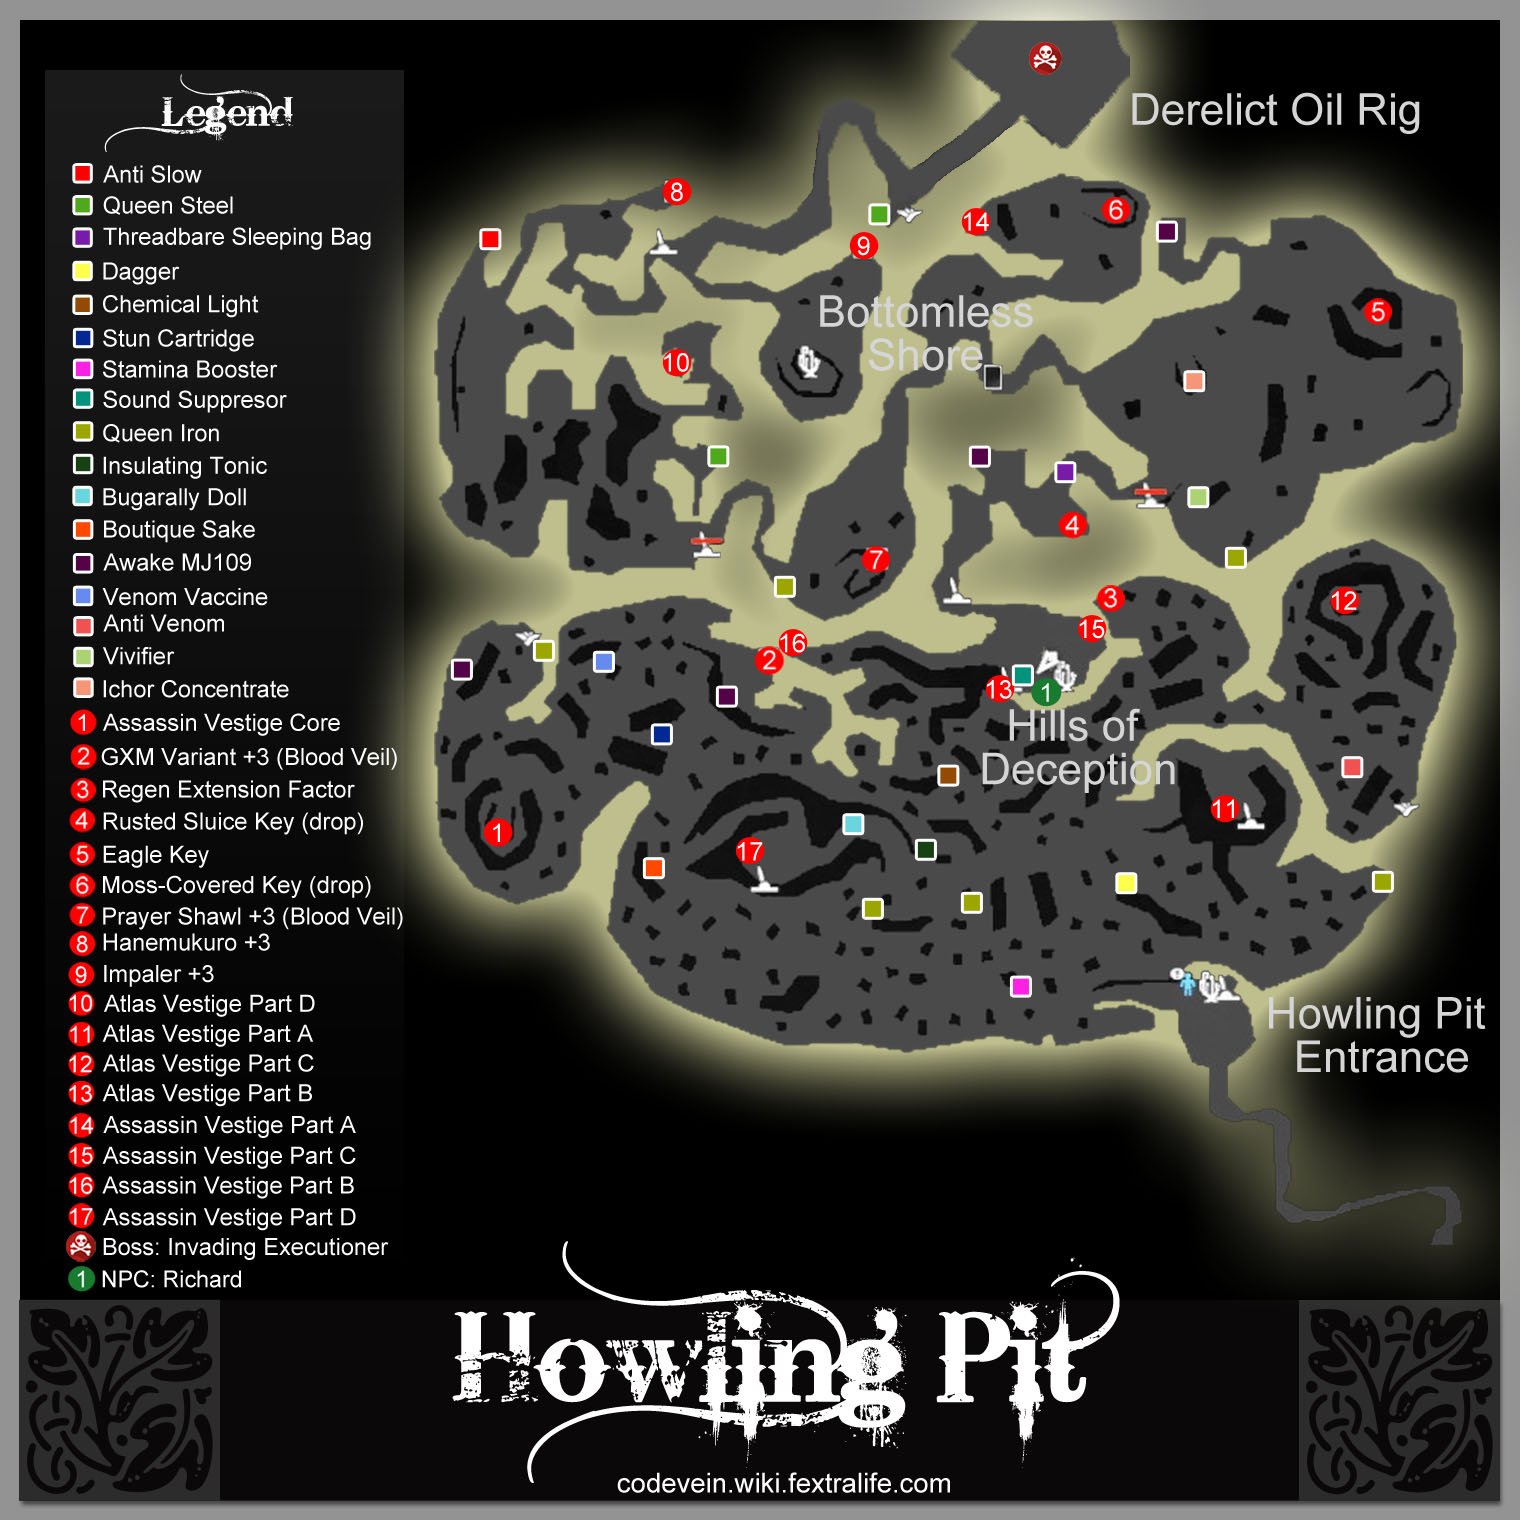
At the top where drop down in the hole by dropping on the ledges, there s also another item. Condensed haze M on a very thin ledge!
0
+10
-1